How I dye my nails with henna
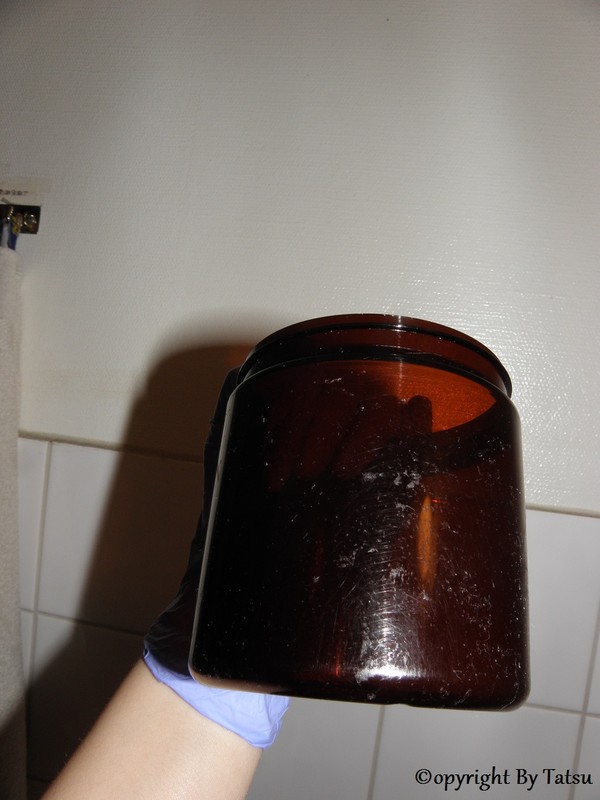
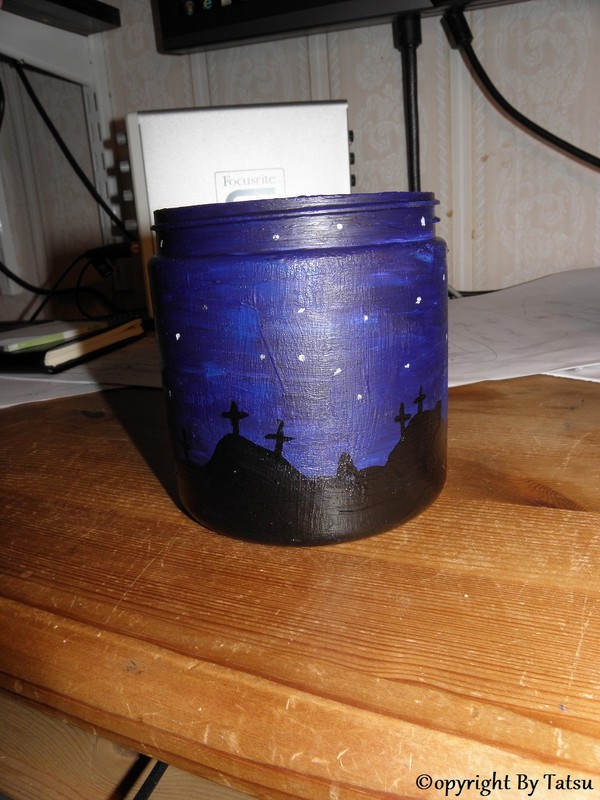
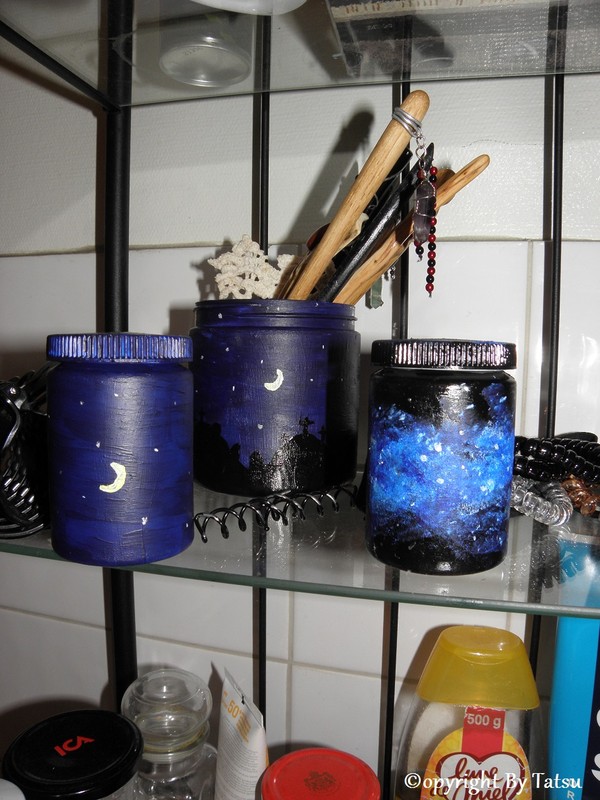
- I use a little glass jar with a tight lid, to mix and store my henna in. I fill it to around 4/5 to full.

- Sugar - Prevents the henna from drying as quickly. Henna will no longer stain it it dries.

- Acid - Helps the pigment to penetrate the nail (and skin). (But it is, however not necessary for dying hair.) Avoid lemon because it will dry out nails. I use apple cider vinegar.
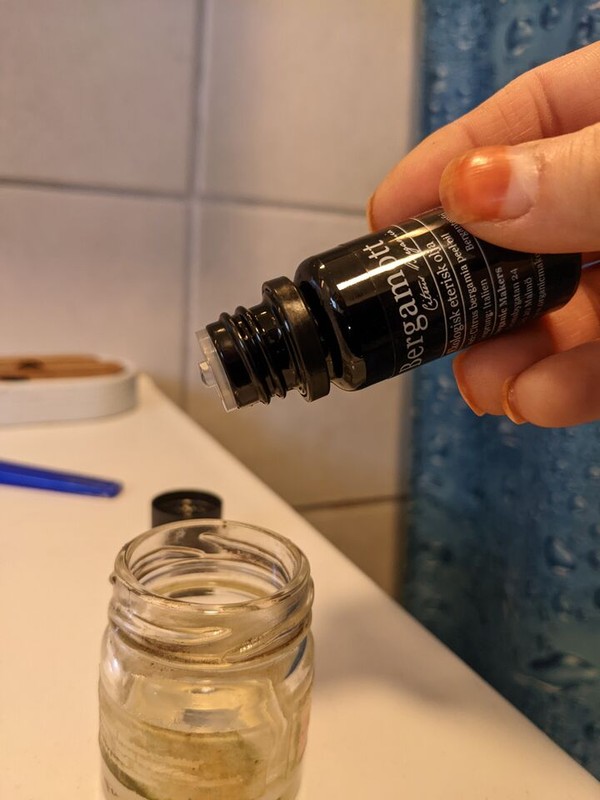
- Essential oil - If you want to, you can add a few drop of essential oils for scent or it's nurturing qualitys.


- Henna and water - Add a little bit of henna and water at a time and blend them well. Warm water will speed up the dye relase, but cold water is fine.

- Make a thicker paste that's not runny. You can always add more water later if needed.
- Henna can be used as soon as it's been mixed. But the dye tends to be more intense if it gets to sit for a bit and the consistency will be more smooth after wating at least an hour. Put on a lid when you let it sit.
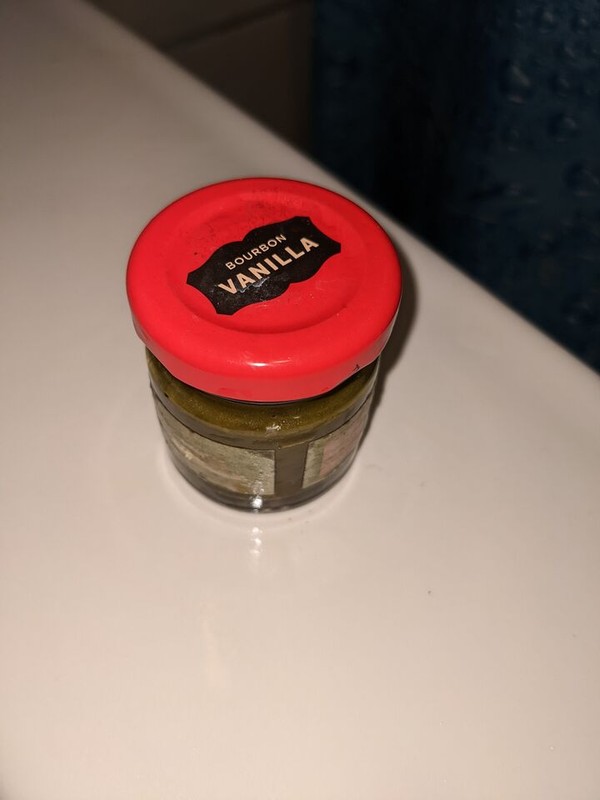
- If stored correctly the paste can be used for at least a week after mixing it. I store mine with like this, on my bathroom sink and am currently using a batch that I mixed 13 days ago. It still stains well!
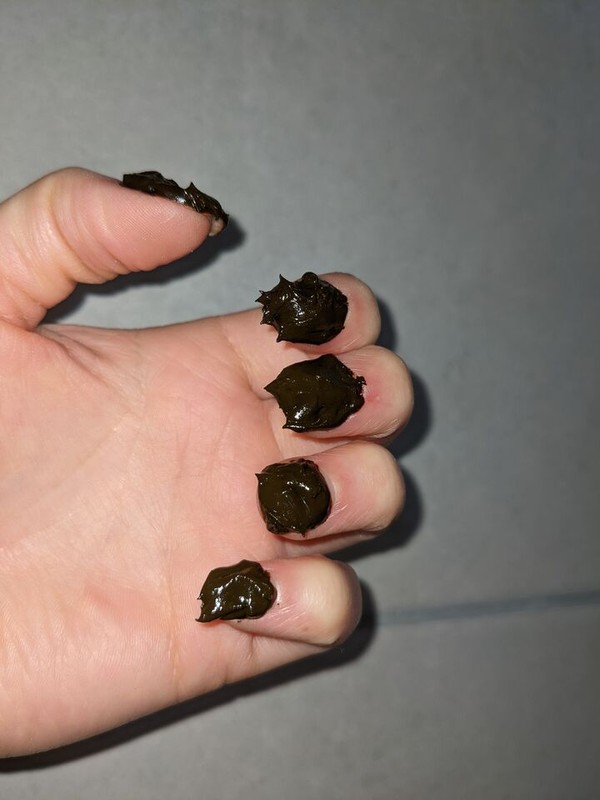
- There are applications tool to be bought. But I use a regular small hobby brush, made for acrylic paint. You can probably use some type of flat stick or similar too.
- I apply some paste to the middle of my nail and gently press it to the edges, with the brush.
- I keep a bit of paper on the side, to wipe off any henna that gets on my skin. Henna will stain your skin and cutticles quite quickly. But it usually disappears after a few days.
- I usually leave the paste on for 20-60 minutes. If it dries it will no longer stain. I sometimes spray the henna with a spray bottle. If I'm in the sauna I quickly dunk my fingers i a bucket with water.
- Some people cover their nails to keep the henna on for longer and make the stain deeper. Others keep the fingers over a steaming pot. I'm too lazy to bother with this.
- The color can get deeper with heath: That's why I often apply it in the sauna. If my hands are cold and I'm at home, I usually make a cup of tea and warm my hands on it, while I drink it.
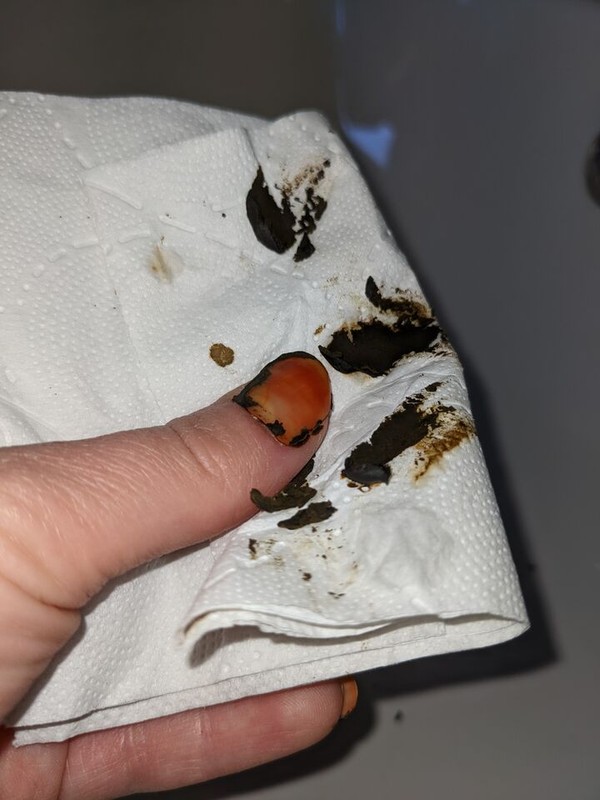
- I usually start by wiping off most of it with some paper.
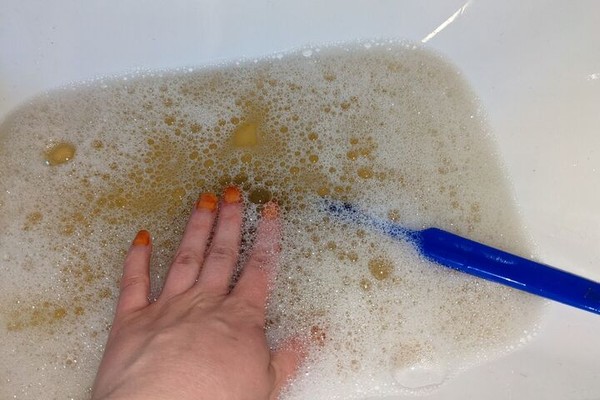
- I prefer to fill up a little bit of water and soap in the sink and wash my nails with a toothbrush.

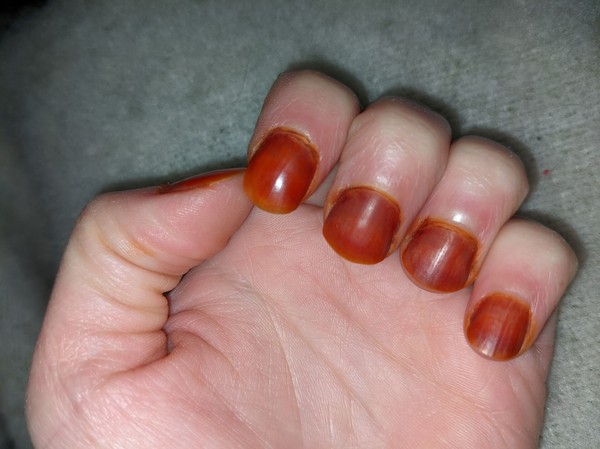
- After the first application, the color is like to be a light orange shade. Under the following day/days, the henna will oxidize and get darker. It's alsright to oil or add hand cream to you nails and hands as usall. It won't really interfere with anything.
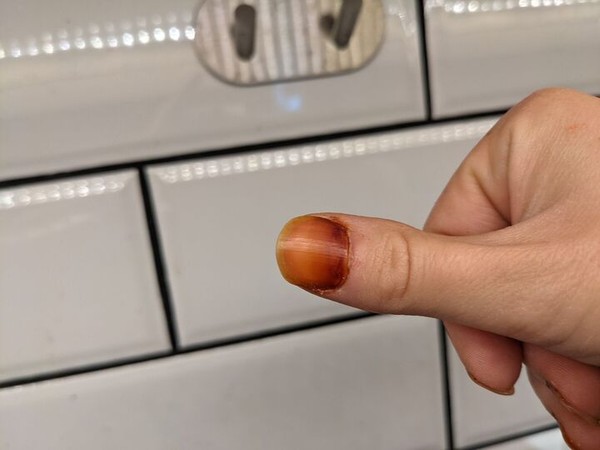
- The longer you leave the henna on and the more times you do it, the more dark and deep will the color get. You can also get different shades depending on how warm you fingers are and how long you let them grow out before applying more henna. And whether you overlap or not.
How I dye my nails with henna

- I use a little glass jar with a tight lid, to mix and store my henna in. I fill it to around 4/5 to full.

- Sugar - Prevents the henna from drying as quickly. Henna will no longer stain it it dries.

- Acid - Helps the pigment to penetrate the nail (and skin). (But it is, however not necesarry for dying hair.) Avoid lemon because it will dry out nails. I use apple cider vinegar.

- Essential oil - If you want to, you can add a few drop of essential oils for scent or it's nurturing qualitys.


- Henna and water - Add a little bit of henna and water at a time and blend them well. Warm water will speed up the dye relase, but cold water is fine.

- Make a thicker paste that's not runny. You can always add more water later if needed.
- Henna can be used as soon as it's been mixed. But the dye tends to be more intense if it gets to sit for a bit and the consistency will be more smooth after wating at least an hour. Put on a lid when you let it sit.

- If stored correctly the paste can be used for at least a week after mixing it. I store mine with like this, on my bathroom sink and am currently using a batch that I mixed 13 days ago. It still stains well!

- There are applications tool to be bought. But I use a regular small hobby brush, made for acrylic paint. You can probably use some type of flat stick or similar too.
- I apply some paste to the middle of my nail and gently press it to the edges, with the brush.
- I keep a bit of paper on the side, to wipe off any henna that gets on my skin. Henna will stain your skin and cutticles quite quickly. But it usually disappears after a few days.
- I usually leave the paste on for 20-60 minutes. If it dries it will no longer stain. I sometimes spray the henna with a spray bottle. If I'm in the sauna I quickly dunk my fingers i a bucket with water.
- Some people cover their nails to keep the henna on for longer and make the stain deeper. Others keep the fingers over a steaming pot. I'm too lazy to bother with this.
- The color can get deeper with heath: That's why I often apply it in the sauna. If my hands are cold and I'm at home, I usually make a cup of tea and warm my hands on it, while I drink it.

- I usually start by wiping off most of it with some paper.

- I prefer to fill up a little bit of water and soap in the sink and wash my nails with a toothbrush.

- After the first application, the color is like to be a light orange shade. Under the following day/days, the henna will oxidize and get darker. It's alsright to oil or add hand cream to you nails and hands as usall. It won't really interfere with anything.

- The longer you leave the henna on and the more times you do it, the more dark and deep will the color get. You can also get different shades depending on how warm you fingers are and how long you let them grow out before applying more henna. And whether you overlap or not.
How I dye my nails with henna

- I use a little glass jar with a tight lid, to mix and store my henna in. I fill it to around 4/5 to full.

- Sugar - Prevents the henna from drying as quickly. Henna will no longer stain it it dries.

- Acid - Helps the pigment to penetrate the nail (and skin). (But it is, however not necessary for dying hair.) Avoid lemon because it will dry out nails. I use apple cider vinegar.

- Essential oil - If you want to, you can add a few drop of essential oils for scent or it's nurturing qualitys.


- Henna and water - Add a little bit of henna and water at a time and blend them well. Warm water will speed up the dye relase, but cold water is fine.

- Make a thicker paste that's not runny. You can always add more water later if needed.
- Henna can be used as soon as it's been mixed. But the dye tends to be more intense if it gets to sit for a bit and the consistency will be more smooth after wating at least an hour. Put on a lid when you let it sit.

- If stored correctly the paste can be used for at least a week after mixing it. I store mine with like this, on my bathroom sink and am currently using a batch that I mixed 14 days ago. It still stains well!

- There are application tools to be bought. But I use a regular small hobby brush, made for acrylic paint. You can probably use some type of flat stick or similar too.
- I apply some paste to the middle of my nail and gently press it to the edges, with the brush.
- I keep a bit of paper on the side, to wipe off any henna that gets on my skin. Henna will stain your skin and cutticles quite quickly. But it usually disappears after a few days.
- I usually leave the paste on for 20-60 minutes. If it dries it will no longer stain. I sometimes spray the henna with a spray bottle. If I'm in the sauna I quickly dunk my fingers i a bucket with water.
- Some people cover their nails to keep the henna on for longer and make the stain deeper. Others keep the fingers over a steaming pot. I'm too lazy to bother with this.
- The color can get deeper with heath: That's why I often apply it in the sauna. If my hands are cold and I'm at home, I usually make a cup of tea and warm my hands on it, while I drink it.

- I usually start by wiping off most of it with some paper.

- I prefer to fill up a little bit of water and soap in the sink and wash my nails with a toothbrush.

- After the first application, the color is likely to be a light orange shade. Under the following day/days, the henna will oxidize and get darker. It's alright to oil or add hand cream to you nails and hands as usall. It won't really interfere with anything.

- The longer you leave the henna on and the more times you do it, the more dark and deep will the color get. You can also get different shades depending on how warm you fingers are and how long you let them grow out before applying more henna. And whether you overlap or not.
How to take good hair pictures by yourself

I have a phone case, that makes it possible to place my phone in a standing position. It makes things easier while out and not finding anything to lean the phone against.


Preferably find a good shelf, get a phone holder for a mirror or a phone stand. You can also be creative and staple books, use a box or something else.
You also need to find a good distance. As long as you get visible details in your photo, it's better to stand too far, than too close to the camera. It's easy to "cut away" the extra backround on your phone.


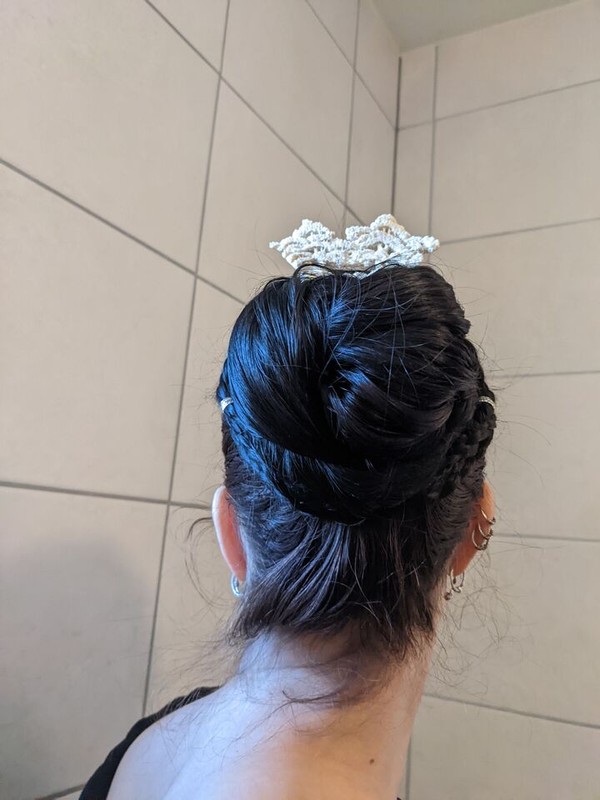
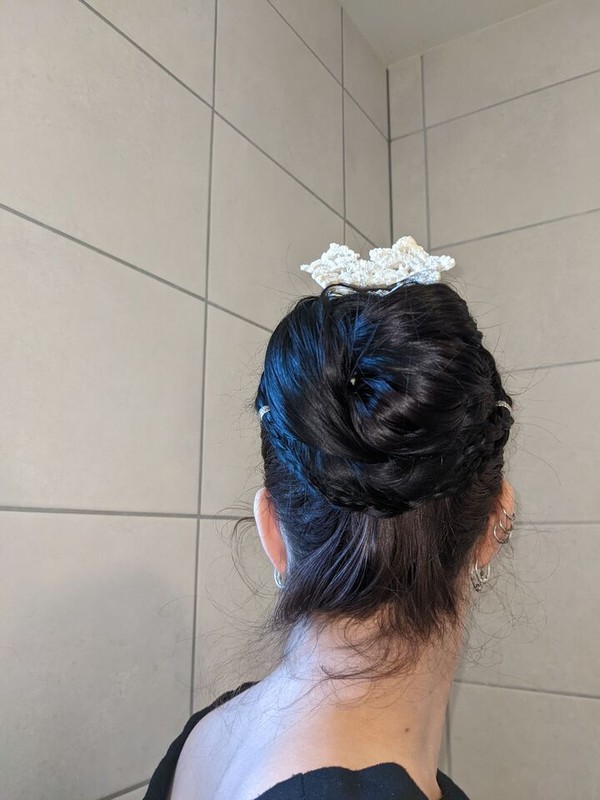
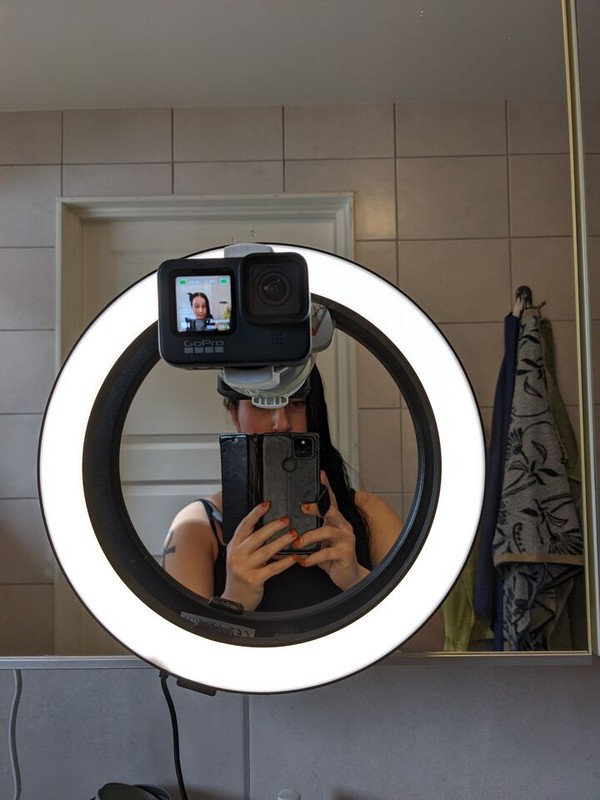

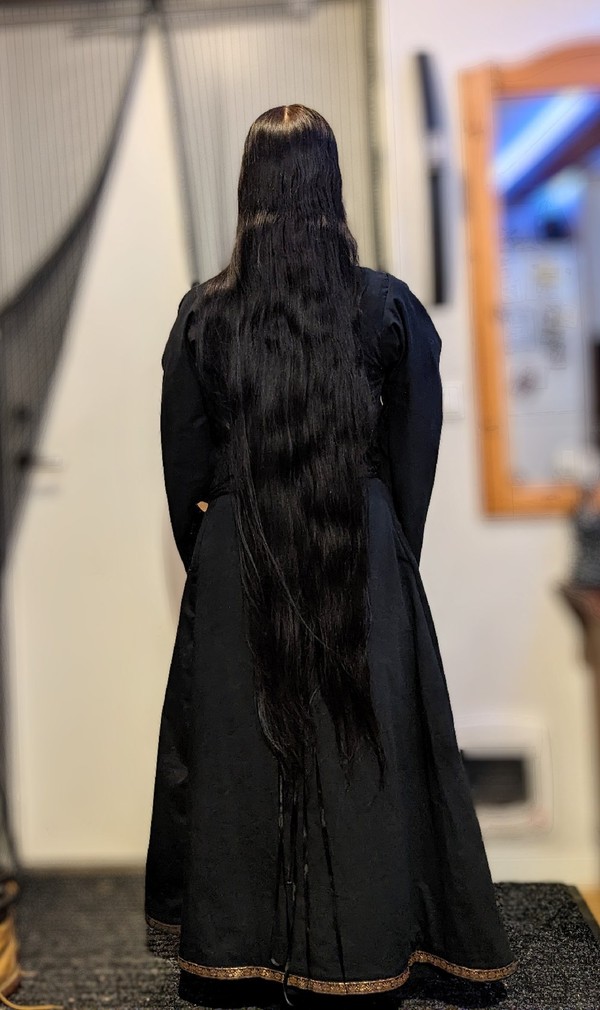
For light hair, a darker bakground can make your hair pop out more. For darker hair, a light background can be better. Although thin hair will appear thicker, if you wear clothes in a similar colour, to your hair.
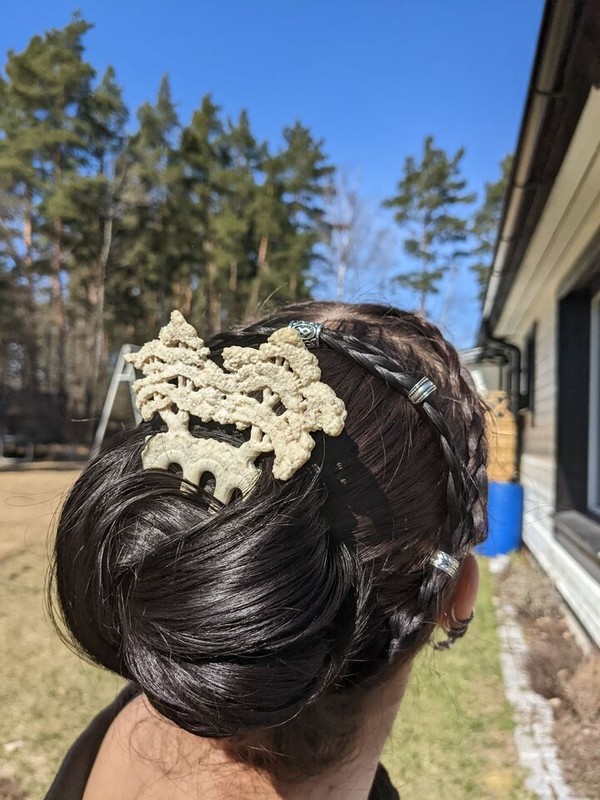
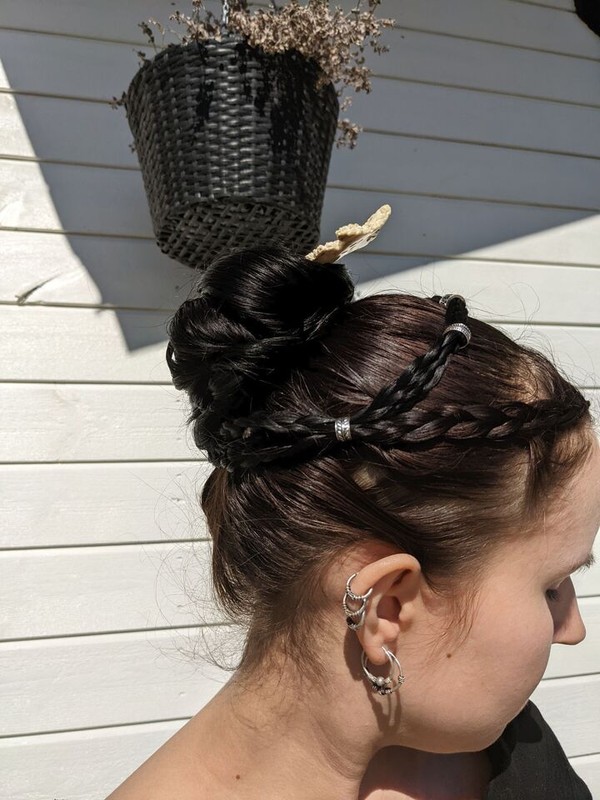
Sometimes the phone doesn't really want to focus on your hair.
A few things that you can do then, is to have good light and background. For example, my phone doesn't want to focus on my black hair against a dark background or if the light is too bad.
Antoher trick is to move further away from the camera (or sometimes closer).
New phones usually have better auto focus than older ones.
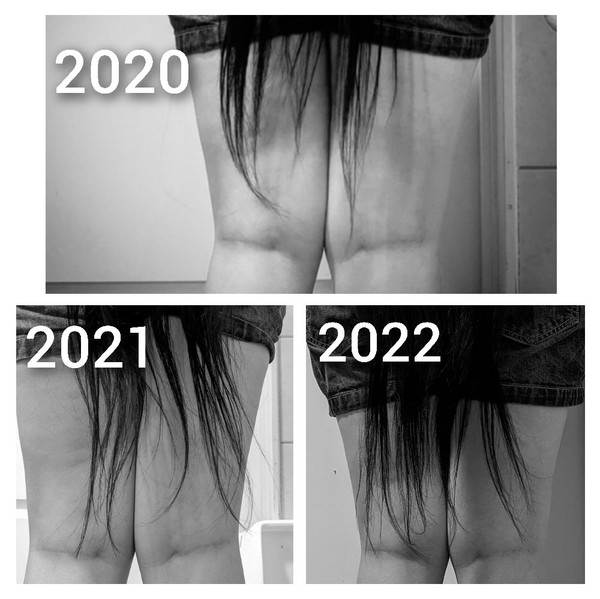
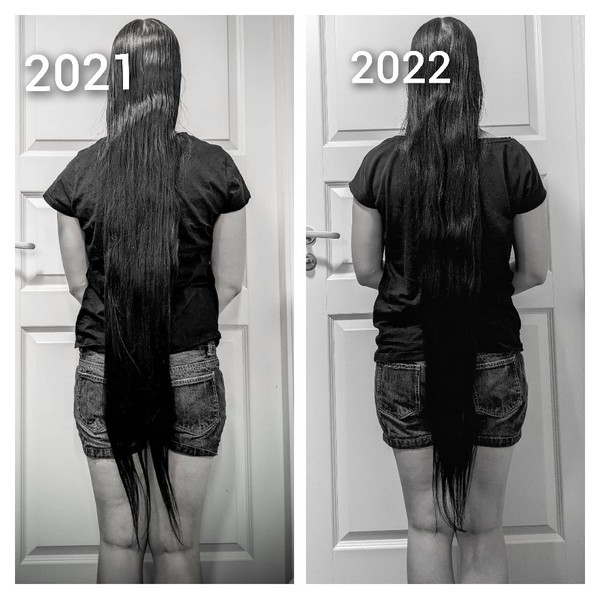
Length pictures




Book review - Heaven's Silhouette: Iyarri Chronicles Book 1


The design is also beautiful and you can see the effort that Melissa puts into every little detail of all of her creations.
En jämförelse utav hårsnoddar
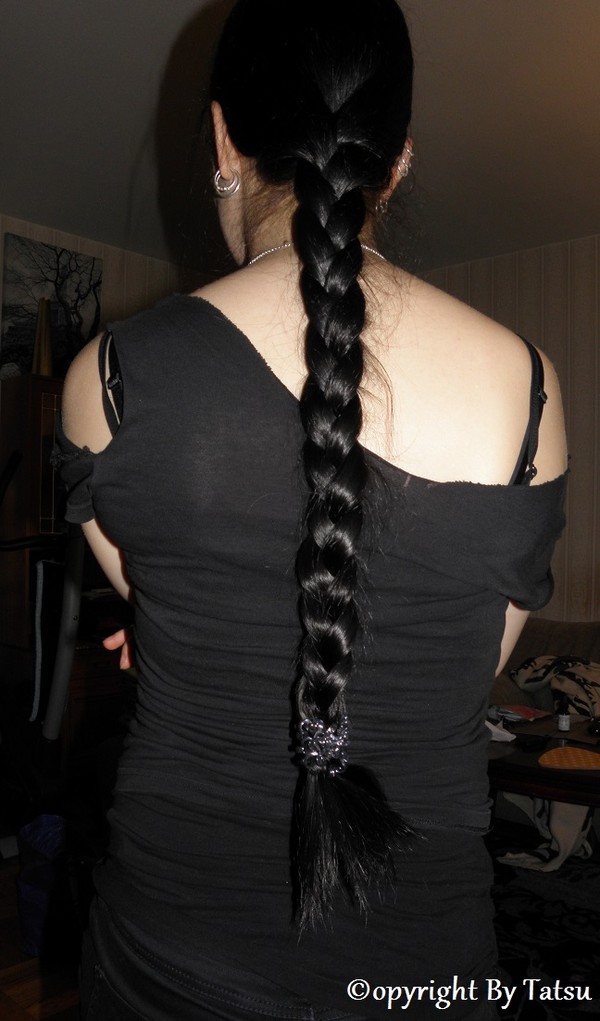
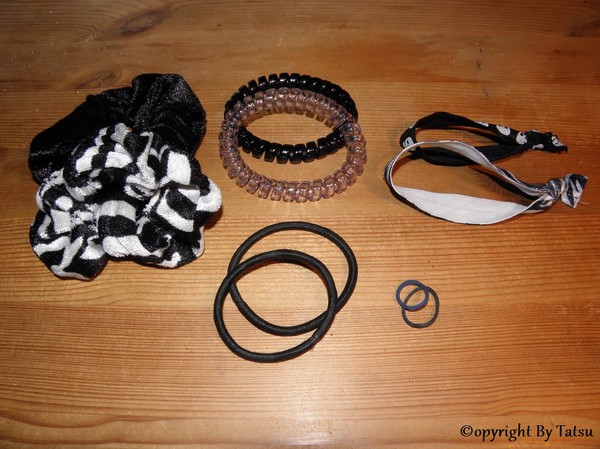
- Snälla mot håret. Håret känns inte torrt och trassligt efteråt.
- Minimalt slitage.
- Sitter stabilt när man väl har lärt sig tekniken.
- Finns i flera färger och även i mindre storlekar.
- Går utmärkt att basta och bada med.
- Kan trassla sig när man tar ur den om man har haft den högre upp, t ex i en hästsvans.
- Enligt mig, inte den snyggaste snodden.
- Går inte att gömma i t ex en knut.
- Snälla mot håret. Håret känns inte torrt och trassligt efteråt.
- Minimalt slitage.
- Ser helt okej ut att ha i håret enligt mig.
- Finns i flera färger och möster.
- Glider ur lättare än t ex invisibobble om du som jag har väldigt halt hår.
- Går inte att ha t ex i en knut då änden i knuten på snodden (se bild längre ner) fastnar i håret.

- Snälla mot håret. Håret känns inte torrt och trassligt efteråt.
- Minimalt slitage.
- Snygga enligt mig, även om jag inte alltid har tyckt det.
- Finns i flera storlekar, fäger, mönster och material.
- Sitter stabilt i håret.
- Går inte att använda när man ska göra t ex en knut.
- Dyra i vanliga butiker.

- Går att använda och gömma när man t ex ska göra en flätad knut.
- Snällare än en snodd med metall.
- Diskret.
- Finns i flera färger och storlekar.
- Sliter en del på håret.
- Glider lätt ur om man som jag har halt hår.

- Bra till små flätor.
- Sitter stabilt.
- Finns i olika färger, storlekar och tjocklekar.
- Finns att köpa billigt på storpack i hästsportsbutiker.
- Lätta att få in och gömma i t ex knutar.
- Sliter lite mer på håret.
- Trasslar och sliter ganska lätt om man inte är försiktig när man tar ur dem. (Går annars att klippa av)
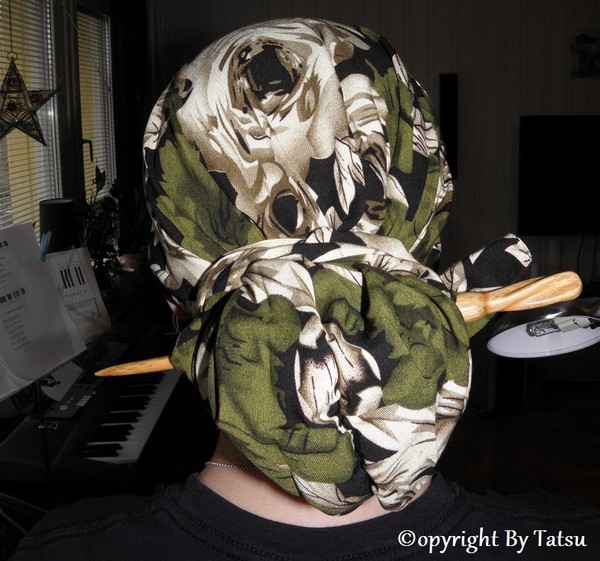
Tichel
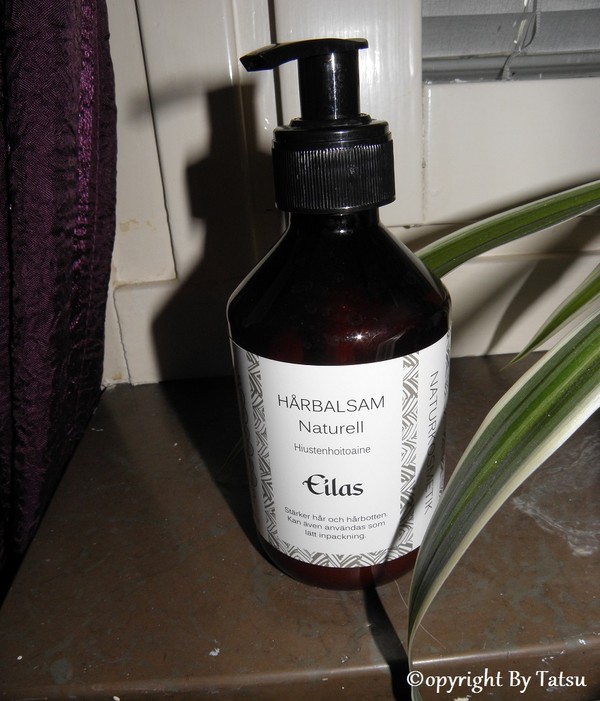
Balsam i bastun
Experiment. Att borsta håret som man gjorde förr i tiden
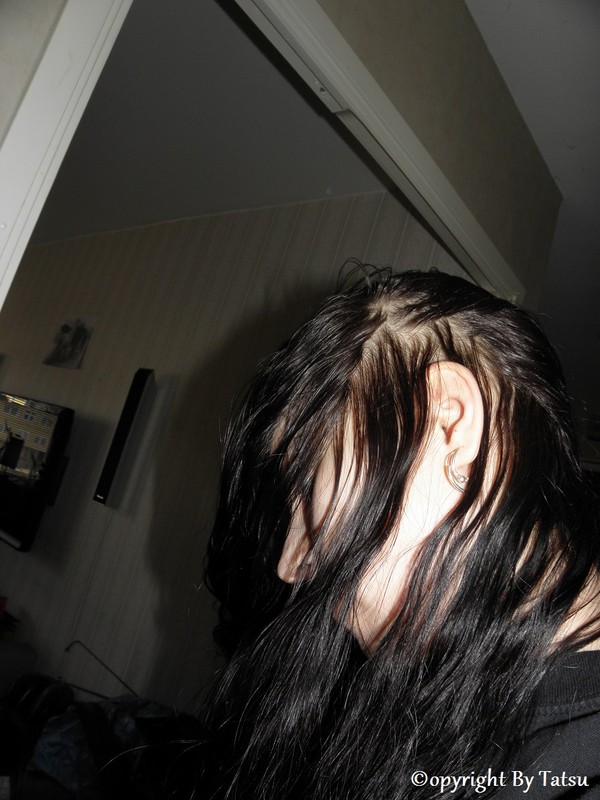
- Sedan ca en halv vecka efter att jag tvättade håret, så har jag en gång om dagen (med undantag för dem dagar då jag haft samma flätor två dagar i rad), borstat håret sektion för sektion med en svinborste, efter att ha rett ut det med en bredtandad kam.

- Ca en vecka efter tvätt så la jag även till en snabb hårbottensmassage innan jag borstade det.
- Min hårbotten kliar ingenting alls!
- Förr så har hårbotten, även om den egentligen varit mindre torr när det närmar sig tvätt, flagat en hel del då jag inte helt lyckats massera bort alla gamla hudrester. Nu finns det 17 dagar efter den senaste tvätten inte en enda lös hudflaga att hitta!

- Fettet har jag lyckats sprida långt ner i längderna och den delen där jag har fått ner mindre fett har jag bara behövt ha lite arganolja i.
- Den främre delen av håret som annar brukar bli torrare än resten utav håret och därmed mer slitet, har inte alls varit torrare nu. Fettet har blitvit jämnt fördelat i hela håret.
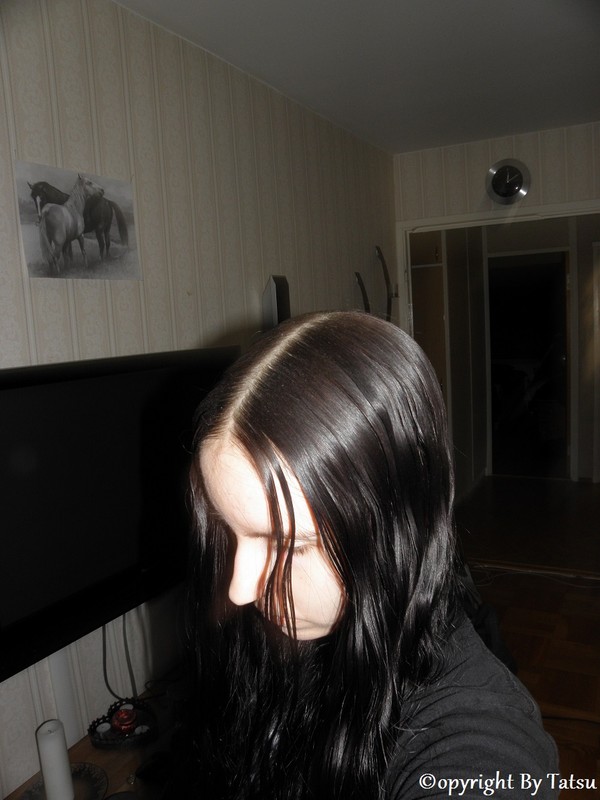
- Jag försöker inte påstå att mitt hår är rent eller ser fettfritt ut. Det ser fett ut om det är utsläppt och under starkt ljus.
- Fram tills dag 15 så hade jag det uppsatt i en knut på jobbet och ingen anade att det inte var glansigt för att det var nytvättat. Dag 16 och 17 så har jag haft det i inbakade flätor och åter så har ingen kunnat ana att mitt hår var så "glansigt och fint" för att det började bli fett. Ärligt talat så är mitt hår i princip lika glansigt när det är nytvättat som när det är fett.
- När jag känner på mitt hår så har jag ingen lust att någonsin tvätta det igen! Det känns inte fett. Du får inget fett på fingrarna och du kan gnugga ett papper mot håret utan att det fastnar något fett på det (ja, jag har testat).
- Det är lätt att reda ut och känns otroligt lent och mjukt! Med risk för att låta lite narcissistisk så känns det utan att överdriva som silke!
Glöm inte borsten och kammen!

- Börja med att ta bort allt hår. Enklaste sättet att ta bort hår från en svinborste är med en kam.

- Blöt upp dina verktyg och häll i lite schampo, tvål eller som jag har gjort på bilden, balsam.
- Jag masserar in detta i borsten med kammen. Svinhåren går in mellan piggarna och gör på så sätt effektivt rent kammen.
- Sedan masserar jag borsten lite till med handen.

- Skölj sedan noggrant.
- Torka lätt med en handduk och låt sedan lufttorka.
Silverrengöring
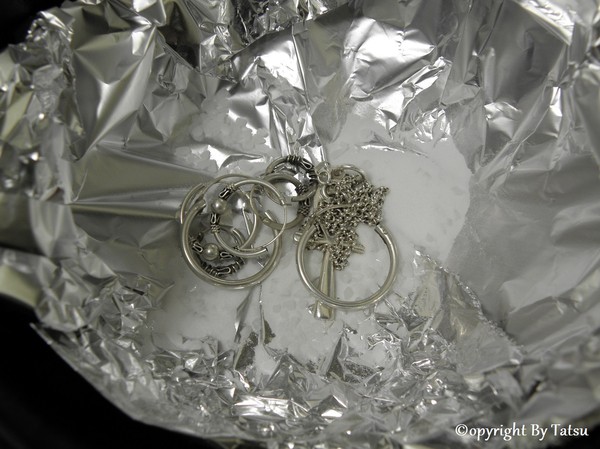
- För mindre föremål. Lägg aluminiumfolie i en skål.
- För större föremål. Täck diskhon med aluminumfolie efter att du har suttit i proppen.
- Häll i grovsalt och bikarbonat. (Jag har inga direkta mått utan häller bara i lite)

- Häll på kokande vatten.
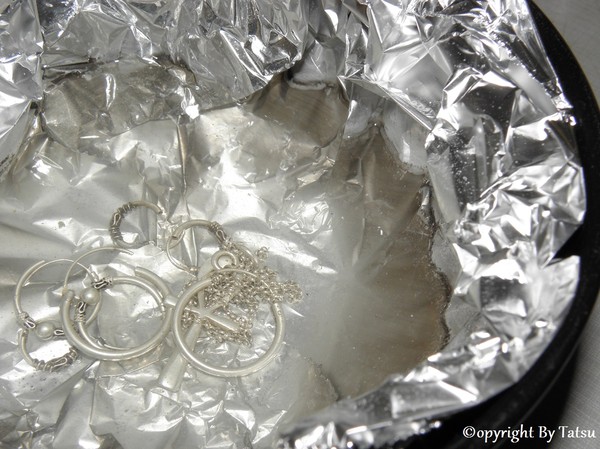
- Låt ligga tills det har svalnat.
- Ta upp ditt silver och skölj med vatten om du vill ha bort saltet och bikarbonaten. Låt torka.
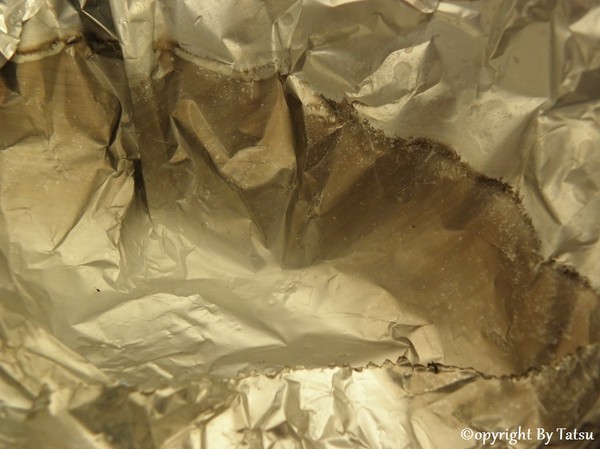
- Det fungerar som så att en kemisk reaktion gör att aluminumfolien drar åt sig oxideringen (missfärgningen på silvret).
Platta hårsnoddar

- Jag är mycket nöjd! Till skillnad från vanliga snoddar så känns inte håret torrt och trassligt efter dessa.
- Jämfört med invisibobbles så kan jag inte säga att det är någon större skillnad i hur håret känns. Jag skulle vilja påstå att slitaget är lika minimalt med båda sorterna.

- Nackdelen är att de glider ur lättare än invisibobbles. Precis som vanliga hårsnoddar gör för mig. Har du inte det problemet med vanliga snoddar så kommer du inte heller att ha det med dessa.
- Fördelen är att de enligt mig är snyggare än invisibobbles.
- Ska jag vara hemma så blir det troligen invisibobbles för att de inte glider ur lika enkelt och ska jag iväg så blir det dessa för att de är snyggare.
Hårsaker...
Att välja svinborste

- Kortare hår - smalare borse.
- Längre hår - bredare borste.
- En rund borste är främst tänkt att använda för att styla håret vid föning. Inte för att använda som en vanlig borste.

- Börja med att titta på borsten. Finns det många strån som är kortare än dem andra i varje sektion? Då är det risk att det är nylon.
- Känns vissa utav strån extra grova? Lite som en grov sopborste? Då är risken att det är nylon.
- Sviborst är grövre än vårat eget hår, men oftast mjukare än nylon.

- Ta en pincett och dra ut två stycken strån. Ett utav de mjukare och ett utav dem grövre som du misttänker är nylon.
- Bränn änden utav stråt med en tändare eller ett ljus. Hår och plast beter sig och luktar annorlunda när dem brinner. Om du är osäker så kan du ta ett utav dina egna hår (ett som du har tappat) och elda på. Äkta svinhår beter sig på samma vis.
- Nylon luktar bränd plast.
- Svinhår luktar bränt hår.
Catcallers
Protein
REA idag
Invisibobbles


Vårdande spray/efterskölj för håret
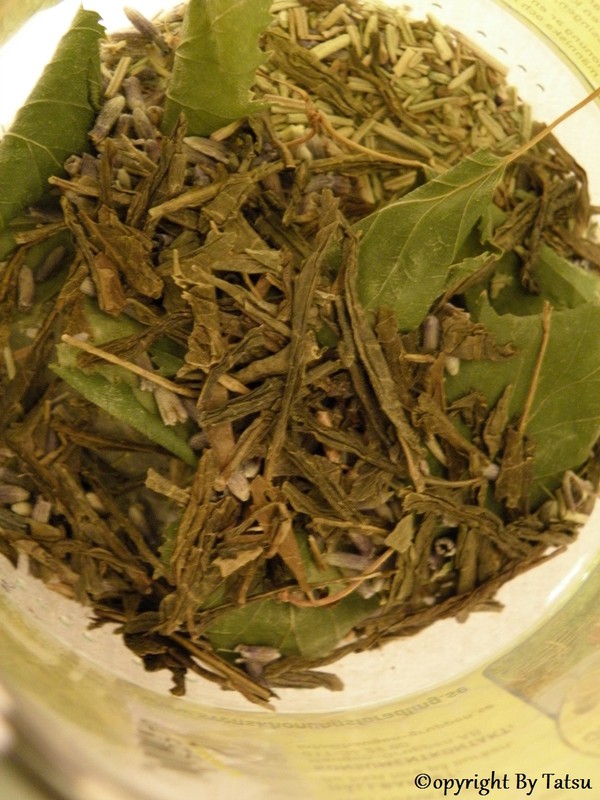
- Kattmynta - Vårdar håret, lite som ett balsam och motverkar kluvna hårtoppar.
- Björklöv - Ger b la glans år håret.
- Grönt te - Sänker pH-värdet i blandningen och gör på så sätt att "hårfibrerna" drar ihop sig. (Som balsam). Kan göra håret lättare att borsta och glansigare. Koffeinet ökar blodcirkulationen i hårbotten och kan på så sätt öka hårväxten. Jag tycker också att det hjälper mot torr hårbotten.
- Lavender - Luktar gott, även om lukten snabbt försvinner. Lugnande för hårbotten.
- Rosmarin - Sägs stimulera blodcirkulationen och på så sätt öka hårväxten. Sägs vara bra mot torr hårbotten.
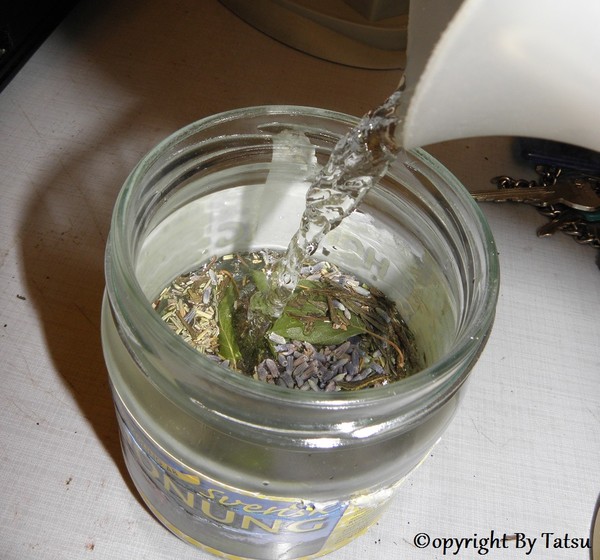
- Lägg ingredienserna i en burk.
- Värm upp och häll över varmt (inte kokande) vatten.
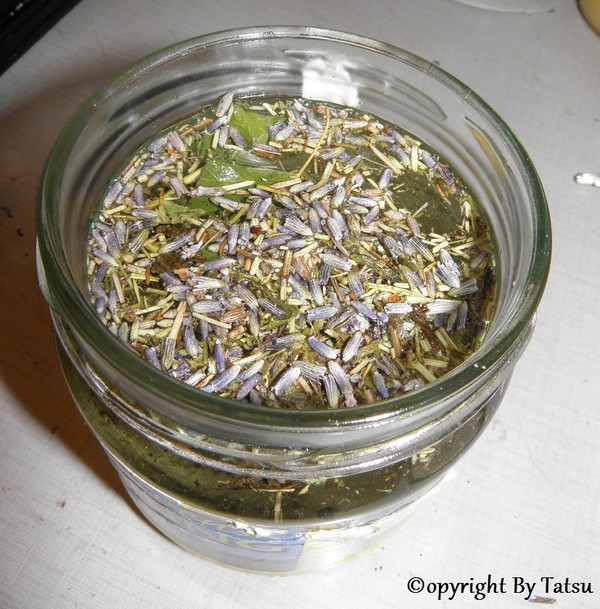

- Sätt på ett lock. Vissa nyttigheter riskerar nämligen att förångas annars.
- Låt svalna under några timmar.
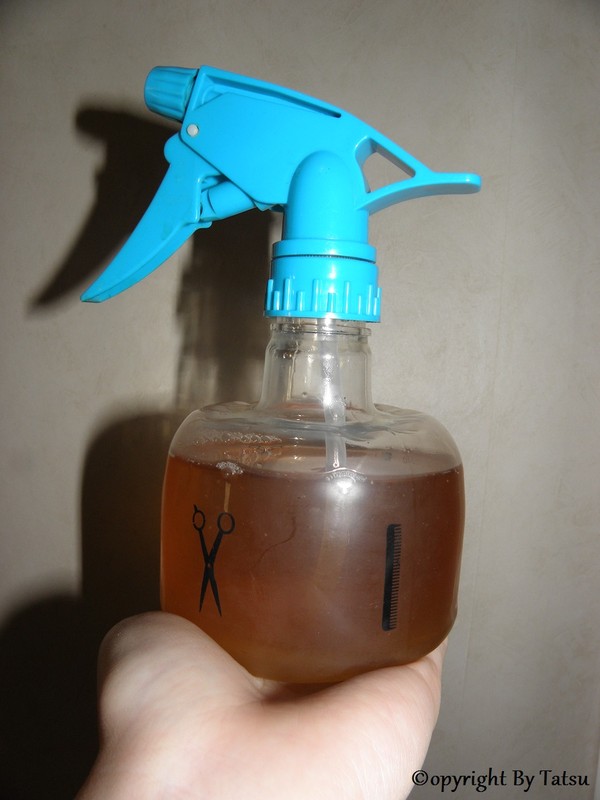
- Sila av och häll upp i en sprayflaska eller häll upp det i en burk/bunke som du använder till håret direkt eller vid ett senare tillfälle.
- Fövara blandningen i kylen. Hållbarhet ca en till två veckor.
Burkdesign
