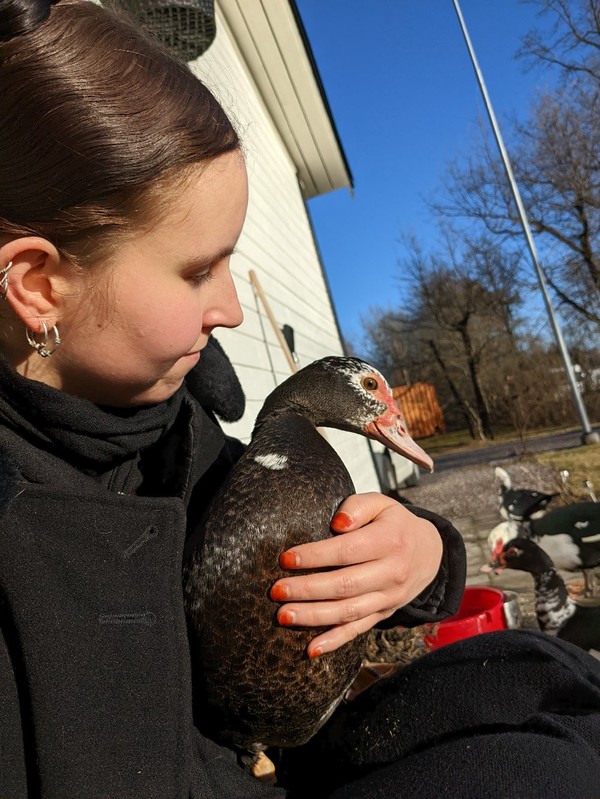
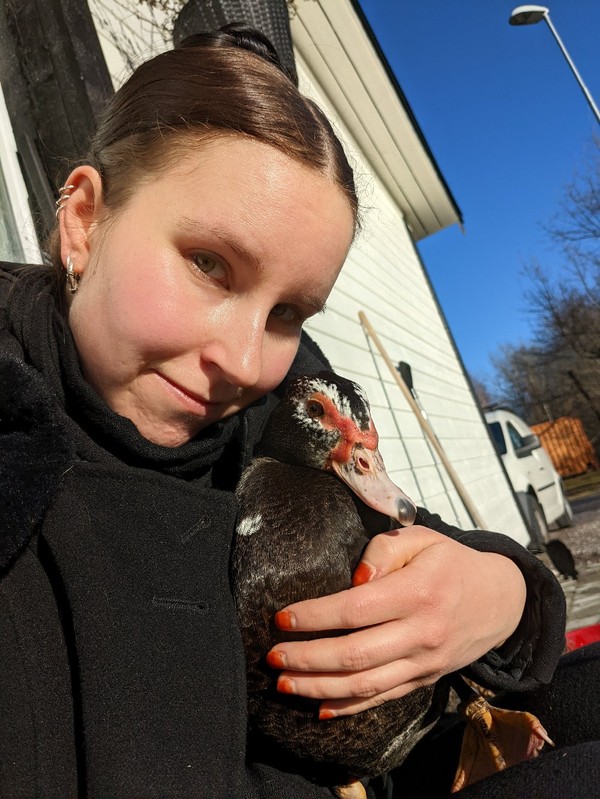
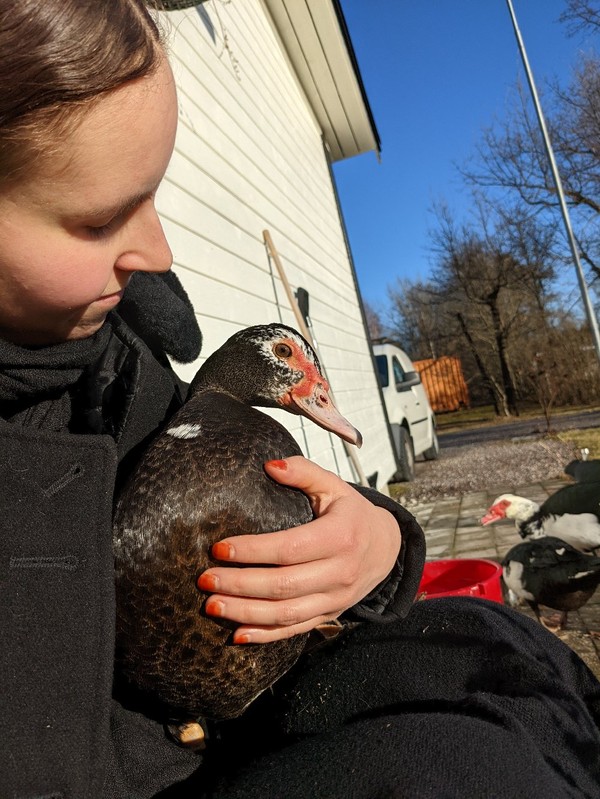
Project duck - Spoiling them...
Reading about ducks, it's mostly about keeping them alive for food. Little about spoiling and entertaining them. We want them to be happy.
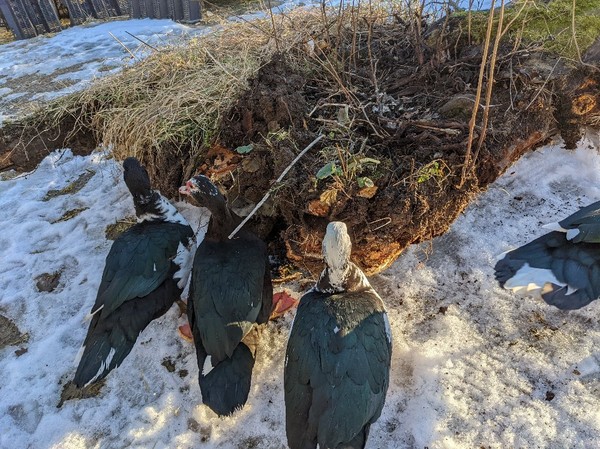
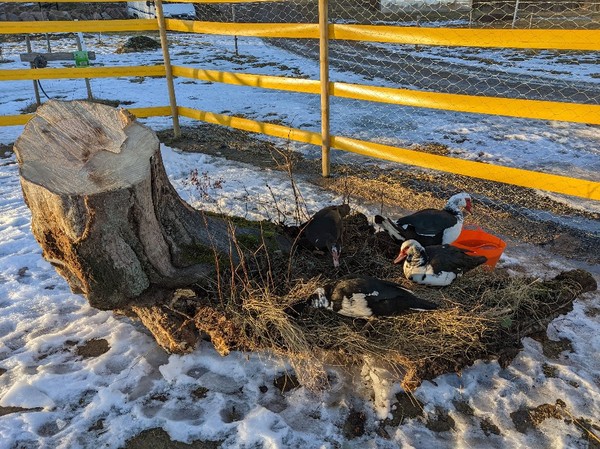
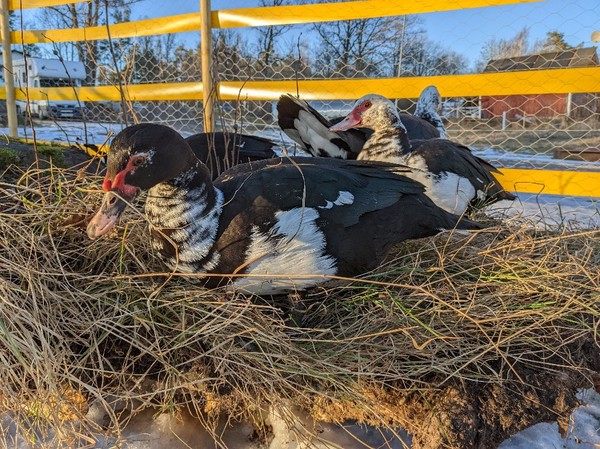


Here's their latest "toy"...
Arwens flight to the ford braids
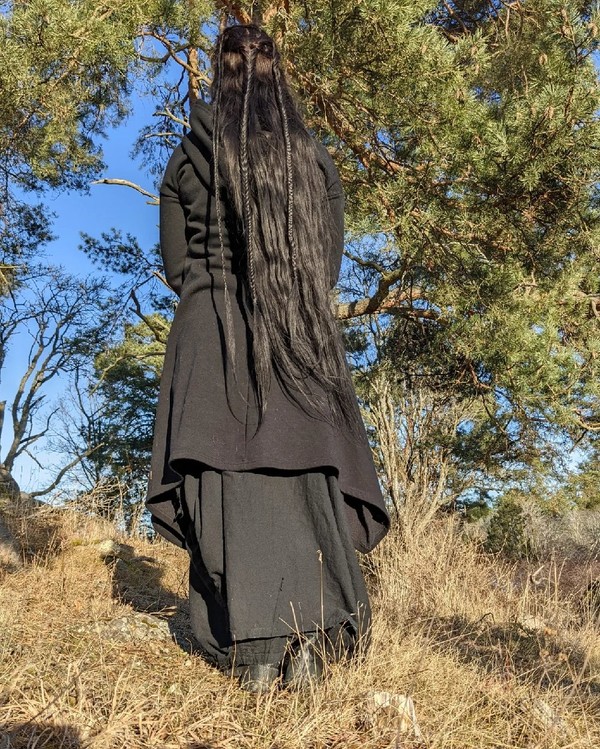
Sun
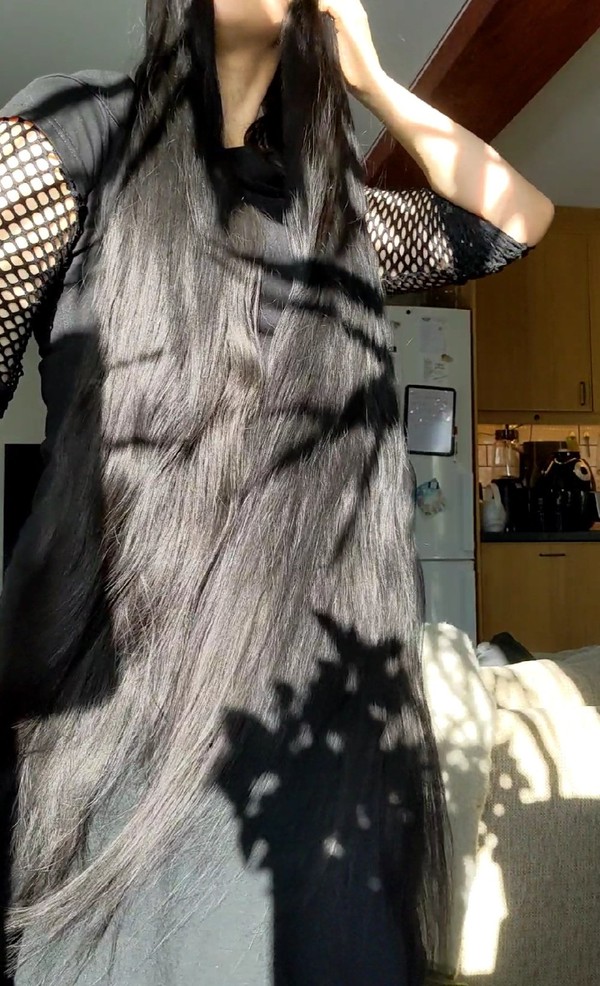


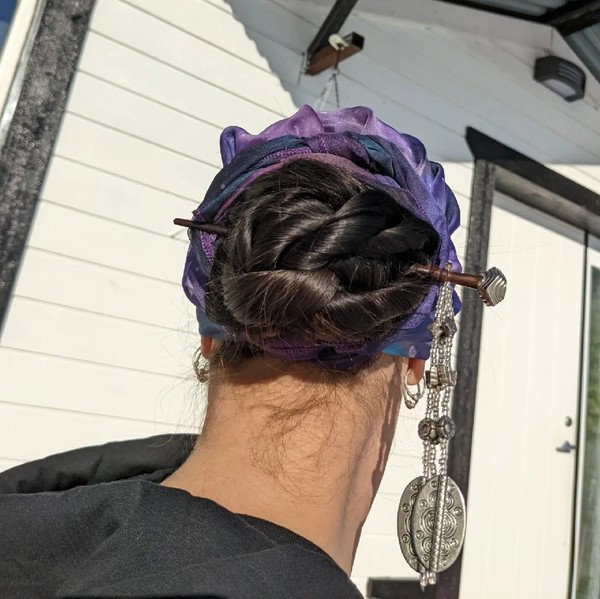
Rope braided disc bun

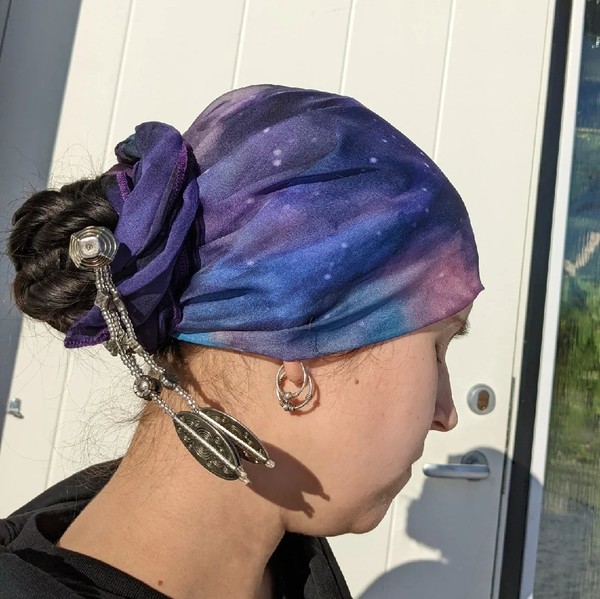
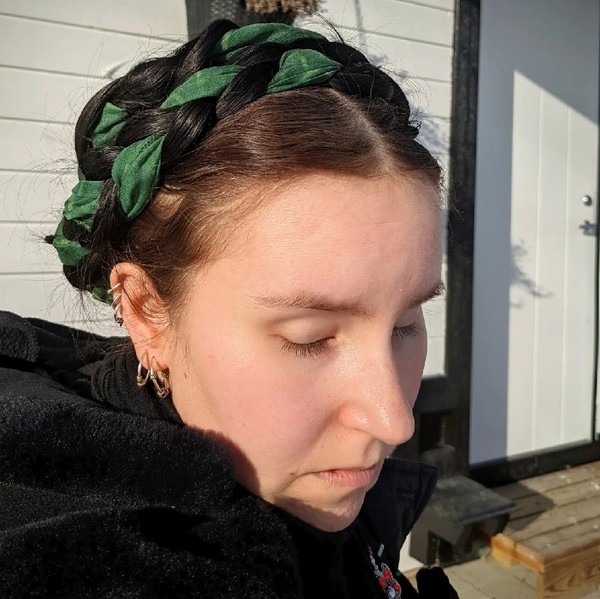
Scarf braids

I added my headband this time.

New unboxing video!
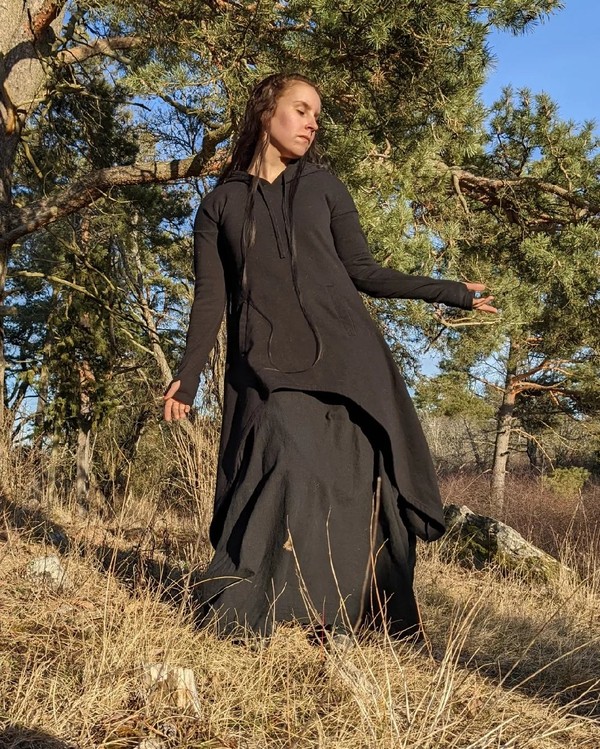
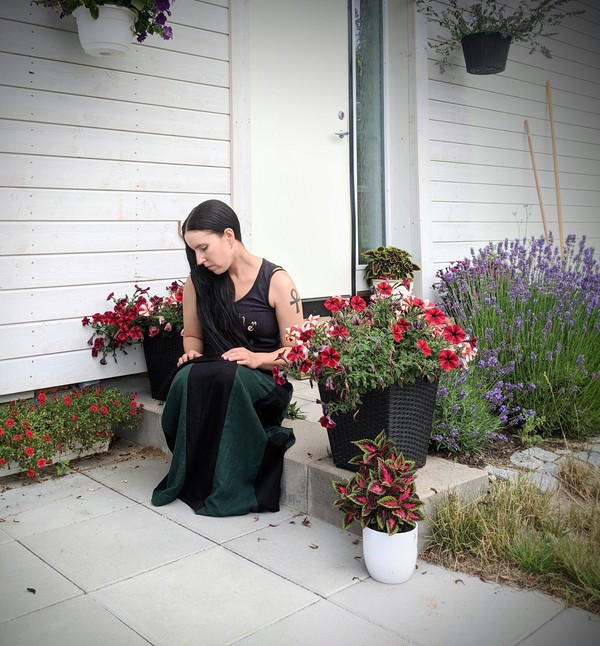
DIY - Skirt
Translating my old tutorial to English.
You need:
- Two fabrics of different colours/material. (It's easier to not use a stretchy fabric, if you're a beginner)
- Thread
- Scissor
- Sewing machine
- Elastic
- Safety pin
- Scissor
- Something to measure with
- Possibly needles/pins
Skills that you need:
- Basic sewing
- Basic mathematic
Step one:
- Chose two fabrics and calculate your measurements. Measure waist/hips (+ extra space to get it on), length and the width that you want at the bottom. + space for the seems. But this you can add in the next step.
- Decidehow many stripes that you want. I chose five green and five black. Mpre stripes=smaller stripes.
- Now you need to calculate how big you want each piece. Waist measure/each stripe + 2 cm extra for each peiece. Same thiong at the bottom. Mine were 12 cm at the top and 12 at the bottom.

- Draw a line at the bottom. Draw a dot at the bottom and measure the length. Draw a dot in the middle at the top and draw a line.
- Draw a line for the top left corner, to the bottom left corner. And the same thing on the other side.
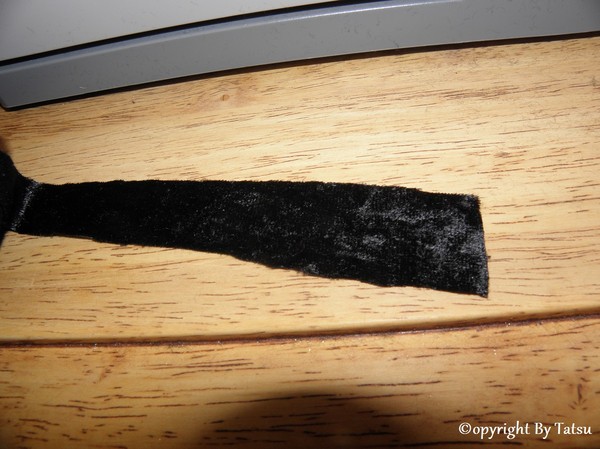
- Cut out the piece.
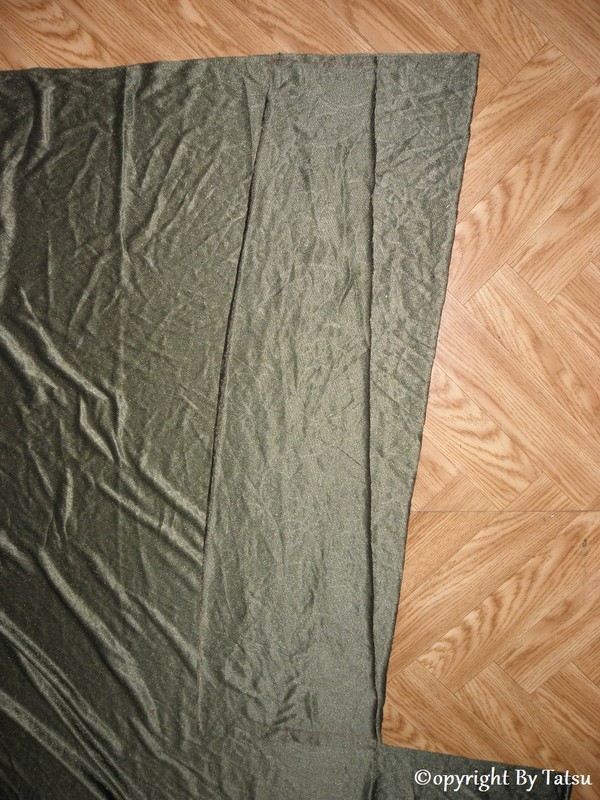
- Use it to cut out the rest of the pieces from both fabrics.
- If you use a stretchy fabric. Don't pull at it, since that will cause the edges to curl. It will make it harder, but not impossible to handle.

Time to sew!
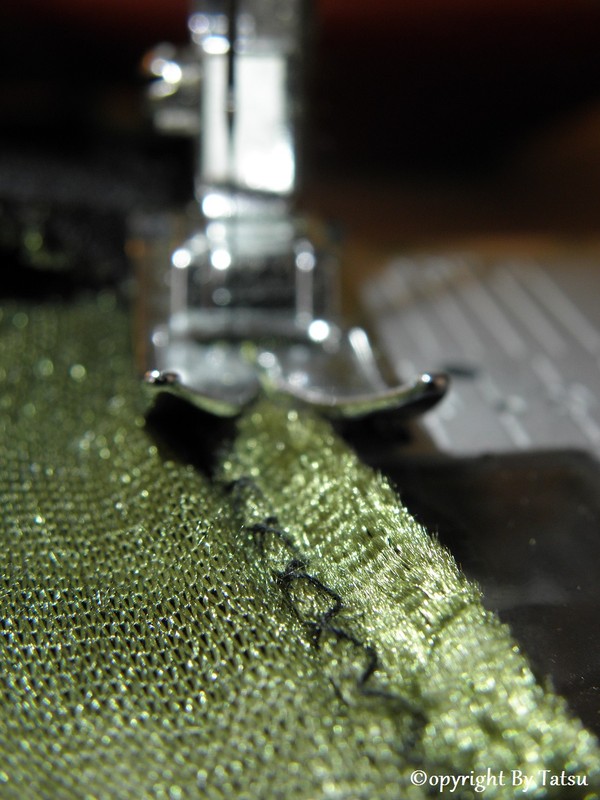
- Put two pieces of different fabrics together. The outside against the outside, so that you have the inside visible. The narrow part against the narrow part, as this is the the top fo your skirt. It might be easier if you pin the fabric together, but I didn't.
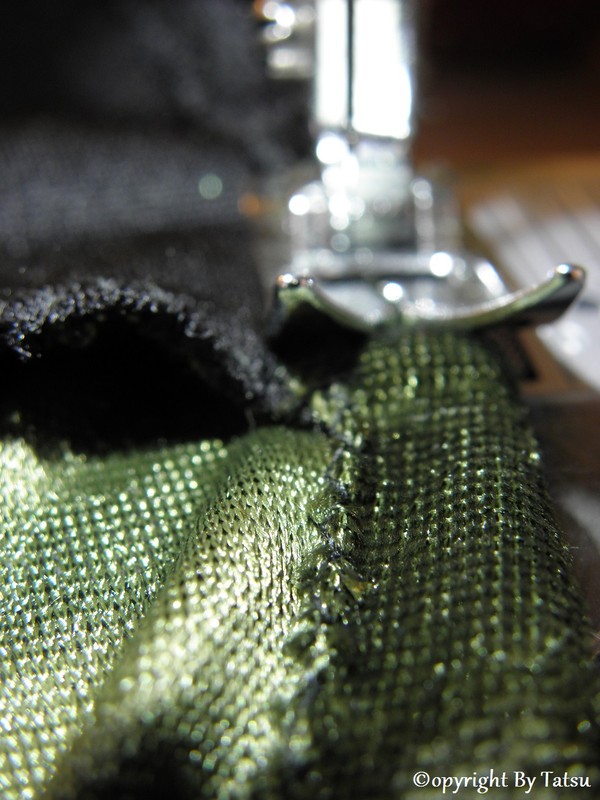
- Zigzag the two pieces together, always starting from the top. Continue to add pieces and sew them together.

- Don't worry if your bottom looks like this. You can just cut this away once you're done zigzaging.
- Cut away excess fabric at the bottom, but watch out for the seams! If it's still a bit uneven, that's alright. No one will be able to see it once you're done.

- Put a straight seem inside the zigzag. Around 1 cm.

- Make room for your skirt to go around.

- Time to zigzag the top part.

- Fold all of tese parts in the same direction. I folded all against the green fabric, but you can chose to fold all against the left or right. Just make sure to do the same thing at the bottom later.
- Fold the edge a bit and sew a straight seam. Thise will hide the zigzag seem, once you sew in the next seam for the elastic.
- Fold to make space for the elastic. I pinned, but gave up and removed them and just made it at "free hand", as I always do...
- Sew a straight seam (around where you put the first seam). Leave a few cm, to put the elastic through.
- Cut out a piece of elastic. A bit shorter than your measurements, because it's elastic.
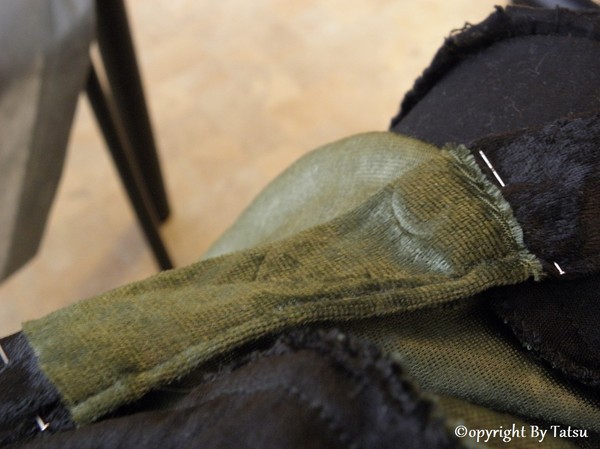
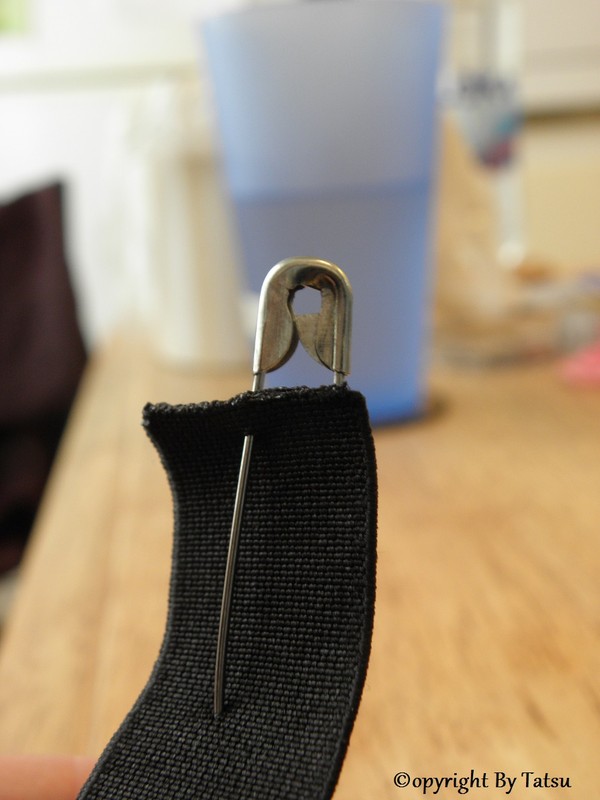
- Put a safety pin on it. Not like in my picture but at the edge.
- Pull it through and make sure that it doesn't twist.

- Sew the ends of the elastic together. Preferably with two or a few straight seams.
- Make sure to test the skirt, in case you need to adjust the length of the elastic!
- Sew the opening that you left for the elastic, shut.
- Zigzag the bottom and make sure to fold the overlappings in the same direction as you did at the top.
- Fold the fabric and sew a straight seem as you did on the top.
- Now it's time to try on the skirt, to adjust the length. It's easiest to pin it, but I didn't.
- Sew your last seam at the bottom.

If you want you can add pockets. Otherwose you're done now!
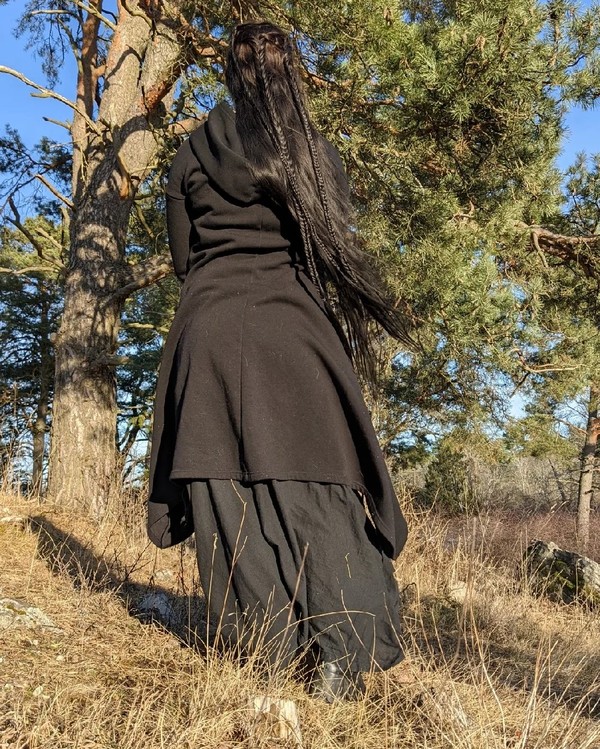
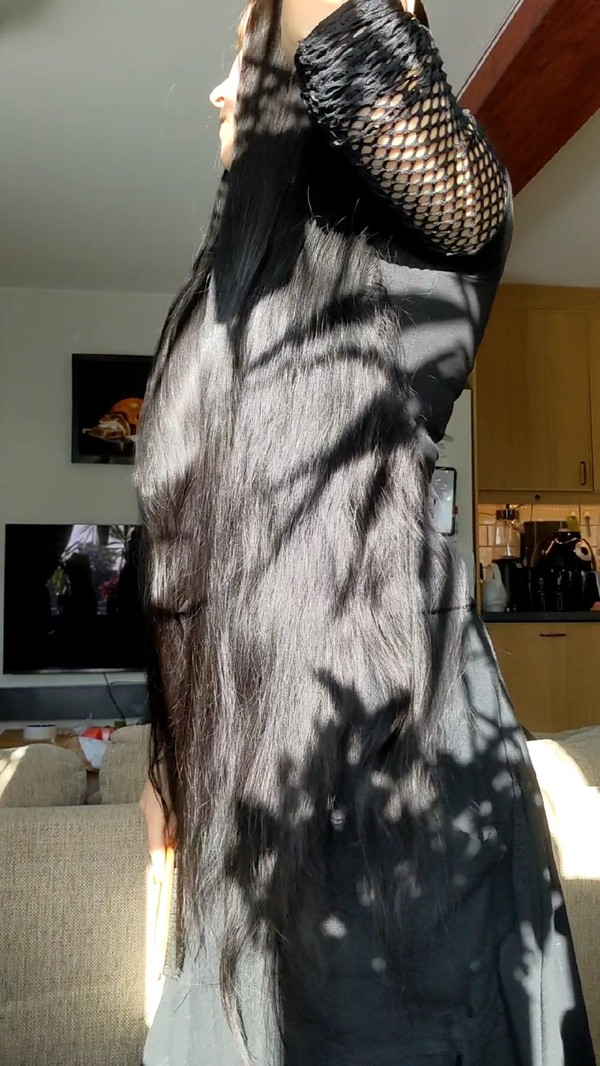
Historically inspired hairstyle and pet cuddles
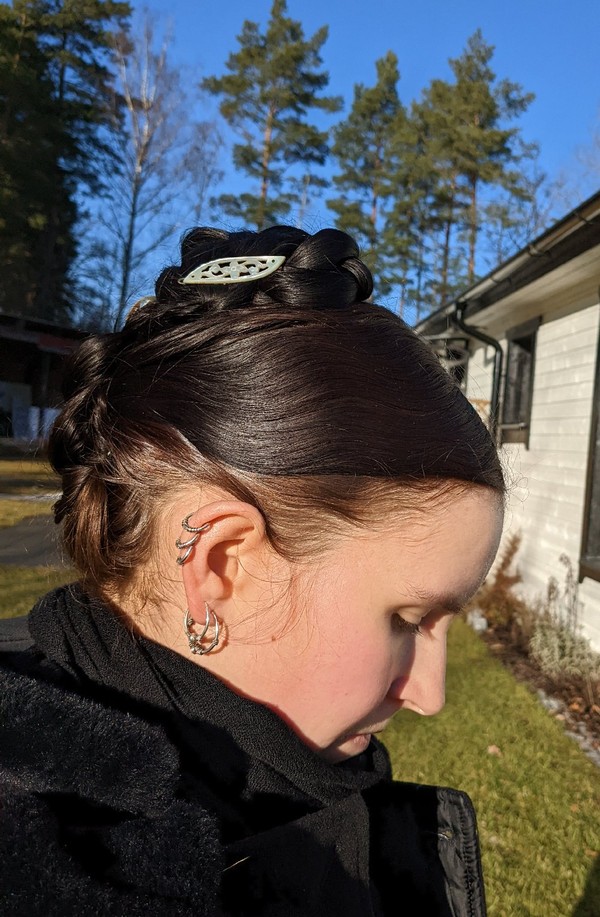


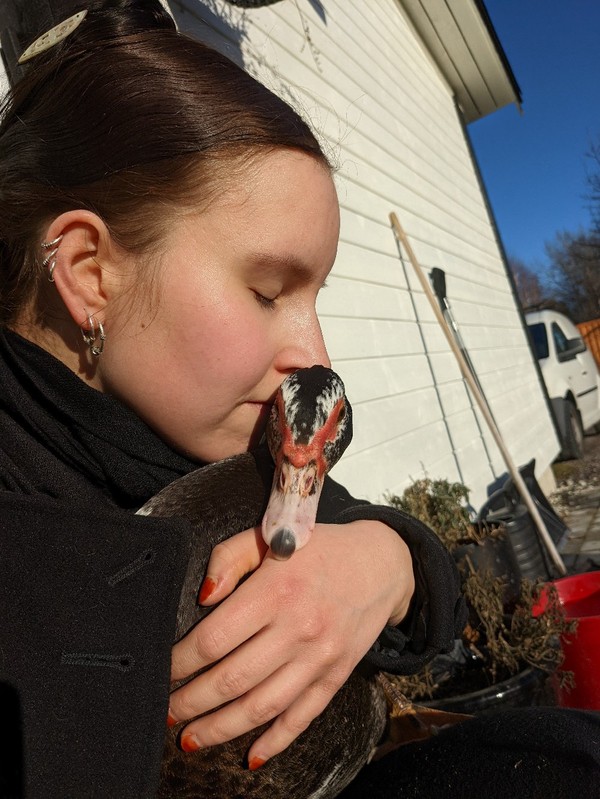
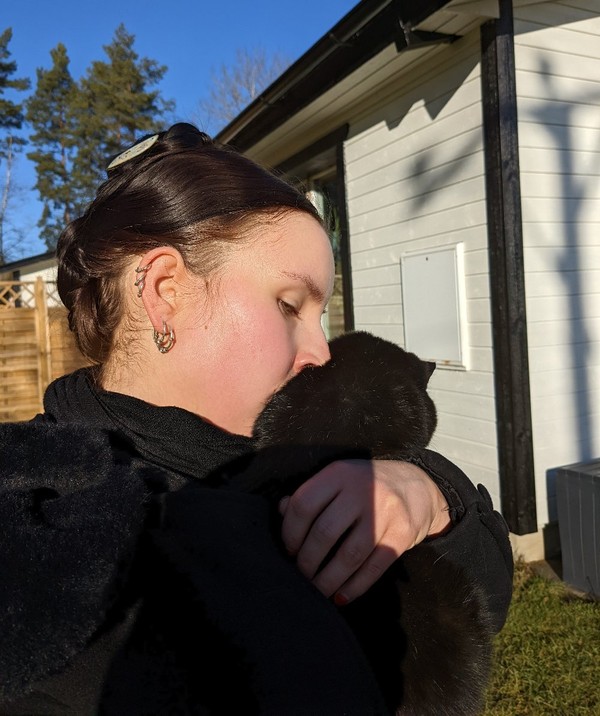


Trying something...
Trying to get into, how to create historically inspired hairstyles. But without using bobby pins. I refuse to use bobby pins! 🤪


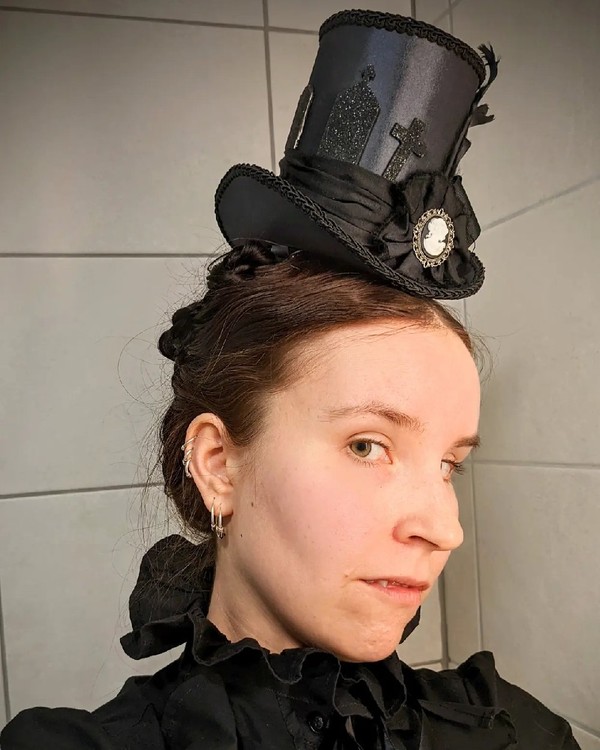
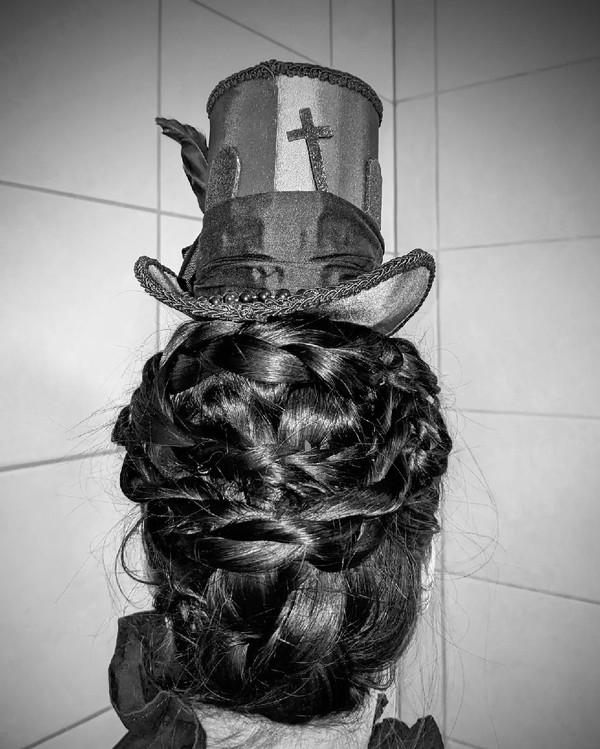
So as an attempt to discover/come up with some techniques (while watching a period drama), I made this with a comb and U-pins.
I'm starting to learn what I can do and will play more with this. This hairstyle was made by pulling back the front pieces and attach them with a comb. Fold up a braid and form a bun around and over the comb. Then I rope braided the lengths of the front pieces and formed two "roses" on each side with U-pins. And tucked the ends under the bun.
