New YouTube video! What has affected my hair growth?
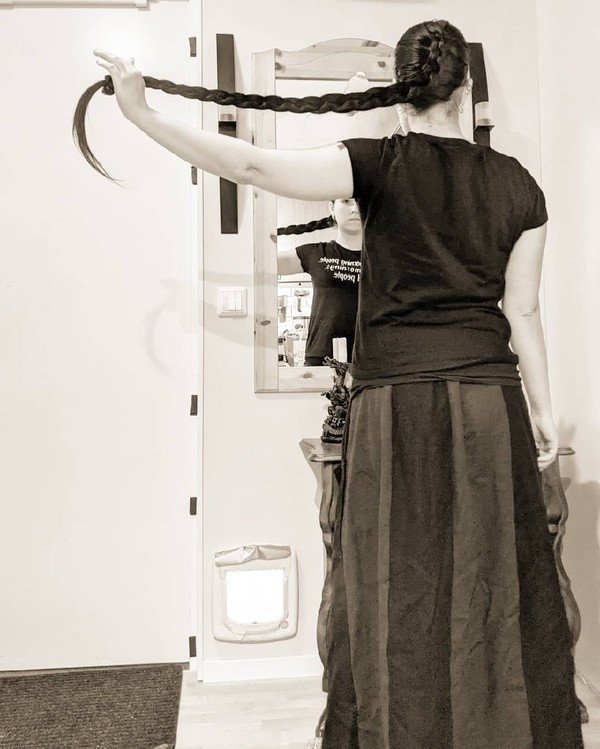
Today's hairstyle 22/01-21 Braided cinnabun

Today's hairstyle 21/01-21 Stacked buns


I also made a scrunchie!

I got this little piece of fabric (and a bigger piece) left. From korps.se

So obviously I needed a scrunchie!


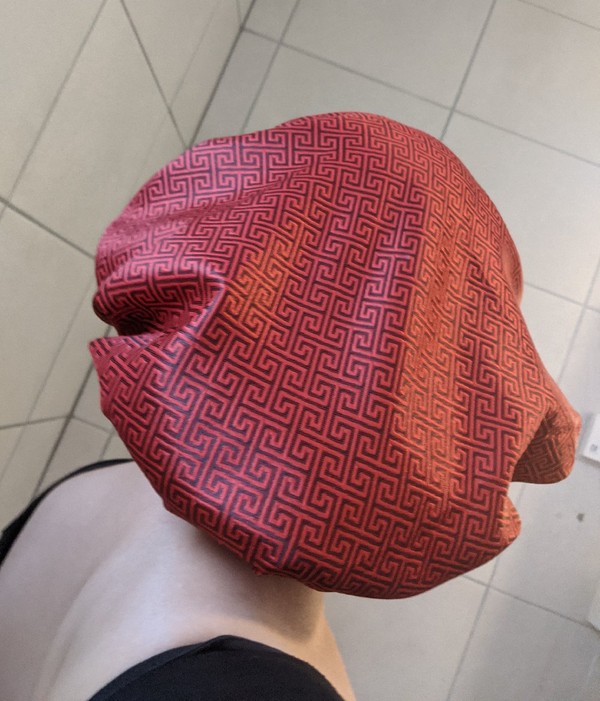
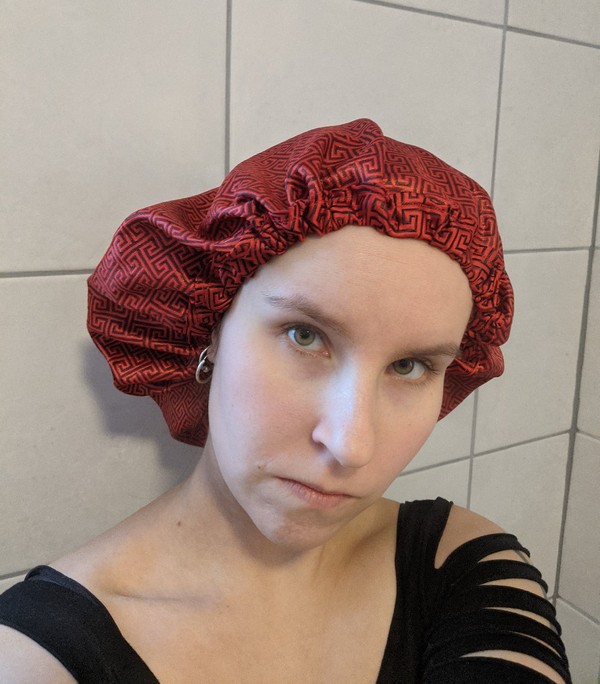
New sleeping cap/nightcap!

I made this from an amazing silk fabric from korps.se

The prettiest side, that you can see here, is actually the inside of my cap, since it's the smoothest.

DIY - make your own nightcap/sleeping cap
You will need:
- A fabric of your choosing. Preferably some sort of smooth satin, such as silk satin or rayon satin.
- Thread
- Elastic or a draw string
- Safety pin
- Sewing machine
- Pencil
- Pattern or a string and needle
How to do it:
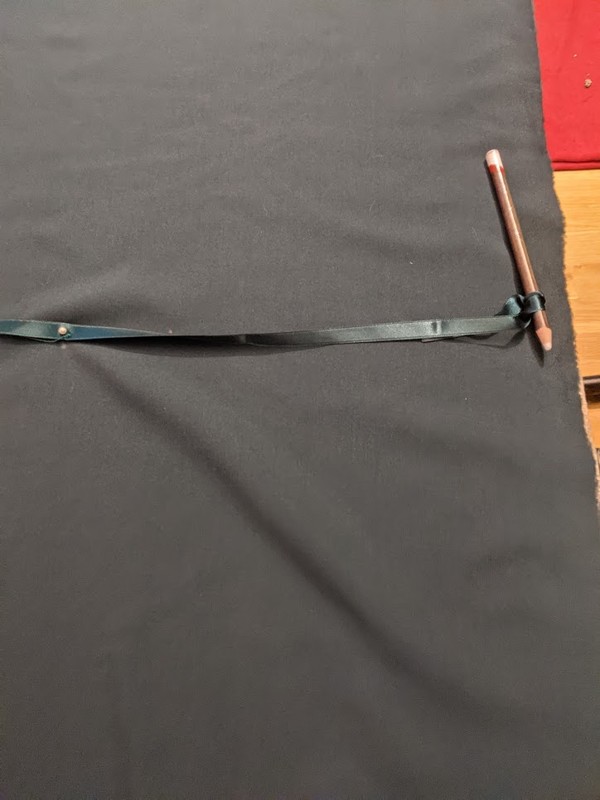
- Draw a circle.
- I put the fabric on a soft surface. I choose the couch, but a bed should be just fine. I took a ribbon and attached it with a needle in the middle.
- Then I measured 30 cm from the needle, to where I attached the pen with a knot.
- I held the needle down with one hand and used the other to draw the circle. (I actually got a bit of help from my boyfriend, to keep the fabric smooth, but you can do it by yourself.)

- Your circle doesn't have to be perfect.
- Zigzag all the way around the fabric.

- Fold the edge and sew running stiches all the way around.
- If like me, you have a fabric with a smoother side. You want the smooth side to be the inside of your cap, to protect your hair.
- To make it more comfortable, I put the "pocket" for the elastic on the outside of the cap.

- Fold the fabric again to make a "pocket" for the elastic and sew another running seam. I folded the fabric every few centimeters, to make wrinkles as I went, because it's a circle and you will end up with a longer piece of fabric on the edge. You can of course pin it before you sew it, but I prefer to just do things as I go. (Lazy Tatsu.)
- While you can place this "pocket" on the inside, I highly doubt that it will be comfortable. So once again I placed it on the outside.
- Leave a 2-4 cm opening.

- Attach your elastic or draw string to a safety pin and pull it through your pocket. You can measure the length before or after.

- Sew the ends of the elastic together.
- If you're unsure that the elastic is a good length for you. Leave the opening. If not, sew it close.

- If you want to decorate your cap, you can attach a bow to it.

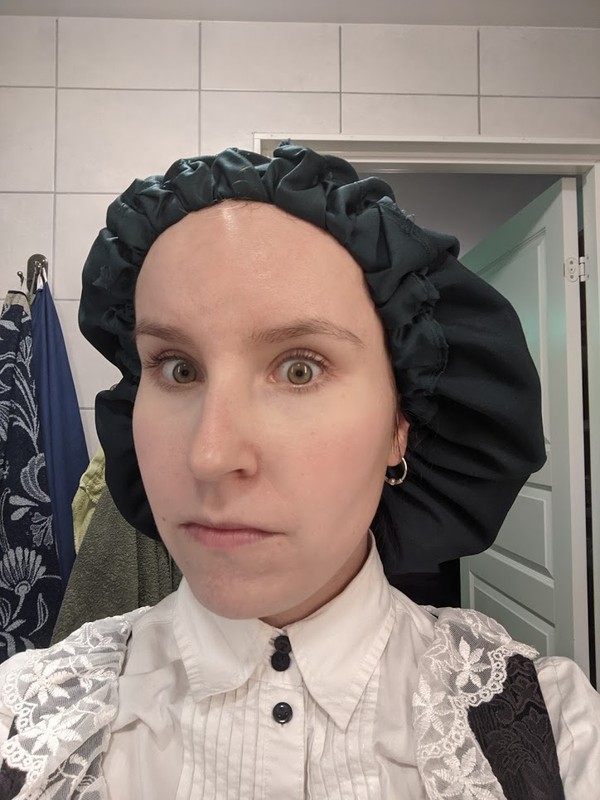
And I am about to make more! I want thinner silk ones for the summer and another one in black rayon satin to match our other pillowcases.
Today's hairstyle 15/01-21 Disk bun


Today's hairstyle 10/01-21 Dutch braid


Winter


Today's hairstyle 08/01-21 Rope braided cinnabun

I made another skirt
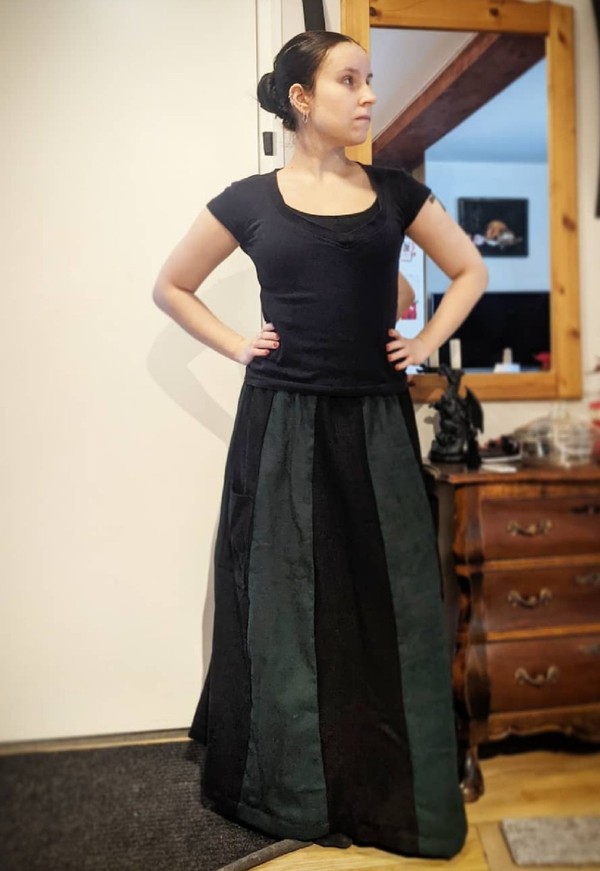
I'm actually proud, that it only took me 5,5 hours to make it!

Years ago I made one in velvet from my own pattern. And I've wanted to make another one, in the same colours, but from linen fabric. Finally found nice fabrics this summer and now it's done!


Pockets!
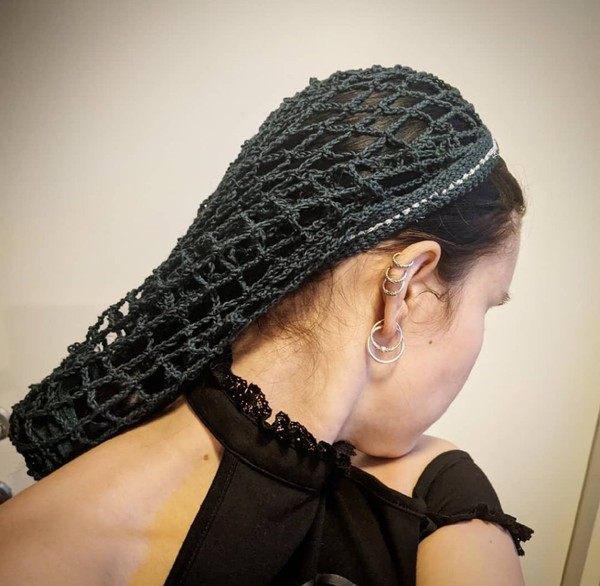
I made another snood

Today's hairstyle 02/01-21 Twisted lazy wrap bun

