DIY. Make your own hair band!

You need:
- And old tank top, T-shirt or some other elastic fabric.
- Needle and thread.
- A sewing machine.
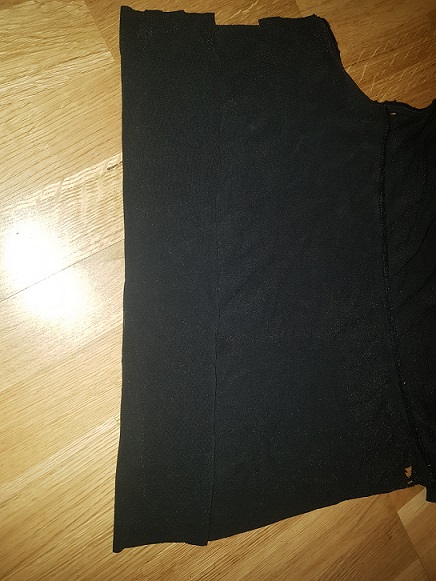
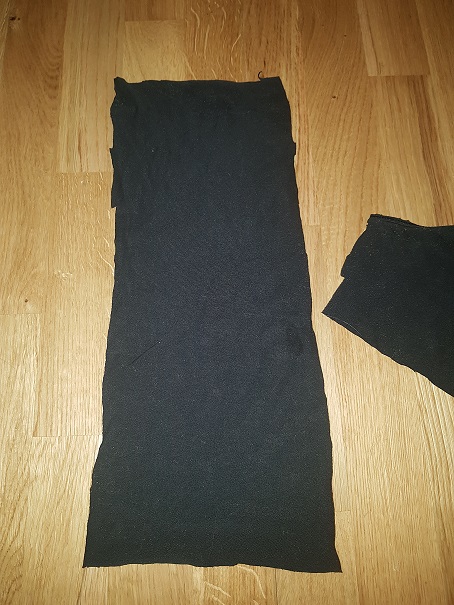
- Fold the fabric double and cut it 1-2 cm wider than you want the hair band to be.
- It should be a bit shorter than the circumference of you head. The streatchier material, the shorter you want it.
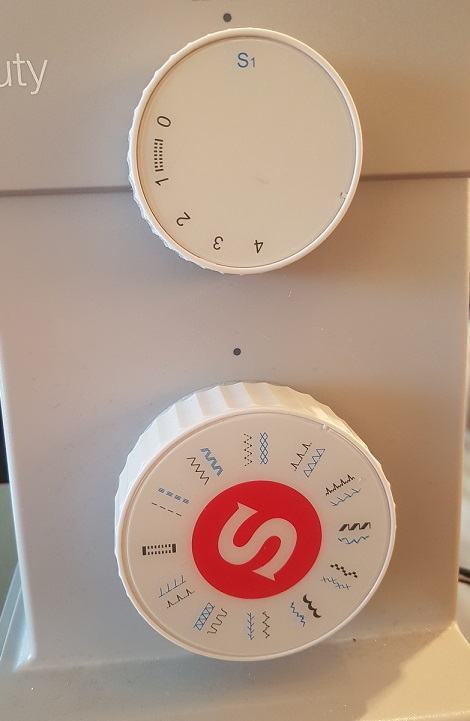
- Chose an elastic seam.

- Sew the longer sides together. No need to zig zag. The "inside" should be "outside" now.
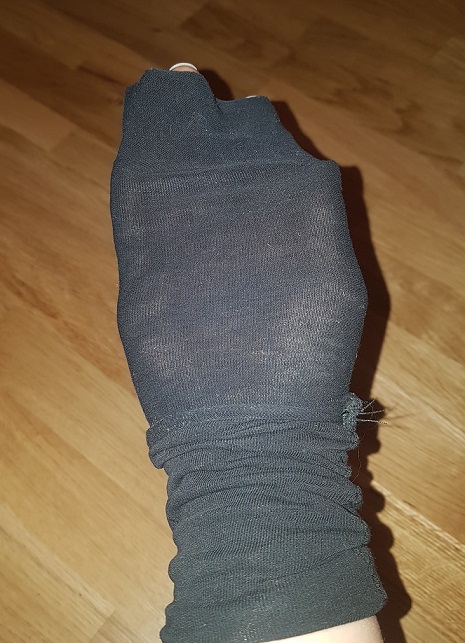
- Turn it inside out.
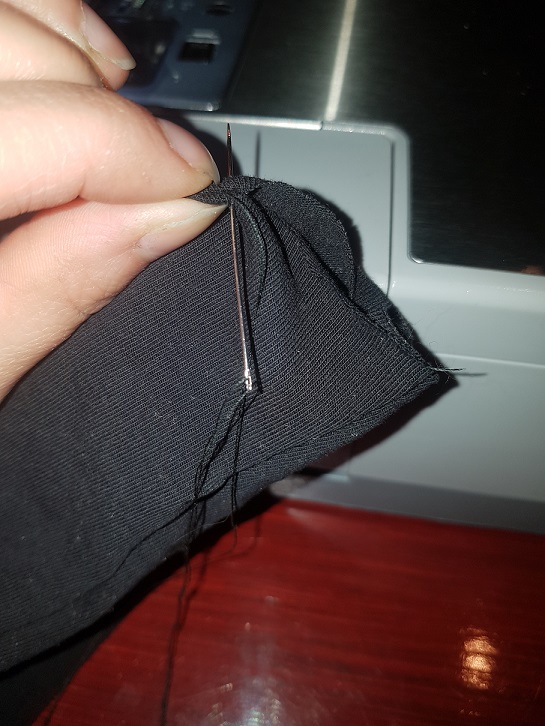
- Sew the shorter sides together with a so called invisible seam.


And now you have a hair band!
If you want, you can of course decorate it.
Get to know me!
While some of you might have been reading here for years, a lot of you are new to my blog. First I want to say welcome! But I also thought that I should write a little about myself.
Age: 28 (born in May 1991).
Living: On the country with my boyfriend and our three cats. We live in Sweden.
Family (other than my boyfriend and the cats): My parents, three brothers and one sister.
Occupation: Cleaning for my own firm. No employes.Health issues: Bad joints, constant pain, often low on energy and Raynauds.

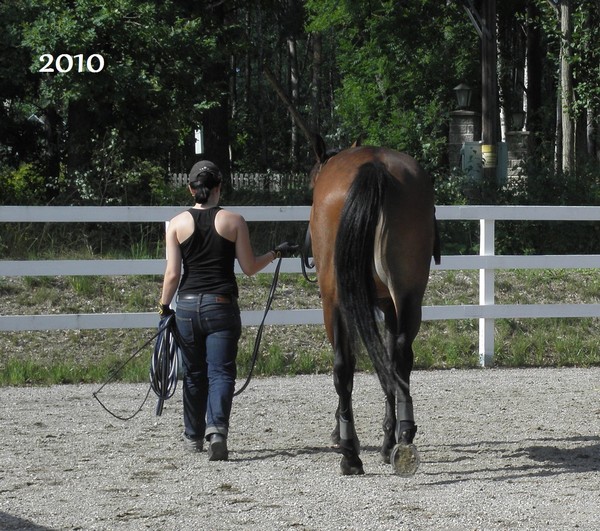
Top one is the son and the lower is the mother. They're rom the local cat shelter. Adopted by my father as stable cats, back when we still had horses and are now ours. Ages 8 and 10?

Around 17 years old and a former stable cat.
Hobbies: Hair, nature, gardening, reading, sewing, history, crafting, tea and some more.

A few of my flowers.

My father and I are neighbours, so we share a greenhouse.

I did this earlier this year.


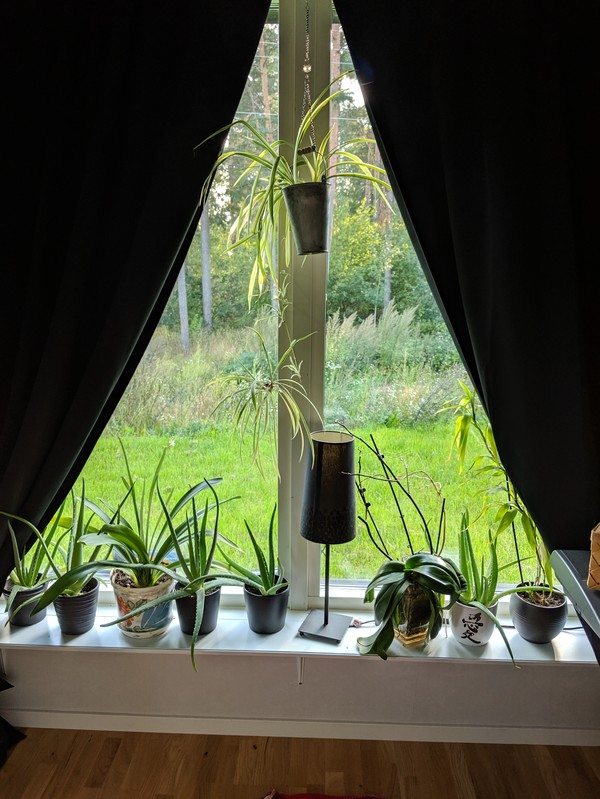
People who visits often tells me that I have a lot of plants...
The aloe veras are for making aloe vera gel for my hair.
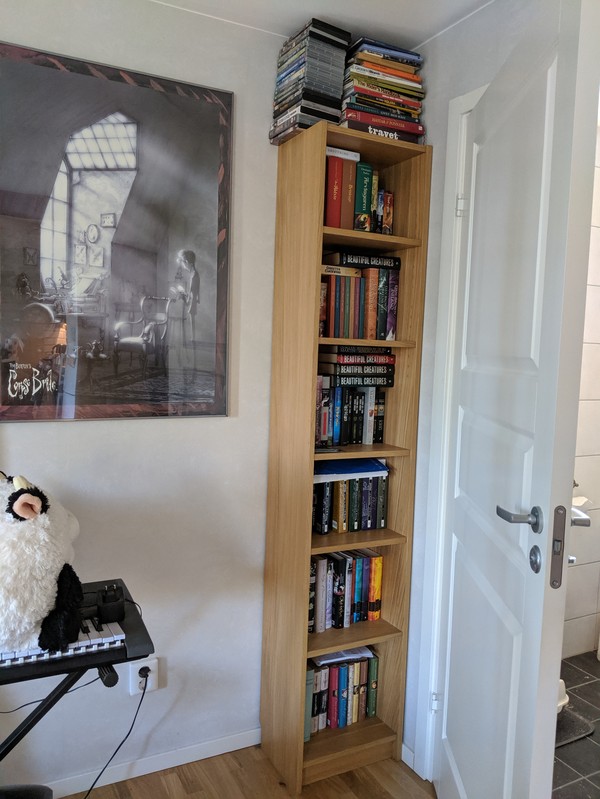
I do like to read.
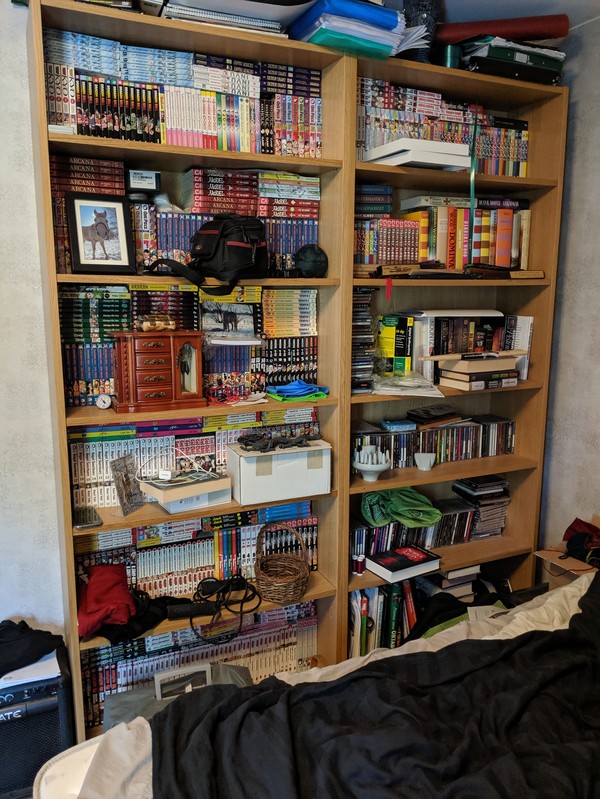
We have quite a small apartment, so never mind the mess...
And yes, I do like manga.

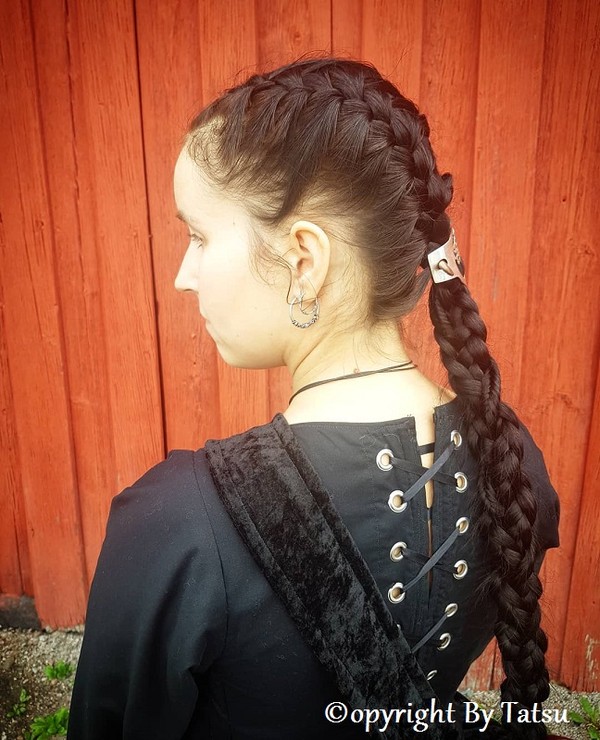
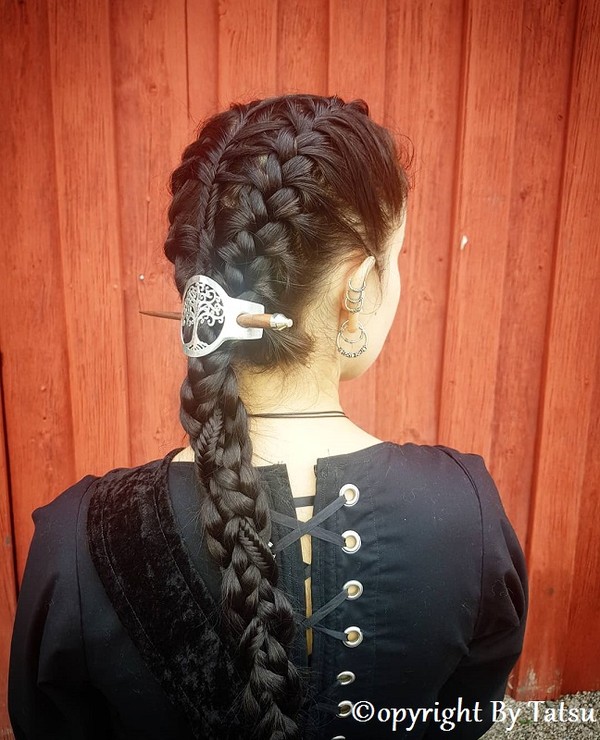
Hair is a big interest of mine. I especially like natural hair care, no poo, historical hair care and hairstyles. But everything about hair interests me, that's why I read up on everything from the sciense stuff to hair dying.

I like to do different hair styles, and a lot of my own hair care products. I grow and pic a lot of ingredients outside.
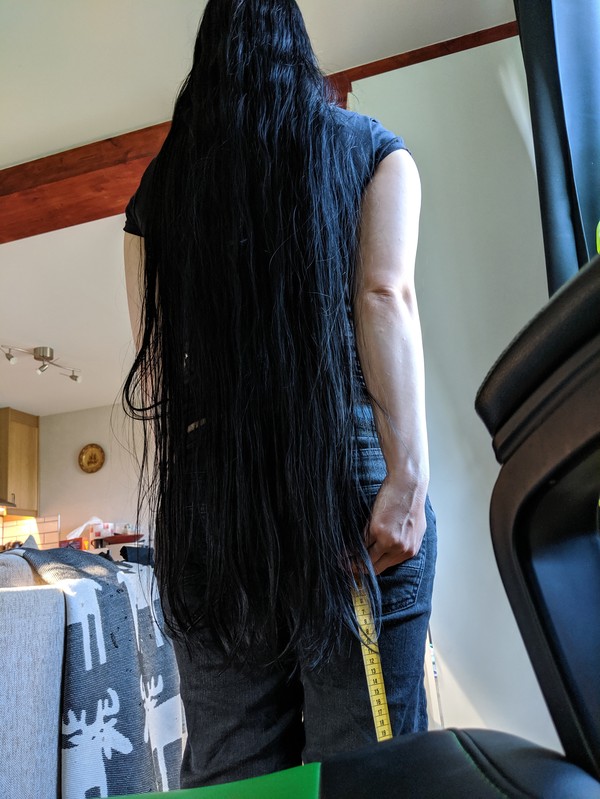
I am growing my hair to terminal and next stop will be mid thigh.
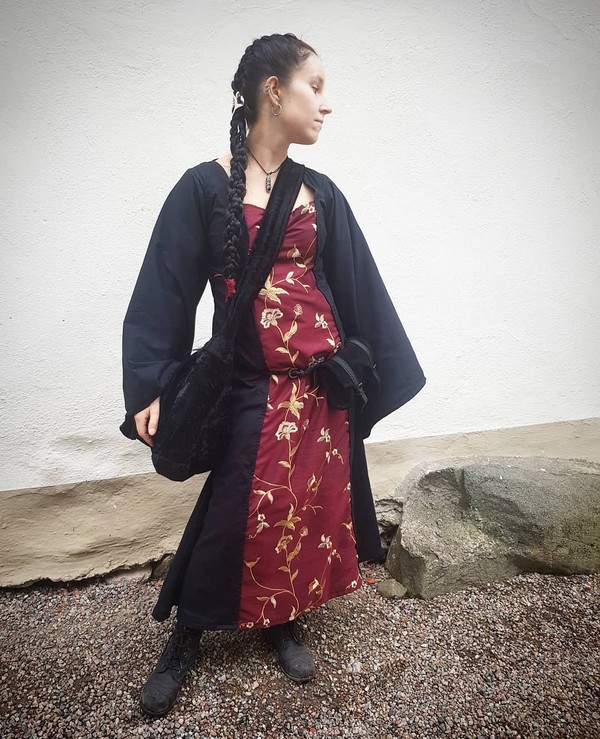
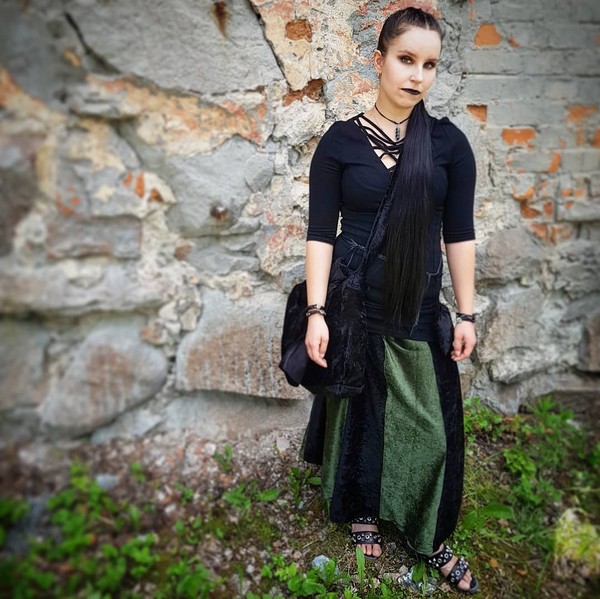
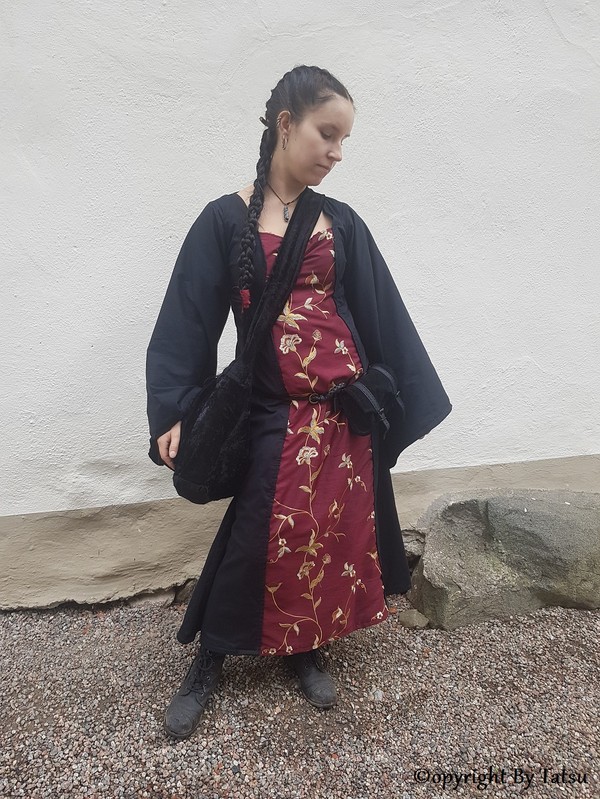
As I mentioned, I like to sew. I made this dress in 2017.
Changing some things
It's been more than ten years since a friend told me that I needed a blog and started this one for me.

The content has changed a lot since then. From less serious posts in Swedish to more informative and inspiring posts, mostly but not only about hair in English.
So it's time to change things up a bit!

First I've added two new cathegories. "Hair care" and "hairstyles". The "Hair" cathegory is still there and all things hair can be found there. But new posts will also be posted under the new cathegories and I will put some older posts there too, to make it easier for you as a reader to find what you're interested in.
I haven't deleted my old posts or any of the cathegories that I'm no longer using and I won't do so.
Somewhere in the future I might also redo the blog design and header since it was a long time since I last did it. This time I will also consider the phone version, since more than half of the readers are now using their phones.
Please tell me if you miss anything on my blog or if have any suggestions!
How to dye your hair black with henna and indigo
If you want you to, you can just skip to the instructions below...
One of the most frequently asked questions I get, is how do I dye my hair black with henna and indigo and how long it took before I got it black. So I figured that it was time for some newer posts about this.
I will divide it into two. This is the first part and I'll share how to dye your hair from the start and how to do your roots and hair later on.
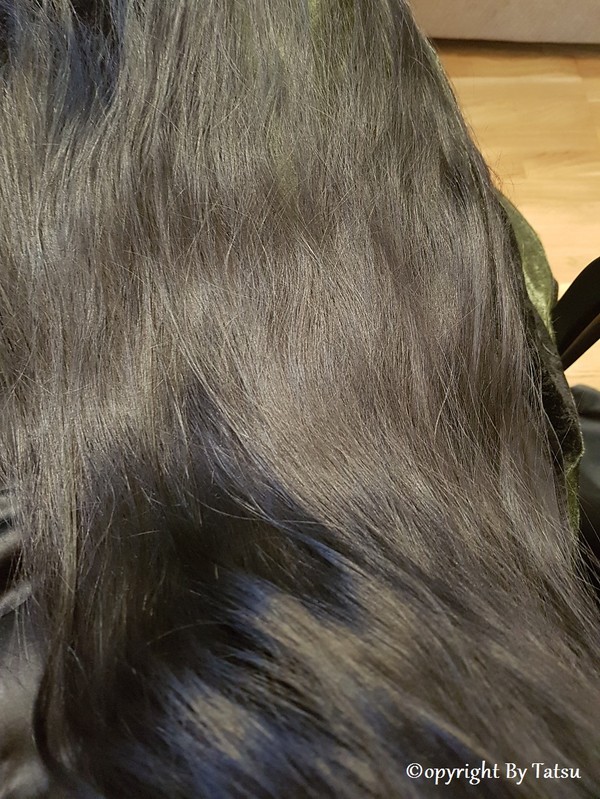
In the next part I'll share my personal journey (with pictures,) to black hair with henna and indigo.

Warning!
Think it thorugh!
Are you sure that you want black hair for years to come? Because you can't bleach it. Your hair will turn green if you do!
It's messy and takes time. Are you in for a quick and really easy way to dye your hair, this isn't for you.
Instructions

You need
- Gloves
- Clothes your aren't afraid to stain
- Plastic or a shower cap
- A towel, hat, an old T-shirt, or something similar
- Preferably a claw clip
- Time
For the henna and indigo:
- A plastic container that you aren't afraid to stain
- A lid/plastic to cover it with
- Something to mix it with. I use a plastic fork
- Coconut milk
- Honey
- Oils
- Conditioner

Mix the henna
There are several ways to do it. You can just mix it and use it. You can use warm water or cold. You can add honey, oil or coconut oil and other things. Here's how I prefer to do it:
- If I use oils and honey I add them from the start. If I use coconut milk I do the same and change about half of the water for coconut milk.
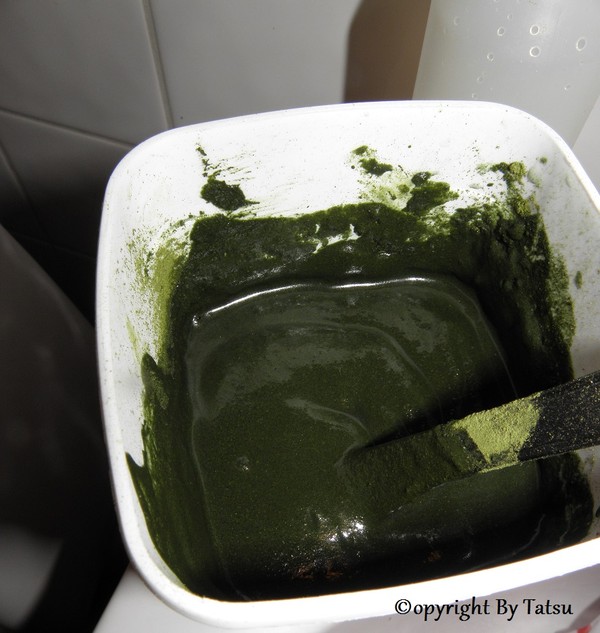
- I mix a little bit of henna powder with a bit of warm water/coconut milk at a time. I add more and continue to do this until I have the amount that I want.
- When I have the amount that I want, I dilute it until it has the consistensy of thick yogurt. The thinner you make it the easier to apply, but more dripping and the other way around.
- I let it sit over night under a lid.
Before dying
- Remove everything you can from your bathroom.
- If you have plastic floor, cover it to avoid stains.
- If you have a washing machine, drawers or something else, cover them too.
Appication and rinsing
- Wear gloves
- You can chose to apply the henna on damp or dry hair. Since I only do roots with henna now, I prefer dry hair.
- If I do a full head application, I find it easier to just use my hands. If I only touch up my roots, I prefer an application bottle.
- Start at the back of your head. Put the rest of the hair up. Apply the henna to your roots or all of the strand. Carefully massage it in, without tangling the hair. Henna is quite easy to spread evenly.
- Take another strand and continue throught all your hair/roots. Work from tha back up and forward.
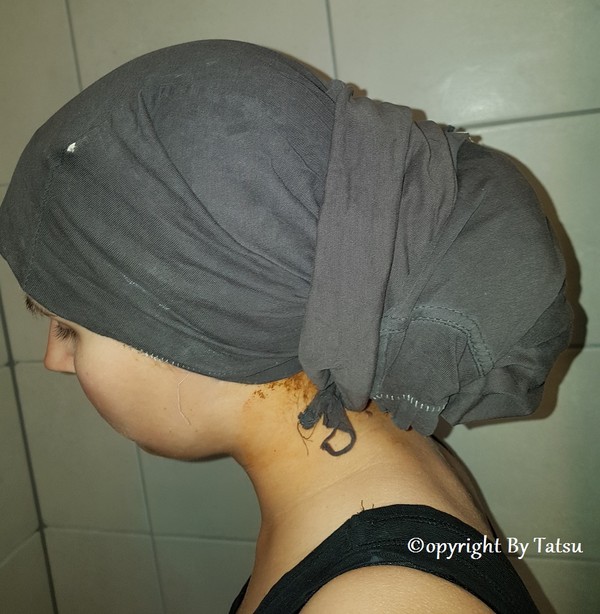
- Cover your hair with a plastic bag, plastic foil or a shower cap.
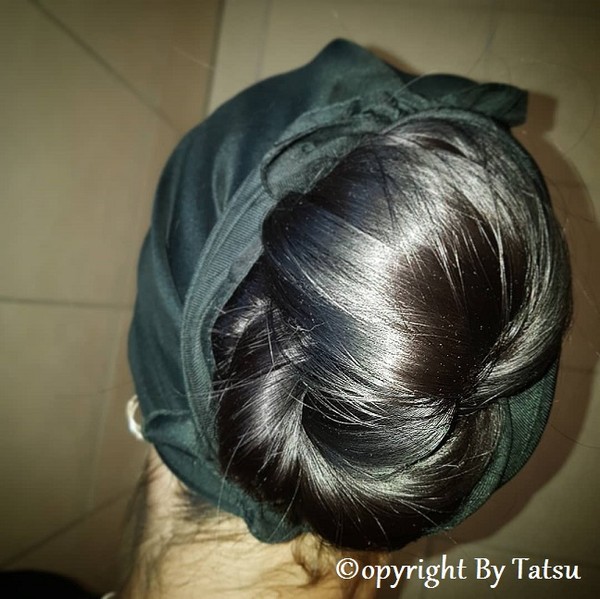
- Put on a towel, an old T-shirt or something else to keep it warm. It helps the dye. You can also sauna.
- Leave on for at least 3 hour. I leave it for 3-5, but you can do it over night if you want to.
- Rinse with water. If you only do roots, your can put your length in a plastic bag and seal it with elastics. And only rinse your scalp.
- Towel dry
Mixing the indigo
You want to ues the indigo at once, so that it won't loose it's effect.
- Use warm, but not hot water.
- Mix a little bit of indigo with a little bit of water/coconut milk and then some more. Not all at once or you will get lumps. You can add a bit of oil or coconut milk, but less than with the henna, since the indigo is more sencitive.
- Continue until you have the amount that you want to. You will need more indigo than you needed henna.
- Dilute until you have the right consistensy. Thin to thick yougurt. Thinner makes it easier to apply and to get an even result, but it will drip more.

Application
- Do the same thing that you did with the henna, but take smaller strands, since it's a bit harder to apply evenly.
- Cover the same way as you did with the henna
- Leave for 1-2 hours. This is when I heat up and step into the sauna.
- Rinse with water
- Wash your hair as usual
S - Spock bun
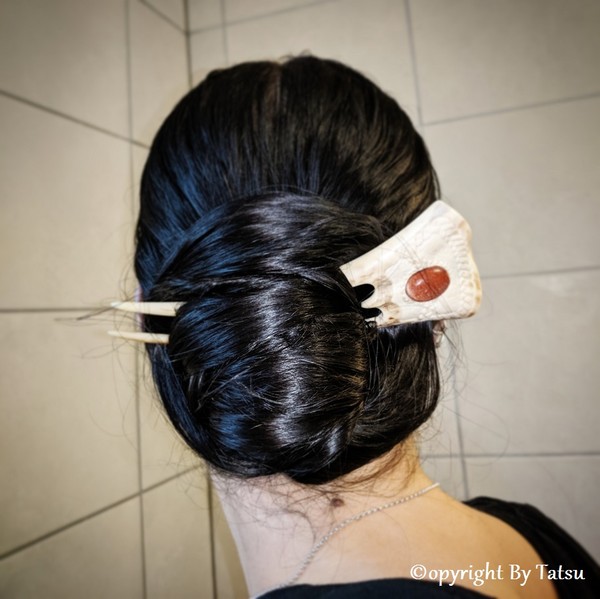
First time I tried this hairstyle. It was easy to do and quite steady!
R - Rose bun
If your new to my blog, I'm in a challenge to do hairstyles from A-Z. https://tatsu.blogg.se/2018/june/a-amish-bun.html#comment

One more medieval fair
I was at another fair with a friend today! It was fun even though it rained most of the time!


Q - quick bun
Time to finish this challenge!
For Q, I threw this together quickly this morning. I like how huge it looks!
