Hairtoy fixing

I have several hairslides, with sticks that belong to them. But most are poorly made, so I've been using maybe two of them that aren't as bad, to all slides. Today I finally sanded them to make them smooth and give them nice edges.

No hair snagging now!

Homemade wax.

Now I'll leave them over night and see if they need more wax, or if I have to wipe away excess wax.
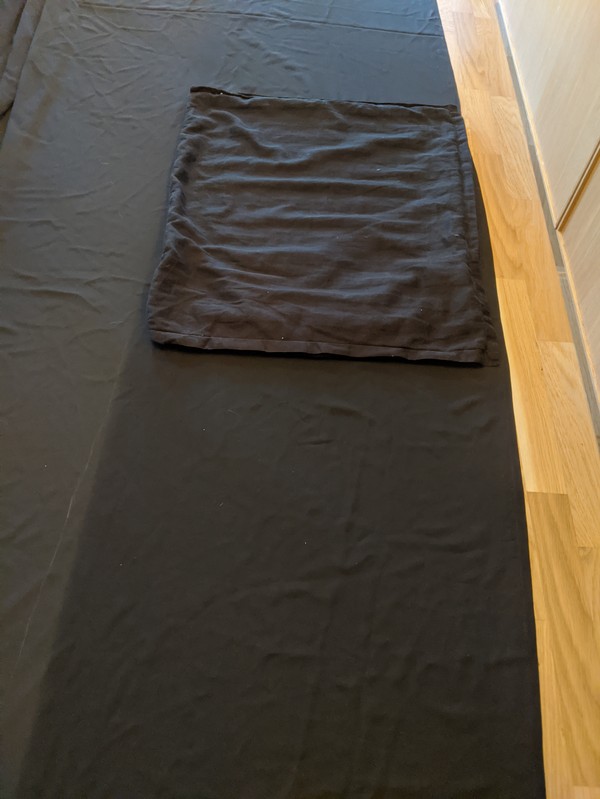
Fixing up the hammock
In a world where we're supposed to think about the environment. There still aren't sold spare parts, for a lot of things. Hammocks/swings or what they're called in Sweden is one of those things.
But I refuse to buy a new one, just because the roof was damaged.

So my father replaced the part of the frame, that was broken.

My brother 3D printed a new screw.

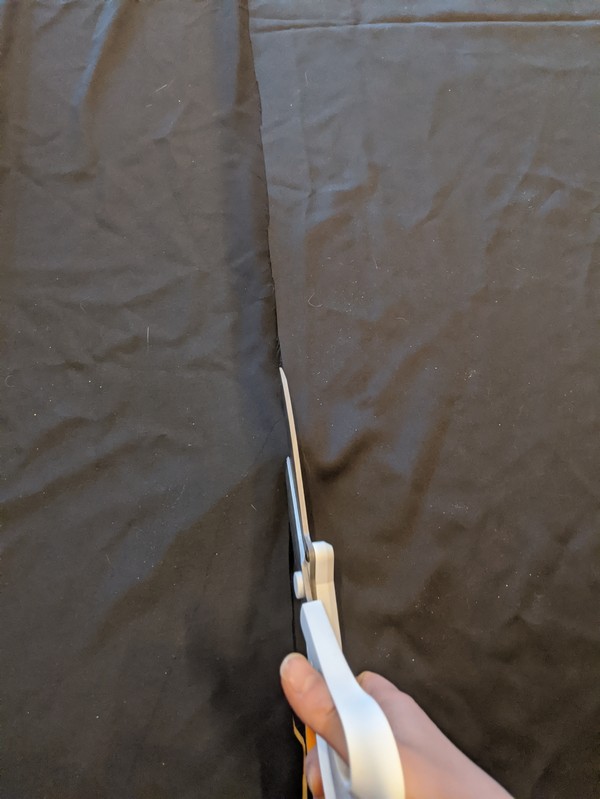
Using the old fabric, that had lost it's color and had huge holes, I cut out a new roof. Made from thicker and rainproof cotton canvas.

The old fabric, was once black...

Of course I had cat help.


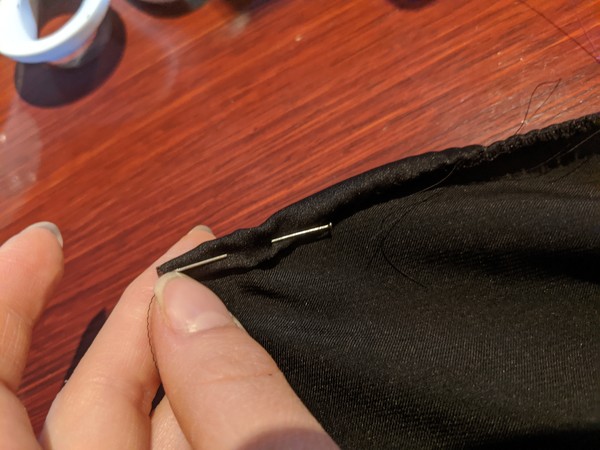
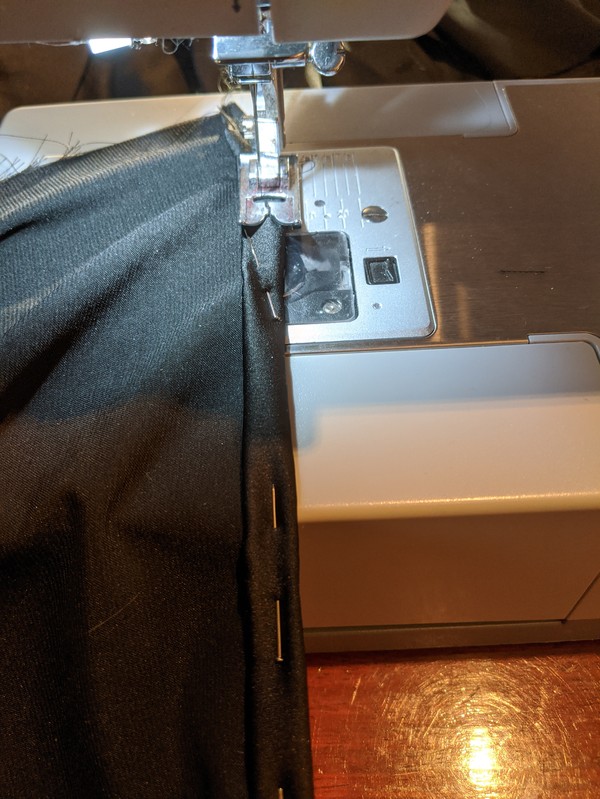
Then I just had to add some velcro straps to the shorter sides.

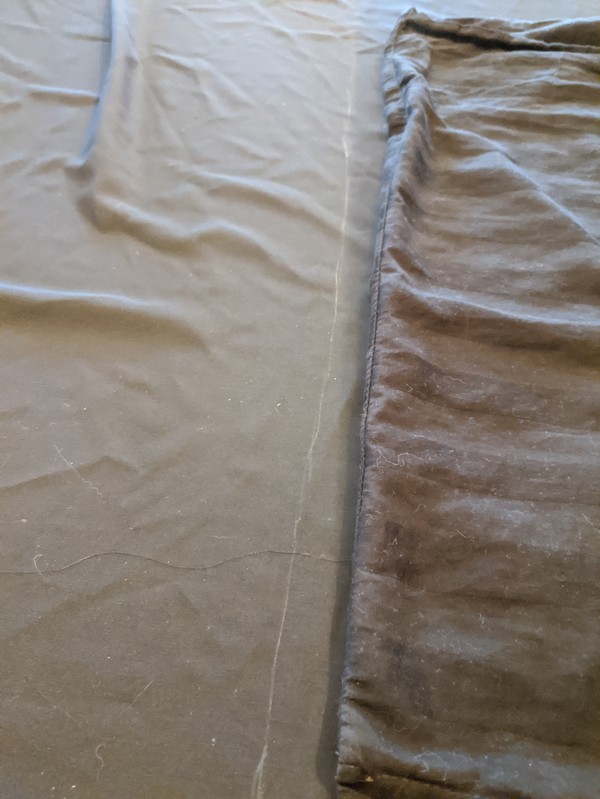
I rain proofed the seems.

And done!
I'll put out the cushions too as soon as the seat is dry. Then some happy cats can take naps there and if the cat's allows it, we can also sit there.
Oh and my father had me ordering fabric as soon as he heard, I was sewing a new roof. He wants one for his hammock too. So I now have his roof frame in my hallway.
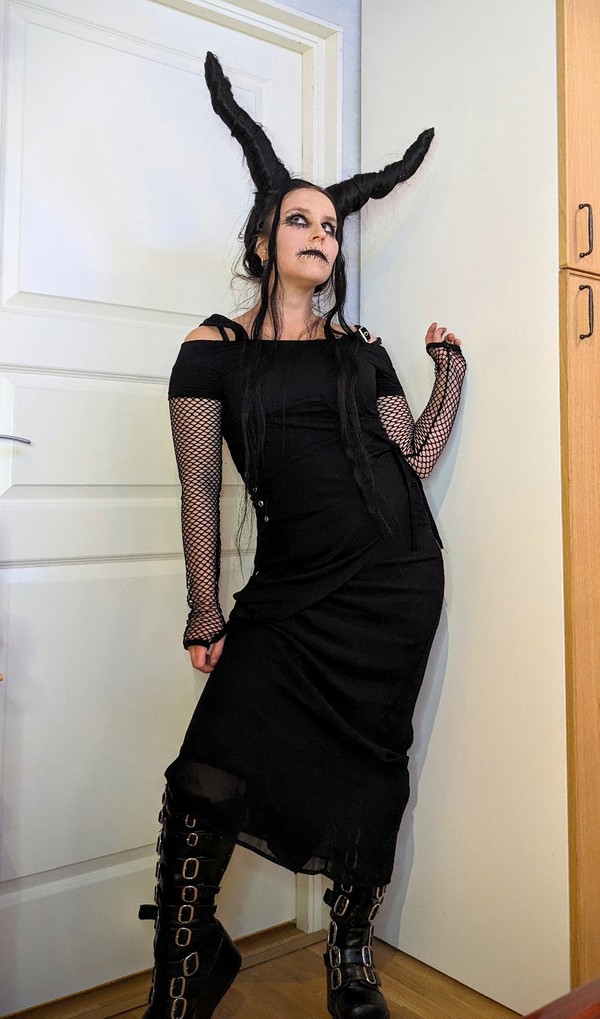
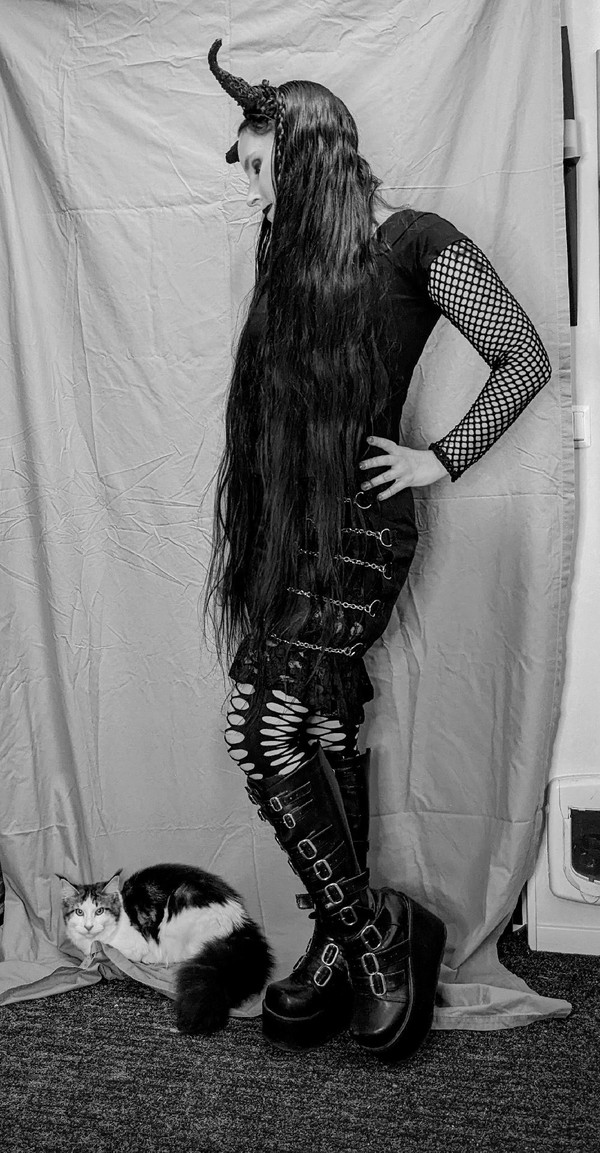
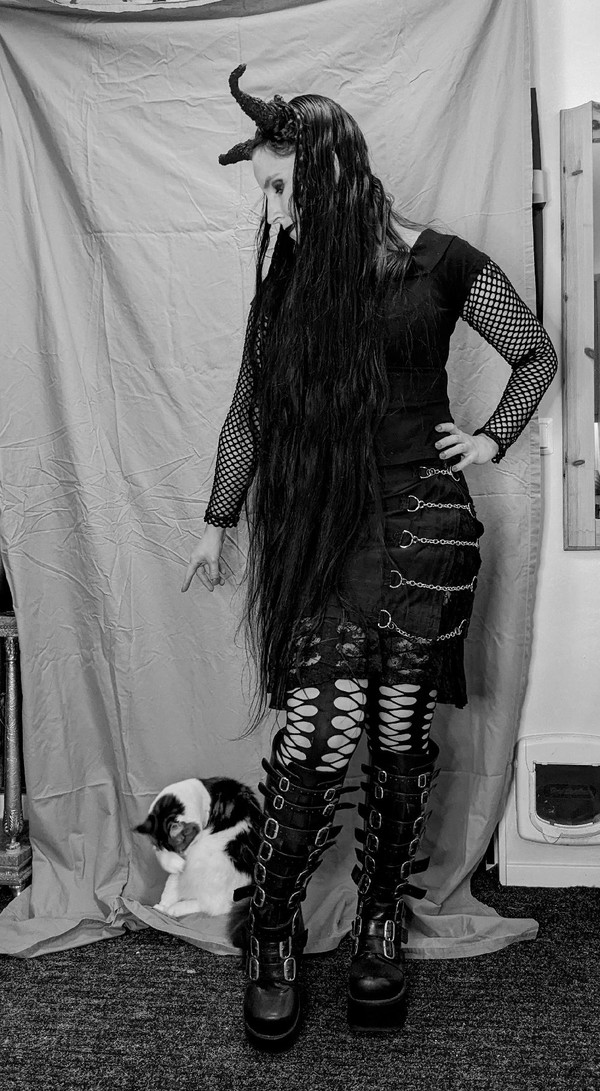
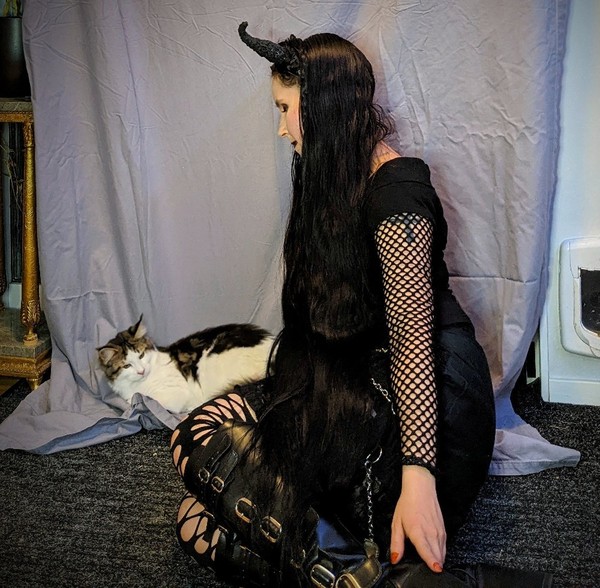
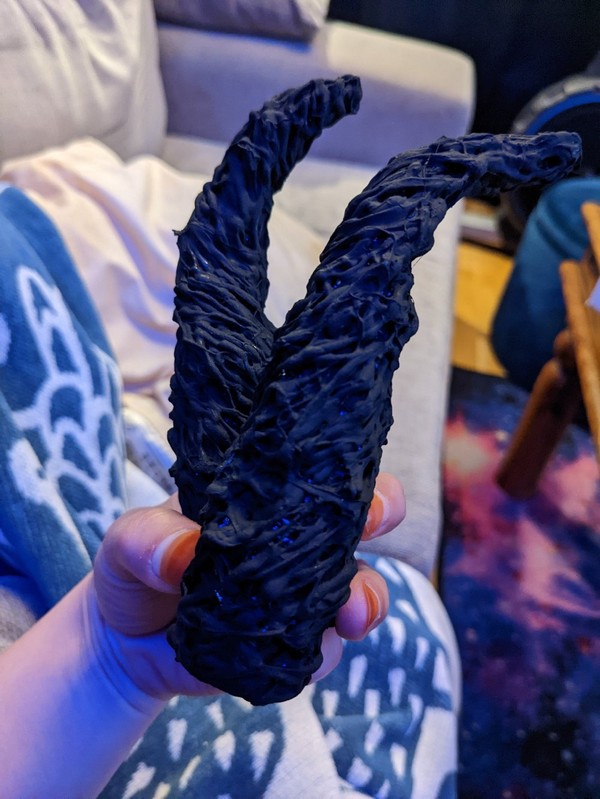
Halloween is getting close and demons are running loose

I made a new pair of horns.


And hair horns.


Hair horns

This is why I made myself horns. I wanted to do hair horns!


Halloween is getting closer and I made myself horns


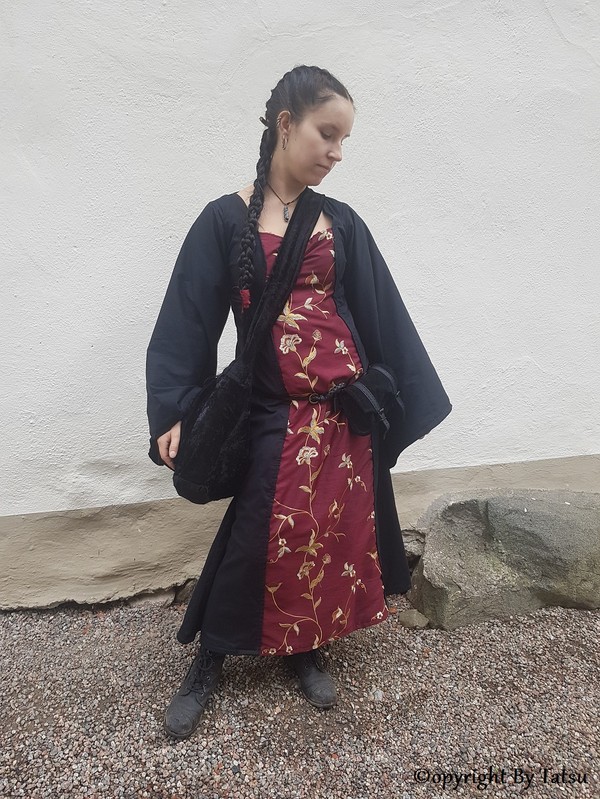
Medieval fair my dress

I made this dress in 2017. This is what it looked like before I updated it this last week...

This is what it looks like now! I've altered the sleeves, added a ribbon and front lacing. It's as if those things finally made the dress into what it's supposed to look like!


I also made a scrunchie!

I got this little piece of fabric (and a bigger piece) left. From korps.se

So obviously I needed a scrunchie!


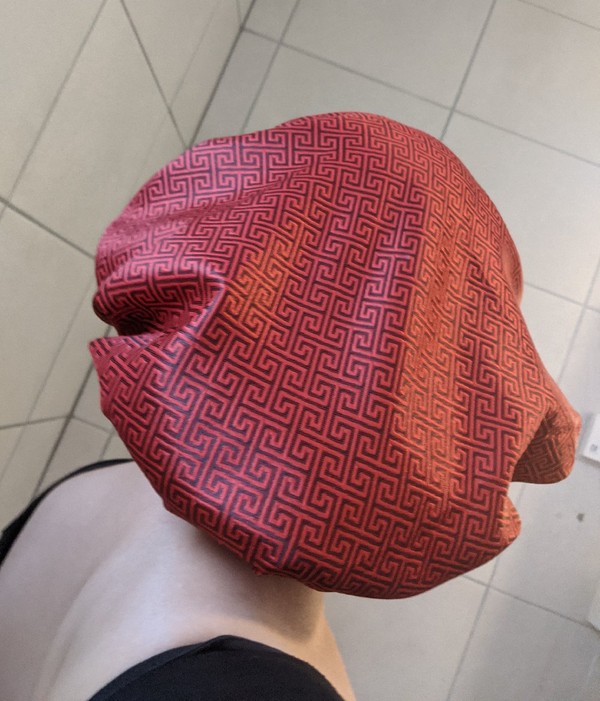
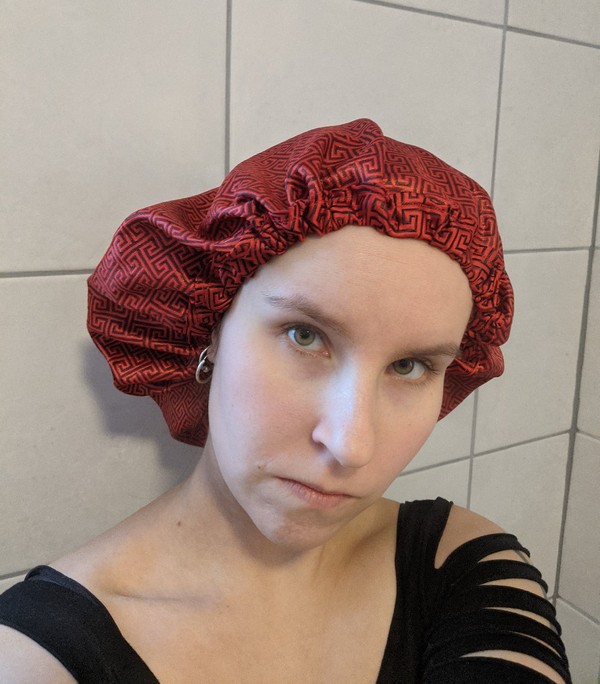
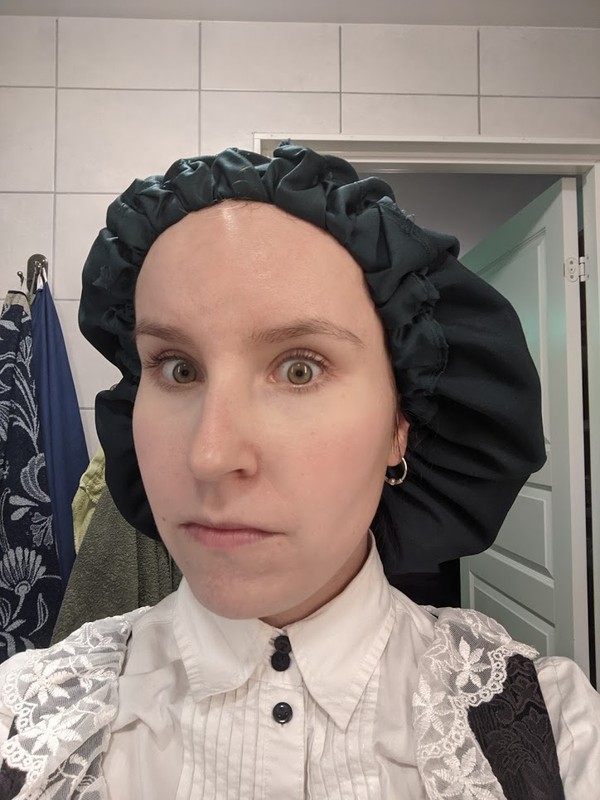
New sleeping cap/nightcap!

I made this from an amazing silk fabric from korps.se

The prettiest side, that you can see here, is actually the inside of my cap, since it's the smoothest.

DIY - make your own nightcap/sleeping cap
You will need:
- A fabric of your choosing. Preferably some sort of smooth satin, such as silk satin or rayon satin.
- Thread
- Elastic or a draw string
- Safety pin
- Sewing machine
- Pencil
- Pattern or a string and needle
How to do it:
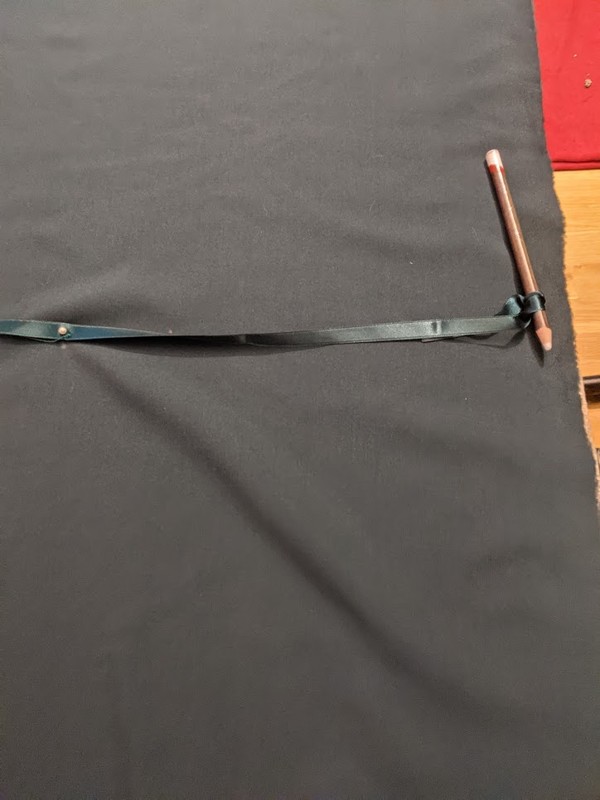
- Draw a circle.
- I put the fabric on a soft surface. I choose the couch, but a bed should be just fine. I took a ribbon and attached it with a needle in the middle.
- Then I measured 30 cm from the needle, to where I attached the pen with a knot.
- I held the needle down with one hand and used the other to draw the circle. (I actually got a bit of help from my boyfriend, to keep the fabric smooth, but you can do it by yourself.)

- Your circle doesn't have to be perfect.
- Zigzag all the way around the fabric.

- Fold the edge and sew running stiches all the way around.
- If like me, you have a fabric with a smoother side. You want the smooth side to be the inside of your cap, to protect your hair.
- To make it more comfortable, I put the "pocket" for the elastic on the outside of the cap.

- Fold the fabric again to make a "pocket" for the elastic and sew another running seam. I folded the fabric every few centimeters, to make wrinkles as I went, because it's a circle and you will end up with a longer piece of fabric on the edge. You can of course pin it before you sew it, but I prefer to just do things as I go. (Lazy Tatsu.)
- While you can place this "pocket" on the inside, I highly doubt that it will be comfortable. So once again I placed it on the outside.
- Leave a 2-4 cm opening.

- Attach your elastic or draw string to a safety pin and pull it through your pocket. You can measure the length before or after.

- Sew the ends of the elastic together.
- If you're unsure that the elastic is a good length for you. Leave the opening. If not, sew it close.

- If you want to decorate your cap, you can attach a bow to it.

And I am about to make more! I want thinner silk ones for the summer and another one in black rayon satin to match our other pillowcases.
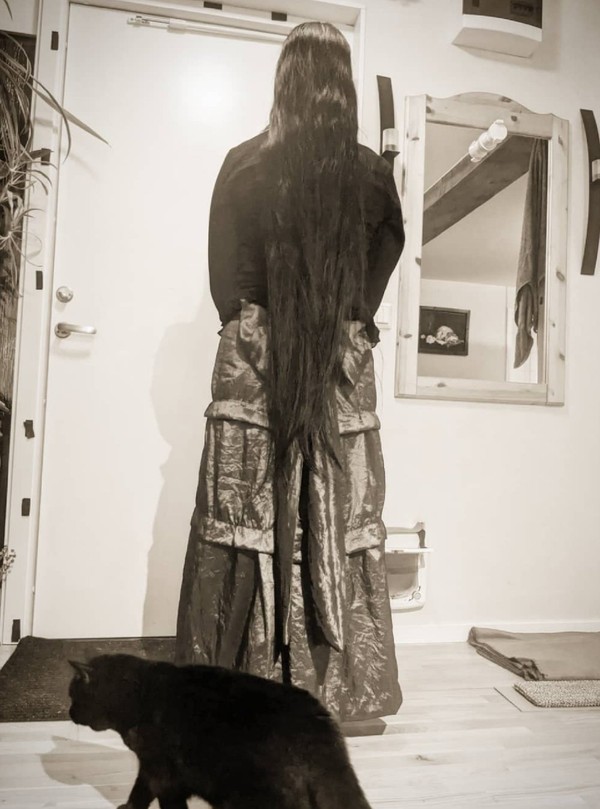
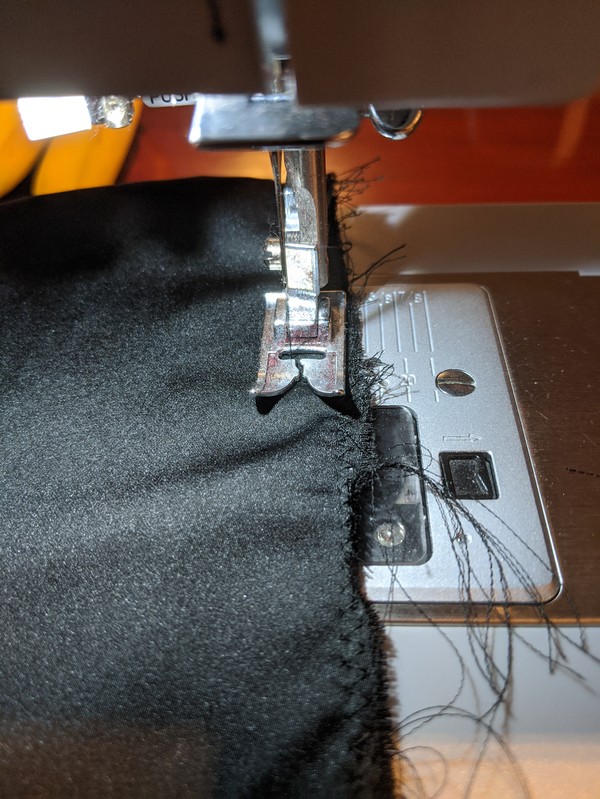
I made another skirt
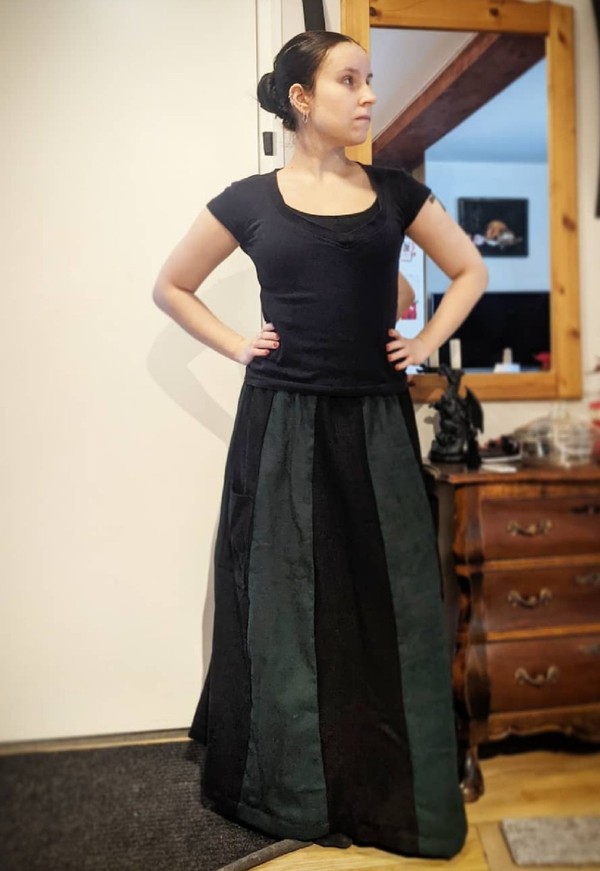
I'm actually proud, that it only took me 5,5 hours to make it!

Years ago I made one in velvet from my own pattern. And I've wanted to make another one, in the same colours, but from linen fabric. Finally found nice fabrics this summer and now it's done!


Pockets!
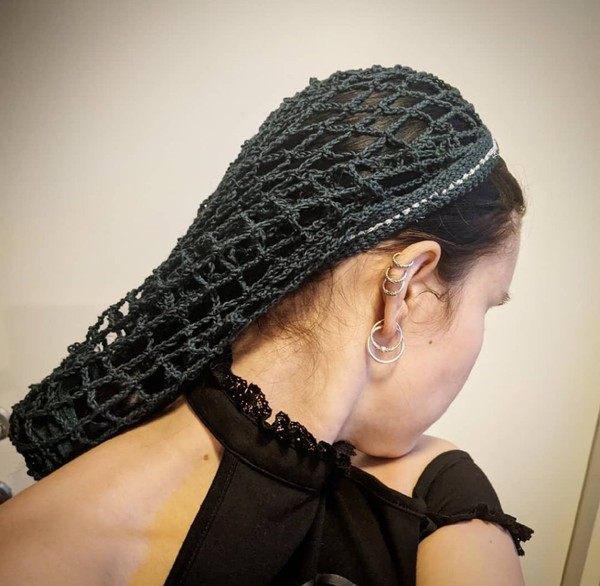
I made another snood

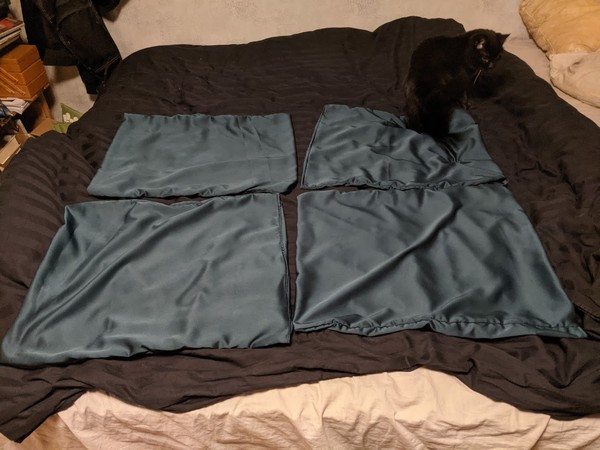
New pillowcases
I made some more hair friendly pillowcases today. This time in green.

I have a post with instructions if you want to try it! It's easy and fun!

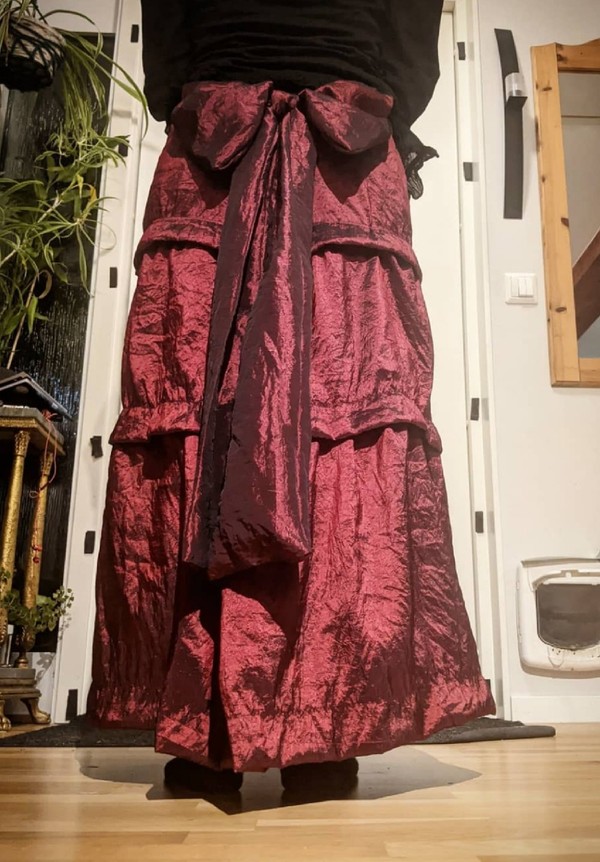
I made a new skirt!
After many hours of sewing, I'm finally done!

It was a lot of work, but I am very happy with it!


A finally made another flexi


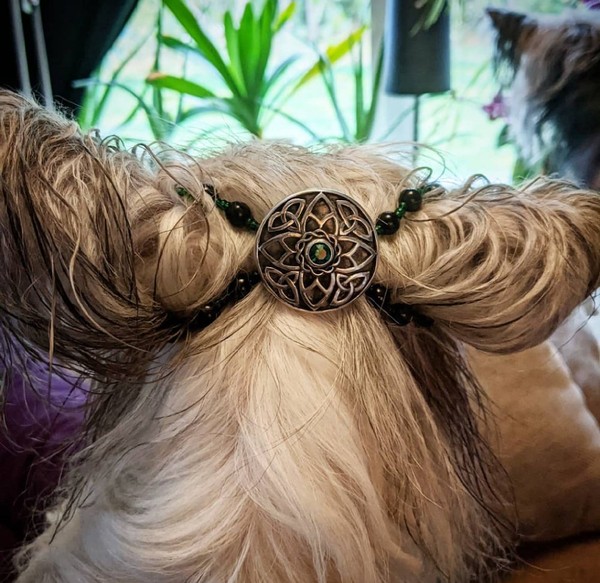
A friends dog was the first one to try it.
DIY. Make your own hair friendly pillowcase
Silk and polyester satin pillowcases are a lot kinder to the hair than cotton, but they can be expensive and hard to find. Luckily it's not hard to make your own!
You need:
- Fabric in silk, polyester satin or some other slippery material
- Scissor
- Pen
- Needles
- Thread
- Sewing machine
- An old pillowcase
How to do it:

- Put an old pillowcase in the right size, on the fabric.
- Draw a line two cm outside the longer edge of the pillowcase.
- It's not the end of the world if the line isn't perfectly straight. As you can see, mine isn't.
- Put the pillowcase on top of where you just had it and continue your line.

- Add 20 cm for the pocket.
- Cut out the fabric.
- If you're making more than one pillowcase, just place the piece you just cut out, on top of the fabric and cut after it.

- Zigzag the shorter edges.
- Fold the shorter edges twice and pin them as seen in the picture.
- Sew a straight seem. (Both shorter edges)
- If this feels hard, you can fold once, pin, sew, fold again, pin and sew, instead of folding twice at once.

- Line your fabric up with the old pillowcase.
- Fold it inside out, so that the top part and the fold is even with the pillowcase.

- Put the fabric on top of the old pillowcase.
- Align the fabric with the pillowcase and make sure that it's "folded, inside out".
- Fold the remaining fabric as seen in the picture.
- Pin it, so that the top edges are perfectly aligned and the longer edges are "aligned enough".

- Zigzag along the longer edges.
- Sew a straight seam around 1 cm inside the zigzag seam.

- Turn the pillowcase so that the outside is now outside.
- Now you have one or several hair friendly pillowcases!
- Go to sleep and enjoy waking up with less tangles and friction damage in your hair!
DIY. Make your own hair band!

You need:
- And old tank top, T-shirt or some other elastic fabric.
- Needle and thread.
- A sewing machine.
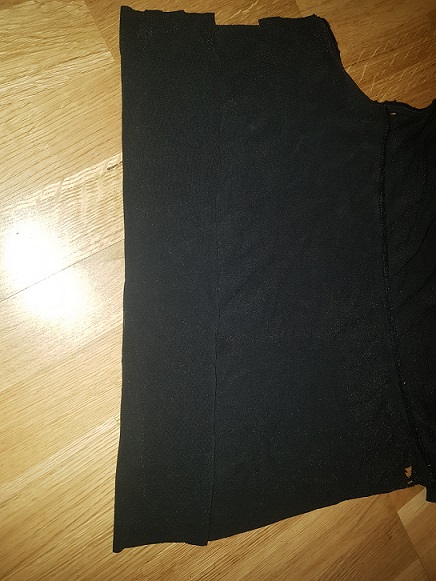
- Fold the fabric double and cut it 1-2 cm wider than you want the hair band to be.
- It should be a bit shorter than the circumference of you head. The streatchier material, the shorter you want it.
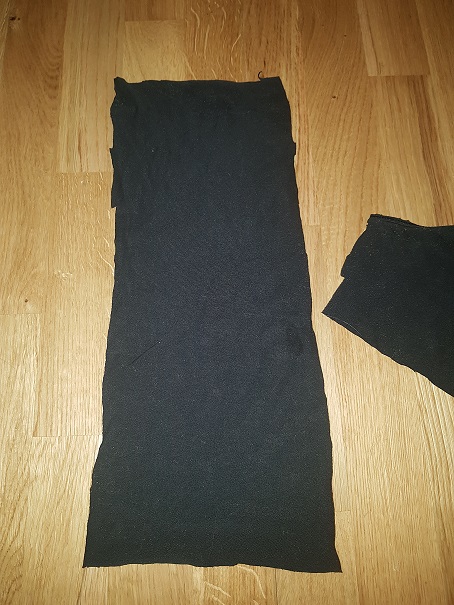
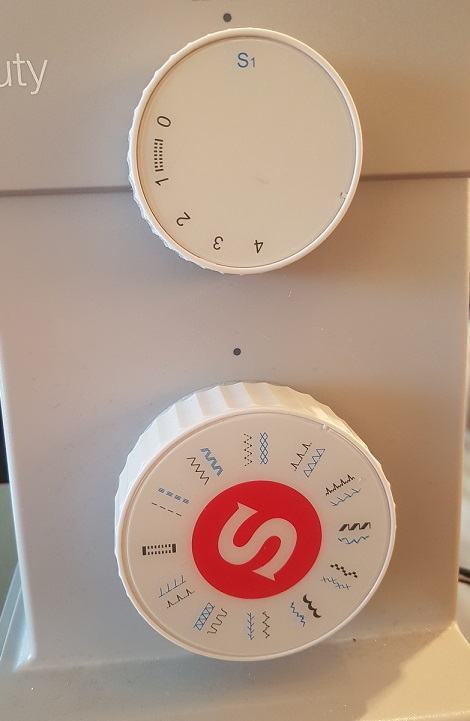
- Chose an elastic seam.

- Sew the longer sides together. No need to zig zag. The "inside" should be "outside" now.
- Turn it inside out.
- Sew the shorter sides together with a so called invisible seam.


And now you have a hair band!
If you want, you can of course decorate it.
One more medieval fair
I was at another fair with a friend today! It was fun even though it rained most of the time!


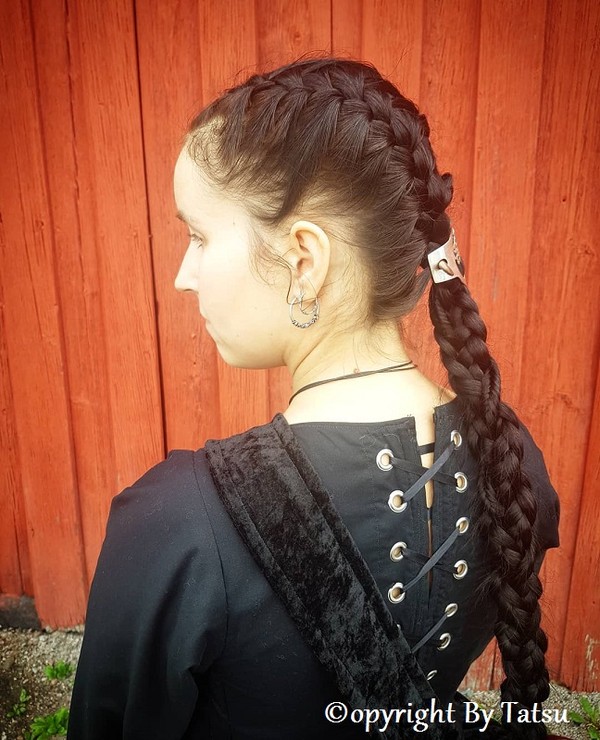
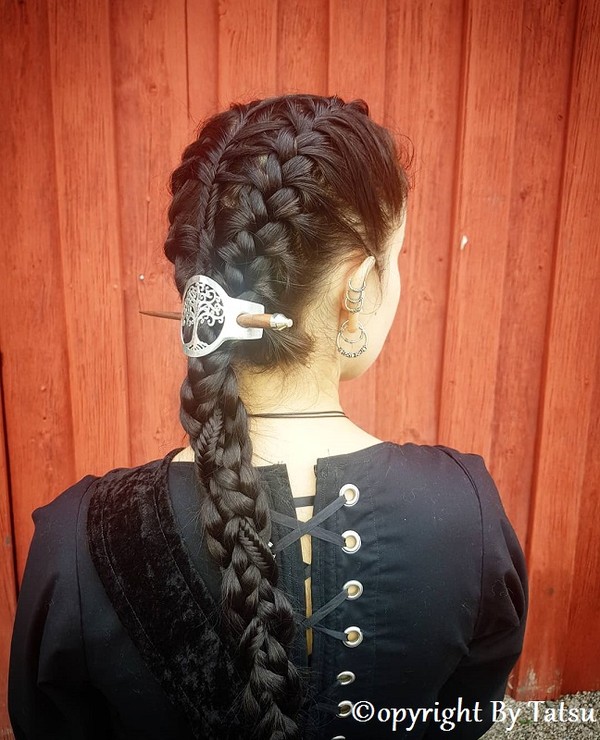

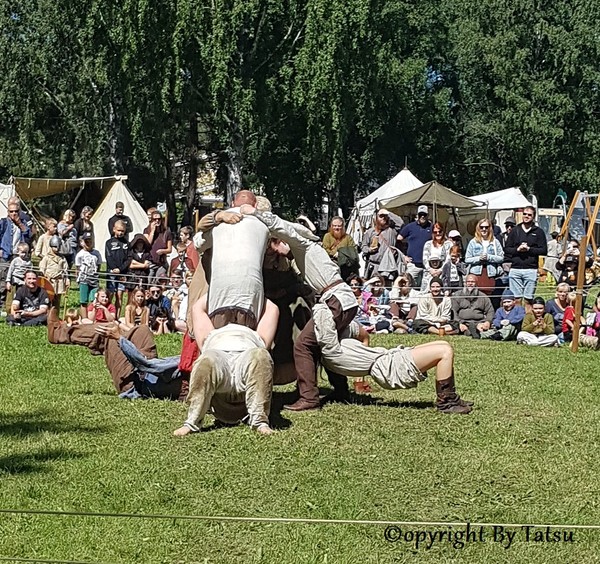
Viking fair!
Today I was at a viking fair with a friend and had a great time!

I did two French lace braids and a valkyrie ponytail.
- Hair slide and hairstick - Handfaste

- Scarf - ???
- Red dress - Made by me (Made from thrifted materials)
- Belt - Indiska
- "Belt bags" - Made by me
- Skirt - Thrifted
- Shoes - From another fair


They showed some ancient viking games!

They were very skilled!


Love is in the air!?

Such a cute couple!

We tried archery.
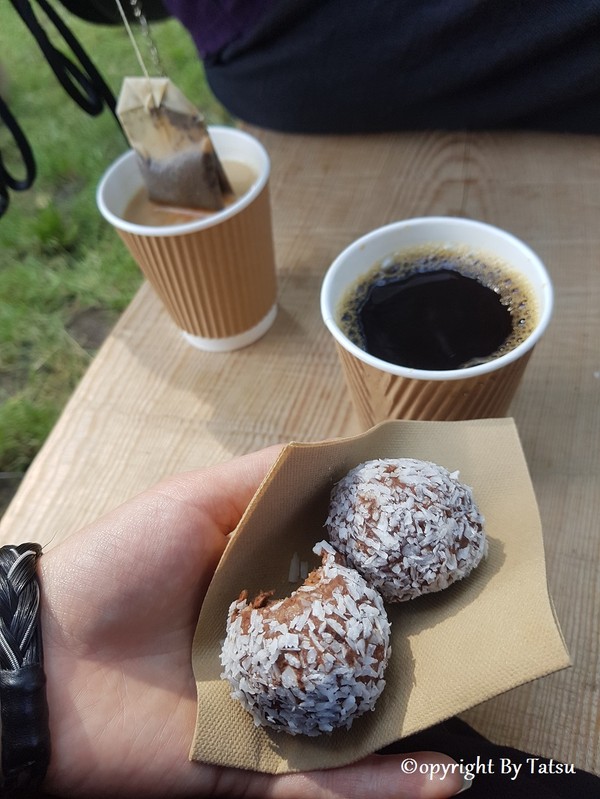
They had something that I could eat!

I bought this beauty! I'm drinking tea from it right now!

I love nice smelling soaps, so these two had to come home with me.

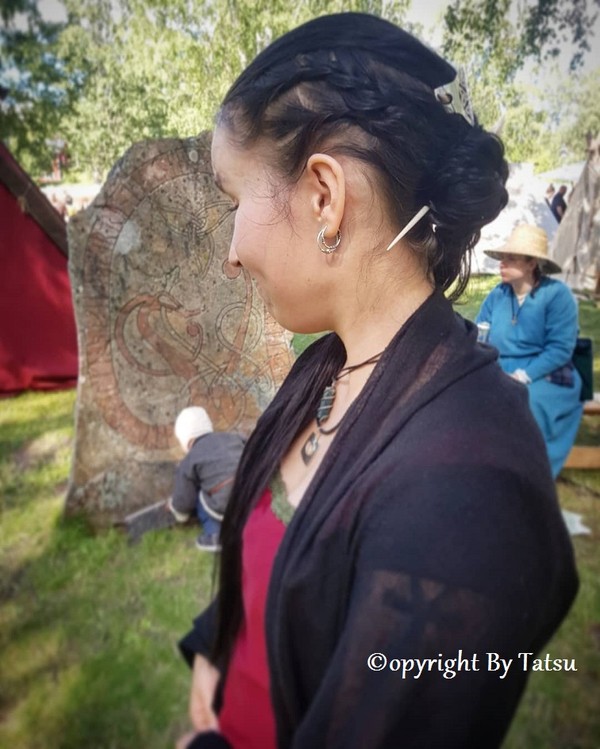
Earrings

Can you guess what types of earrings that I like?

Necklace

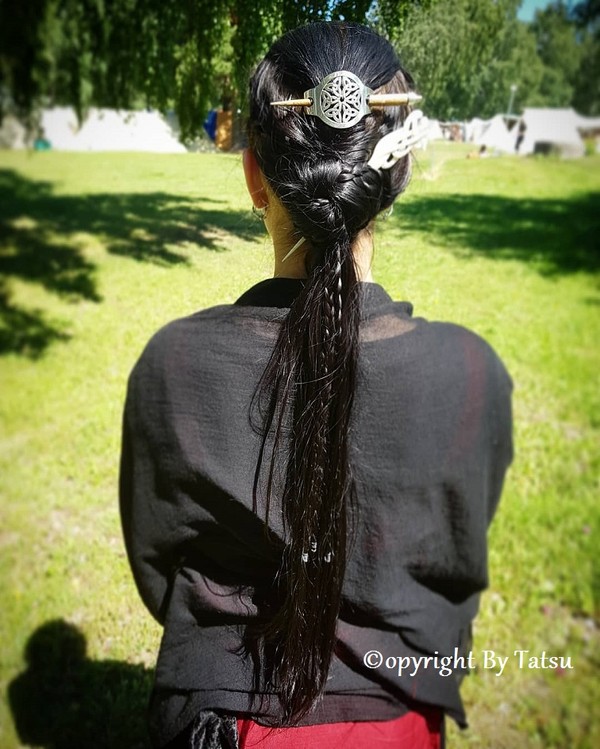
Of course I had to buy hair toys!
Another snood
I actually finished this a few months ago (two days after I started) and I've been wearing it a lot, but I never shared a picture.

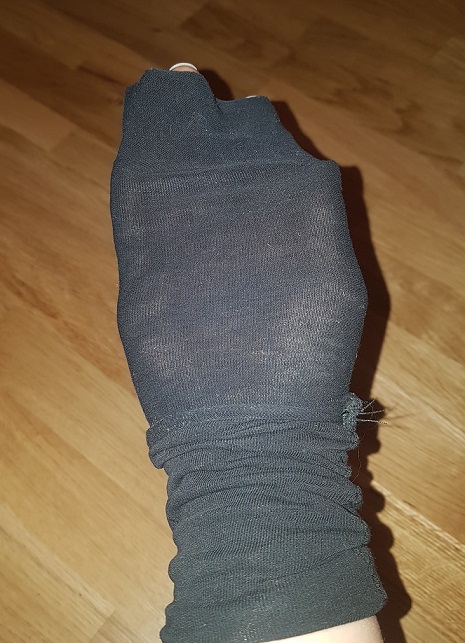
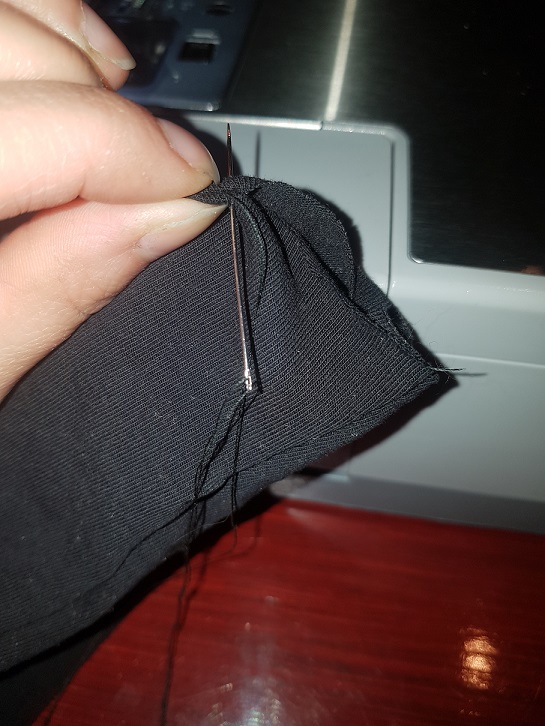
I made a hairband from an old tank top

Quick and easy! Also alot cheaper than buying one and better for the environment.
I'll post a tutorial on how to do it during the next few days.
