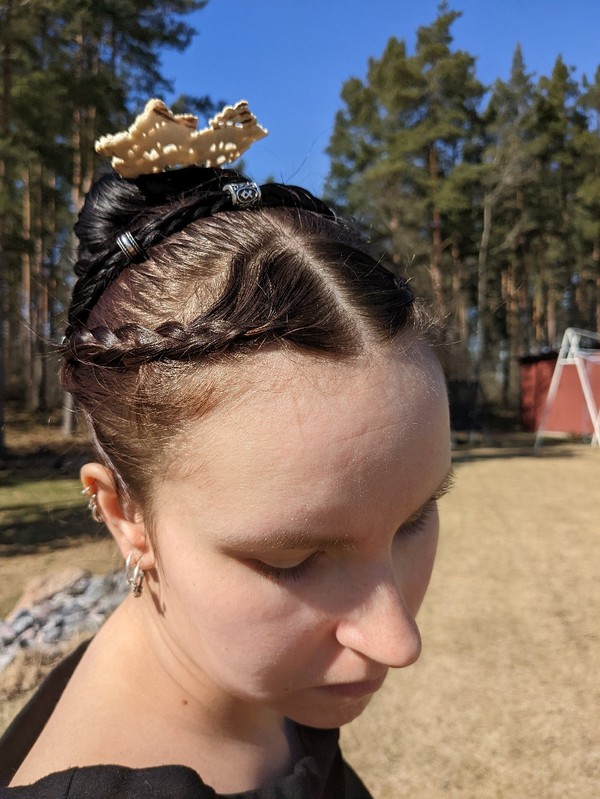
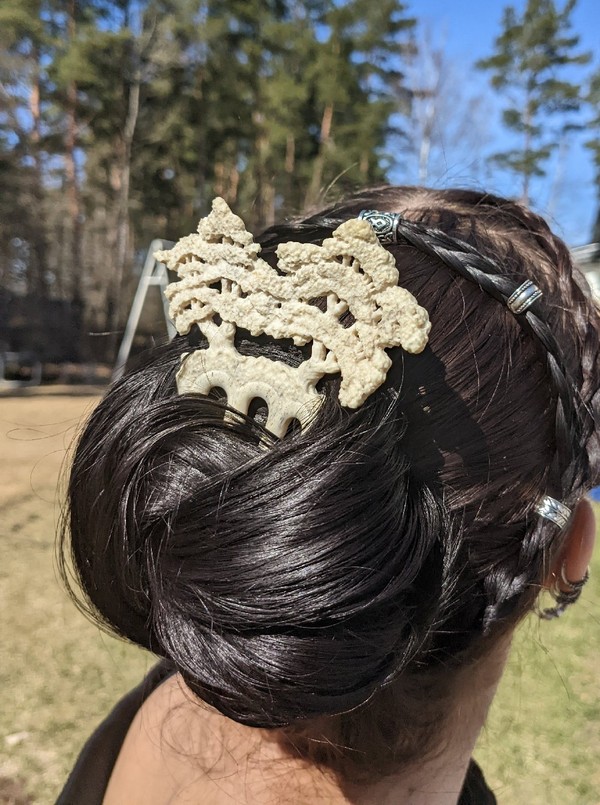
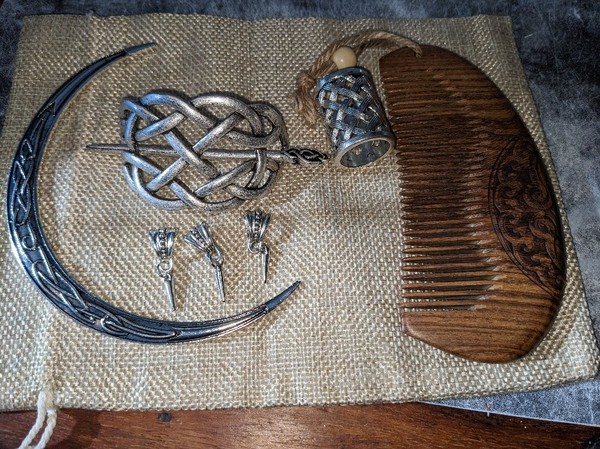
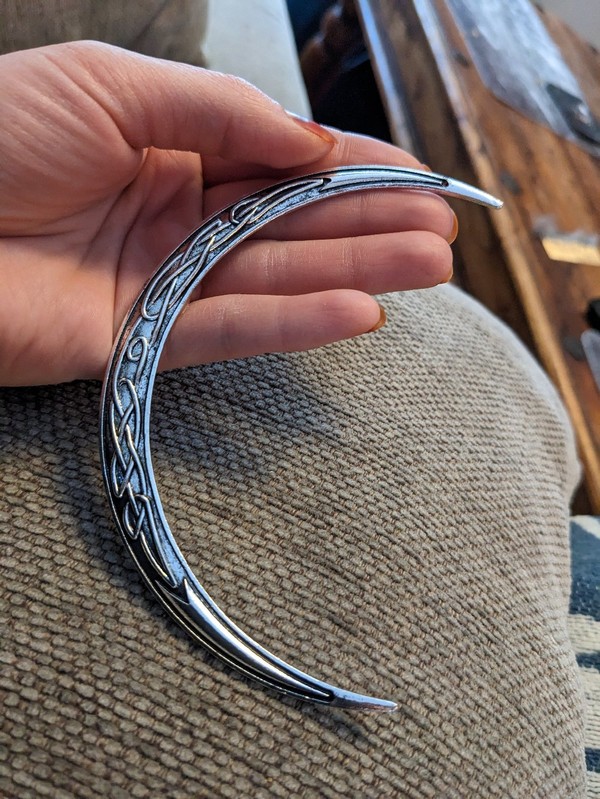
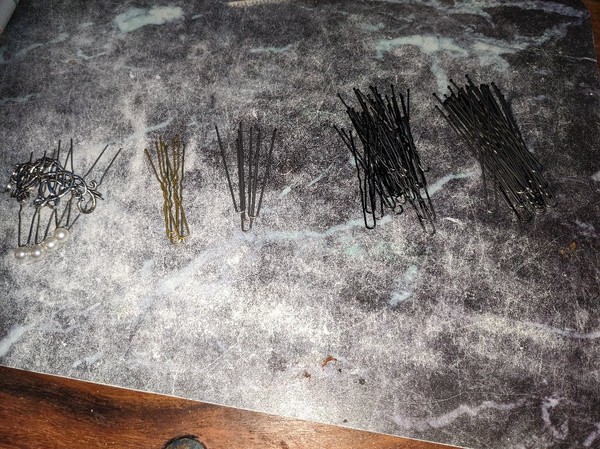
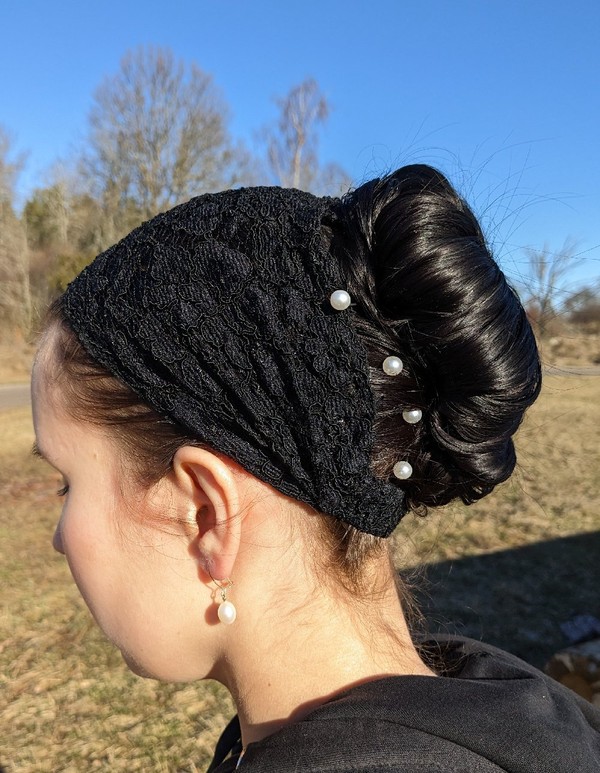
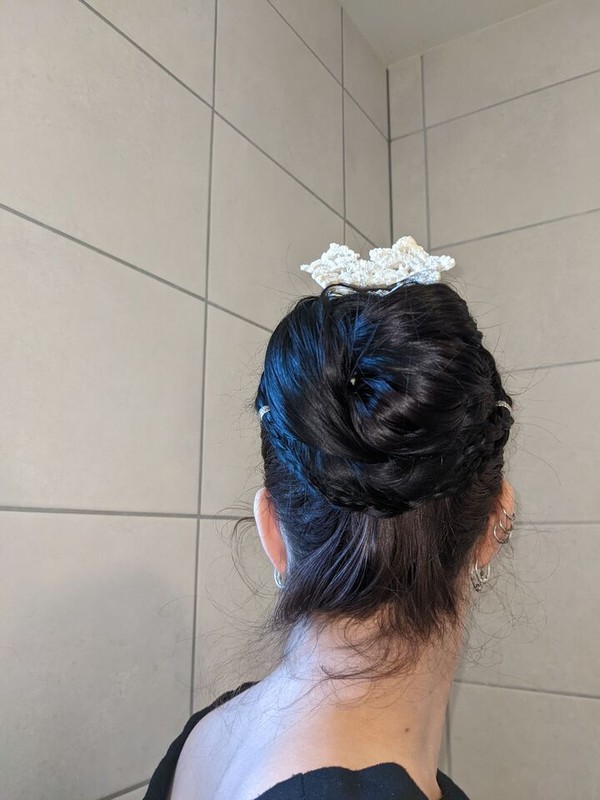
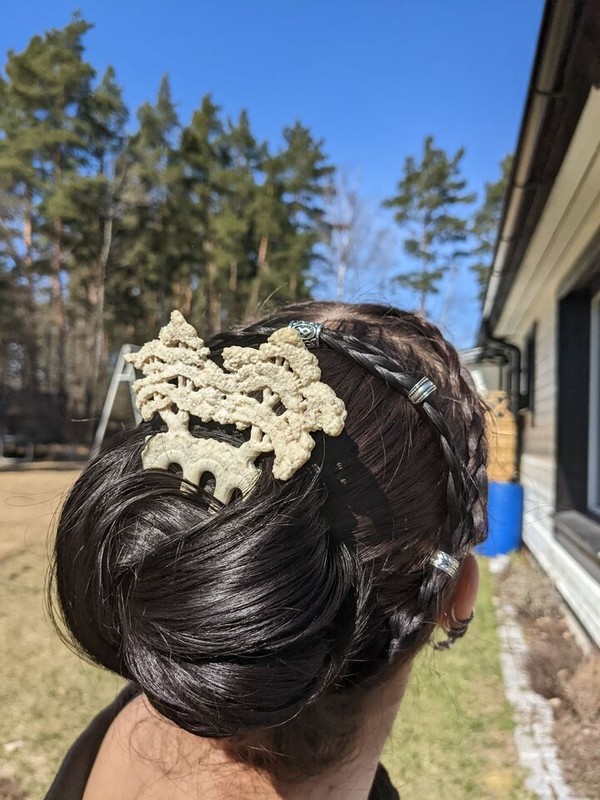
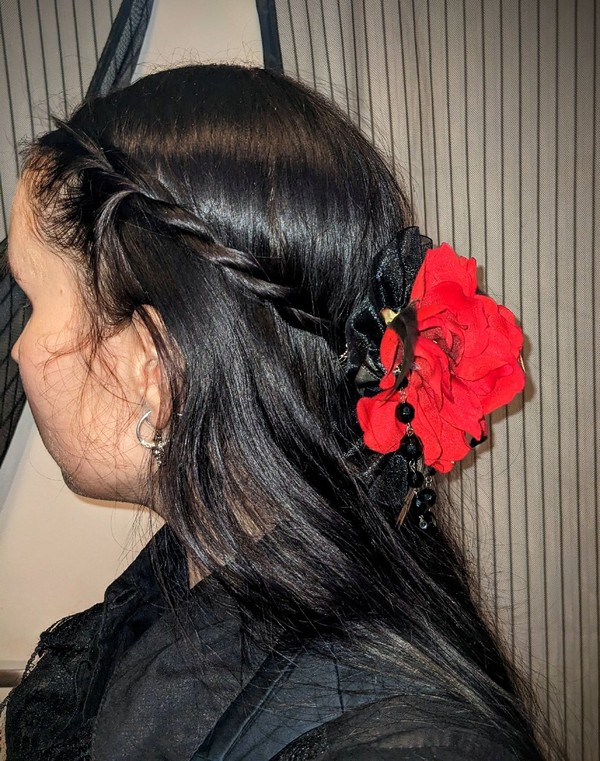
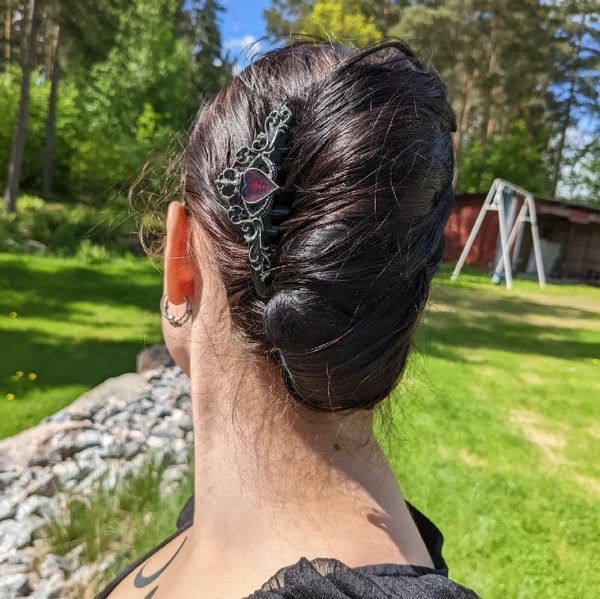
Happy Easter


New hairtoys

Yesterday I tried out some of the stuff that I bought from https://www.etsy.com/se-en/shop/Nordikha


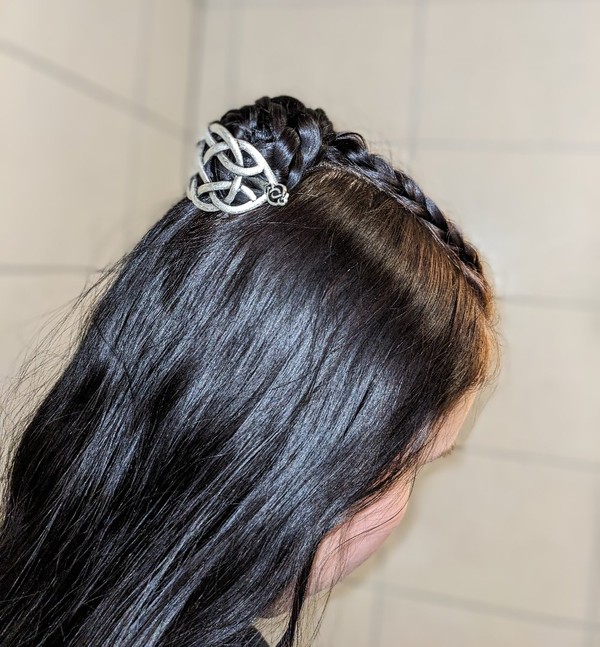
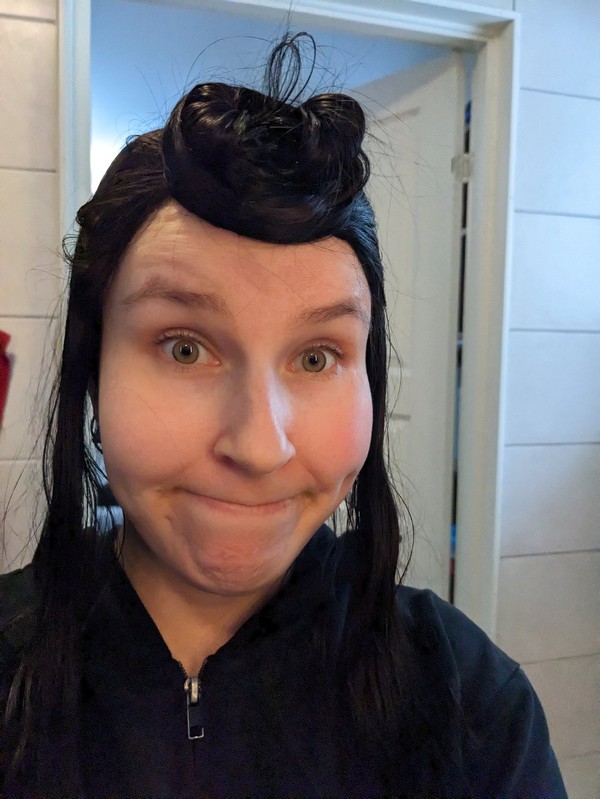
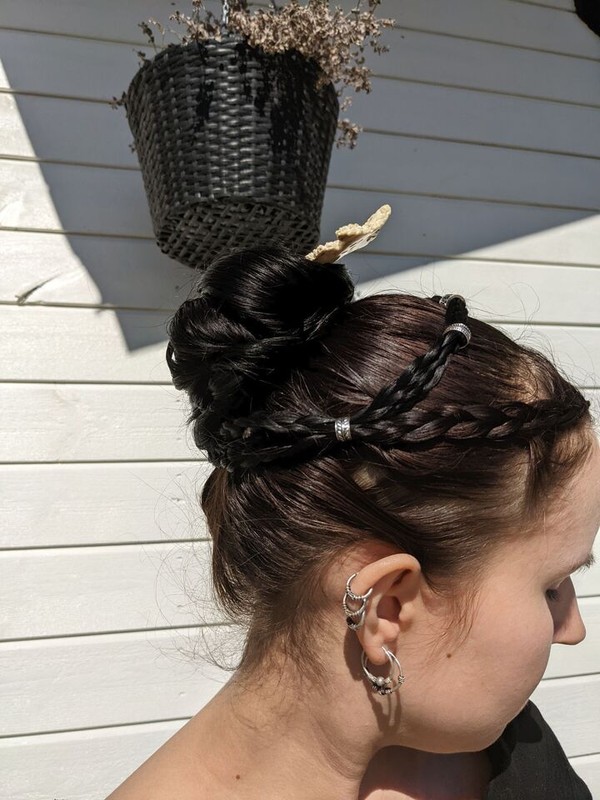
What happens infront of the TV...

Is usually a time consuming hairstyle...


And what it looked like while making it.


What I pulled out at the end of the day. You can officially call me a metalhead!

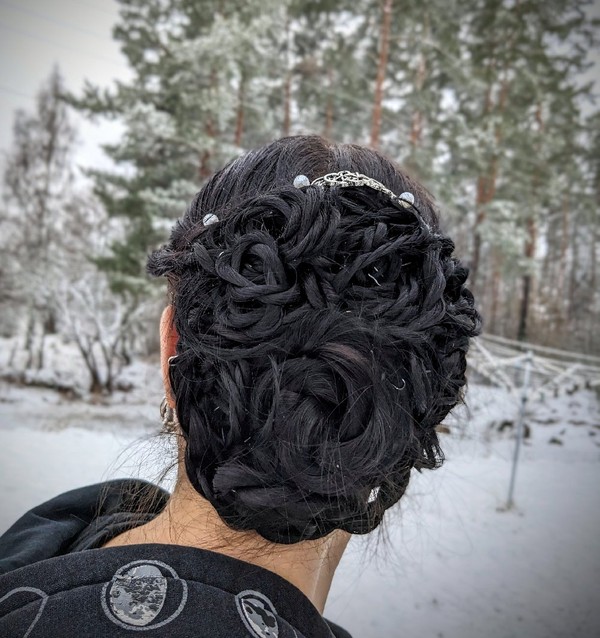
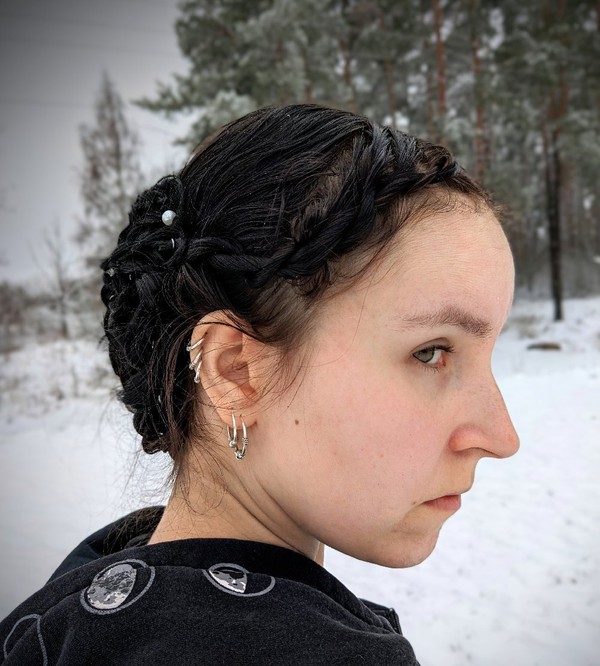
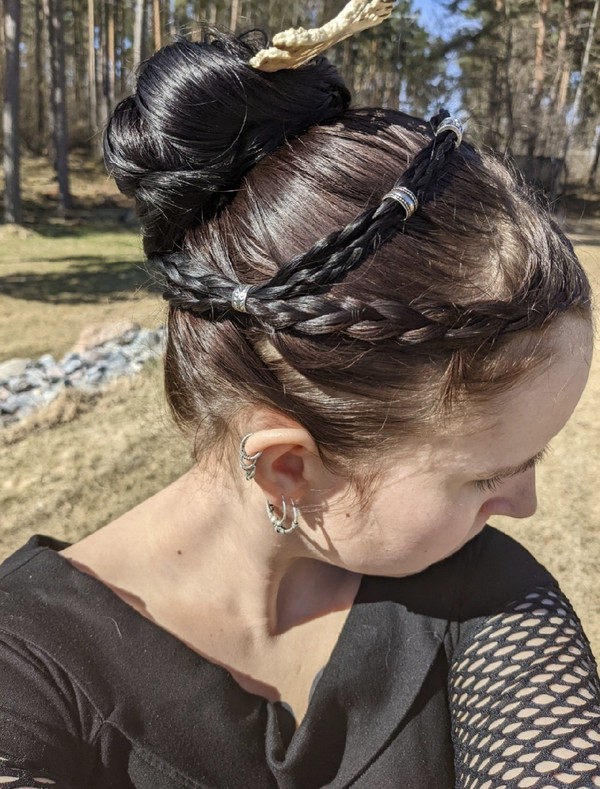
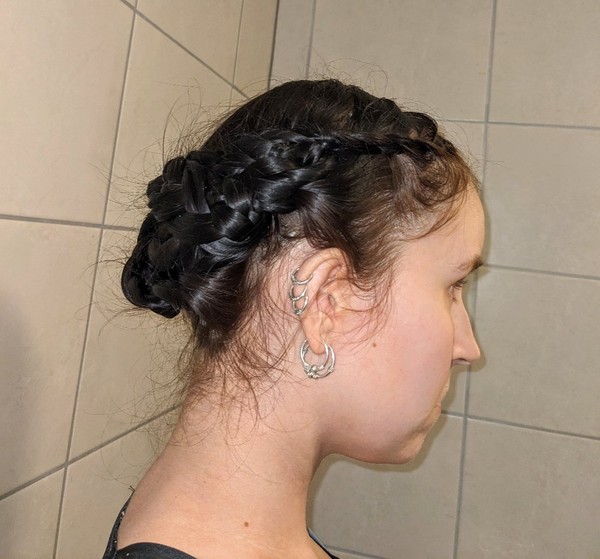
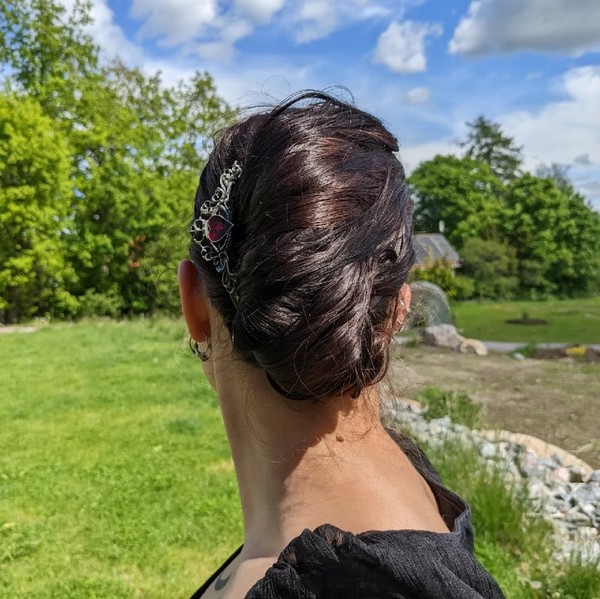
French twist and earrings

I got a pair of earrings from my grandmother a few days ago, that belonged to her mother. So I thought that I would wear them today to make her happy and of course I needed to match my hair with them.


My hair also happened to match my fathers cat, who was visiting us.


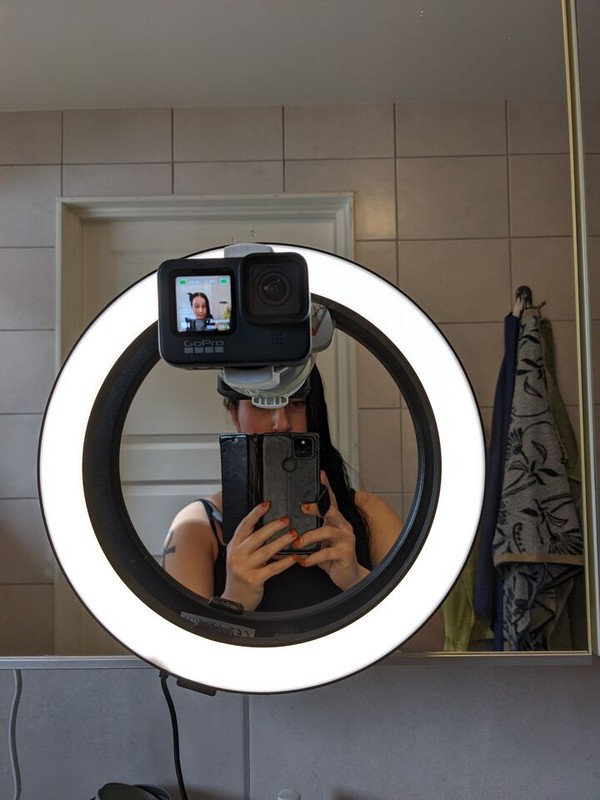
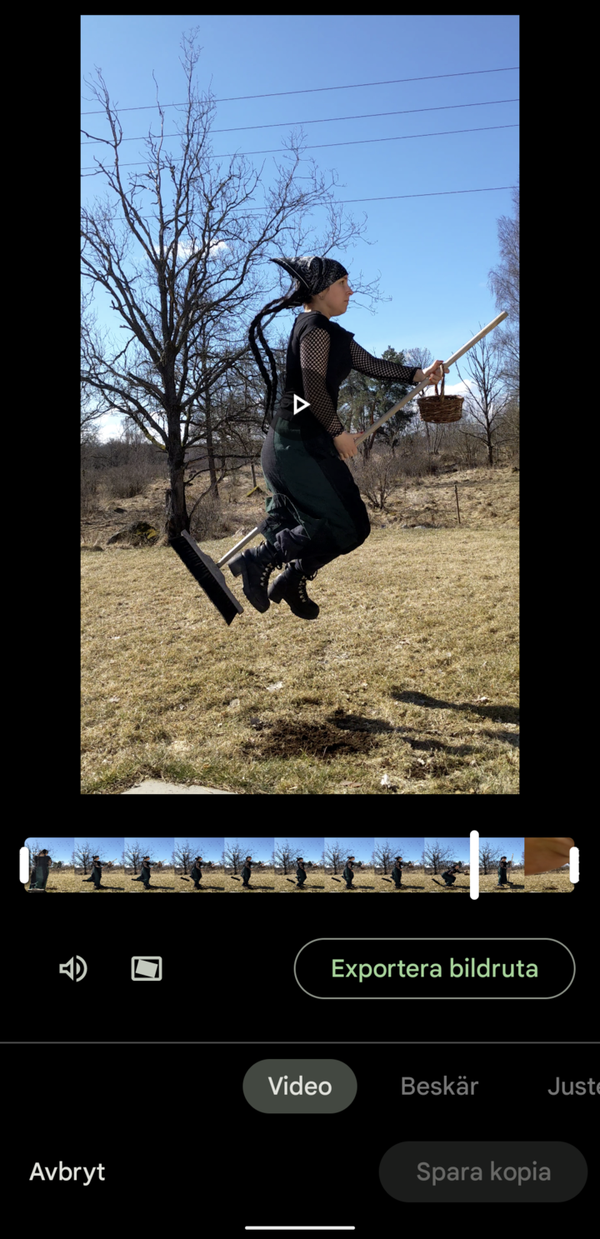
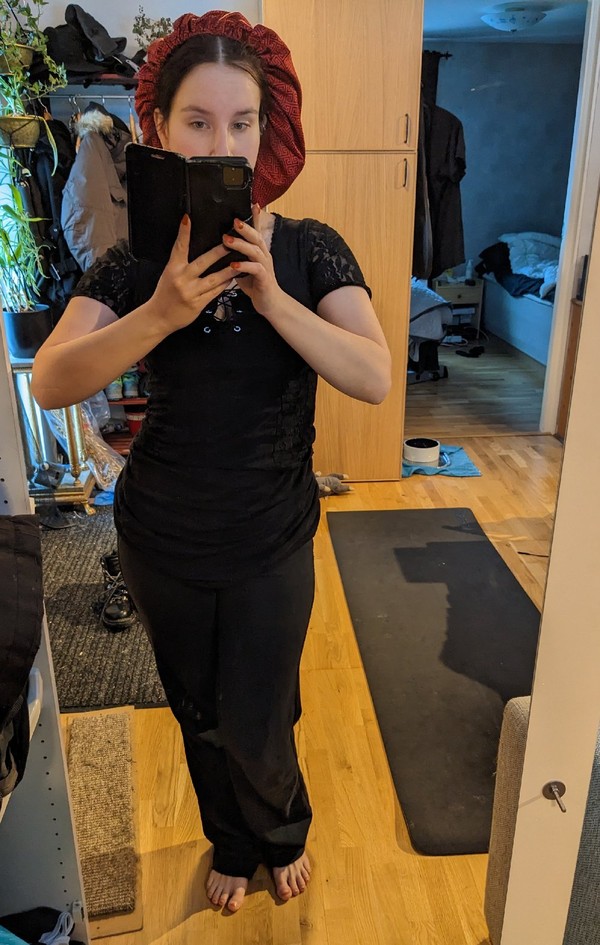
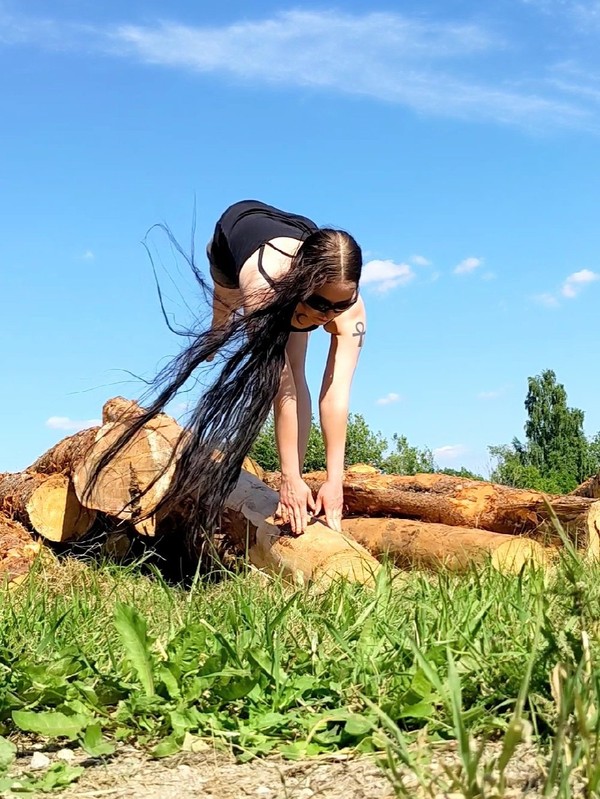
How to take good hair pictures by yourself

Taking hair pictures on your own, that actually looks good, can be a bit tricky. So I'll share some tricks to make it easier!
 
 
Timer & positioning the camera
 
There's a timer on most phones and it is your best friend! If your to take pictures from a distance you need a timer. I usually put mine on 10 seconds.
 
Then you need to have the phone or camera positioned in a good way.

I have a phone case, that makes it possible to place my phone in a standing position. It makes things easier while out and not finding anything to lean the phone against.


 My new case is harder and sturdier, making it better for taking pictures.
 
At home, one can be creative! Just lean the phone agains your soap pump, some books or perhaps a glass.
 
 
The hight you place your camera on, also makes a difference. If you for example, want a picture on all of your hair and most/all of your body, you shouldn't place the camera too high. If at home, I usually place mine on the kitchen table or the sink. Outside I use the garden table, a stone, a fallen tree or I just put it on the ground.
 
Taken with my phone on the ground.
 
 Taken with my phone on the kitchen table.
 
For pictures of shorter hair or an updo, you should place the phone higher up (unless you want to crouch down infront of the camera).
 

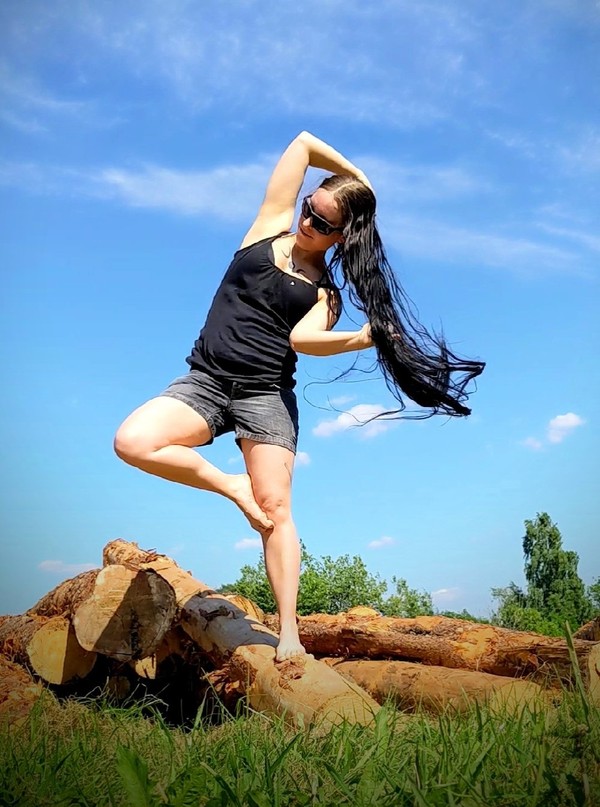
Preferably find a good shelf, get a phone holder for a mirror or a phone stand. You can also be creative and staple books, use a box or something else.


You also need to find a good distance. As long as you get visible details in your photo, it's better to stand too far, than too close to the camera. It's easy to "cut away" the extra backround on your phone.


Holding the phone in your hand
 
For buns and similar, you can hold the phone in your hand, behind the head if you have the mobility. It's a bit tricky at first angling the camera, but it gets easier with practice. Think about not holding the phone or stand, in a such a way that it places a shadow on your hair.
 
 
 I prefer to use the volume button to take pictures this way.
 
Many pictures
 
Take many pictures! That way, you should get some good ones and can delete the rest.
 
 
Light
 
The light is on eof the most important things, for how your hair will look in the picture! When you look at picures of really glossy hair, they're usually taken in good light! (Many are of course also edited)
 
Sunlight is the best! Regular outdoor ligh is also often better than your regular indoor light.

But if there's no daylight? If you're taking a close up, lightning is great!
 
Some examples down below.

Sunlight
 
 Indoor with regular led light
 
Flash
 
If you feel really serious, you can invest in a ring light or something similar. I got a not expesive one, for YouTube videos and pictures. There's obviously a wide range of lamps that will work, but it's for the best if you can change the brightness and if it have a more wide spread of the light.
 
Here I've hung the ringh light on my camera/phone holder, on the bathroom mirror.
 
Notice the difference in shine where the ring light hits, compared to higher up, where  just my regular lamps reaches.
 
Background
 
The background is also important! Chose a more neutral background, without anything that will look "weird". If you're outside you need to, for example watch out for having a branch in the middle of your head. (The pictures below will make this more clear)

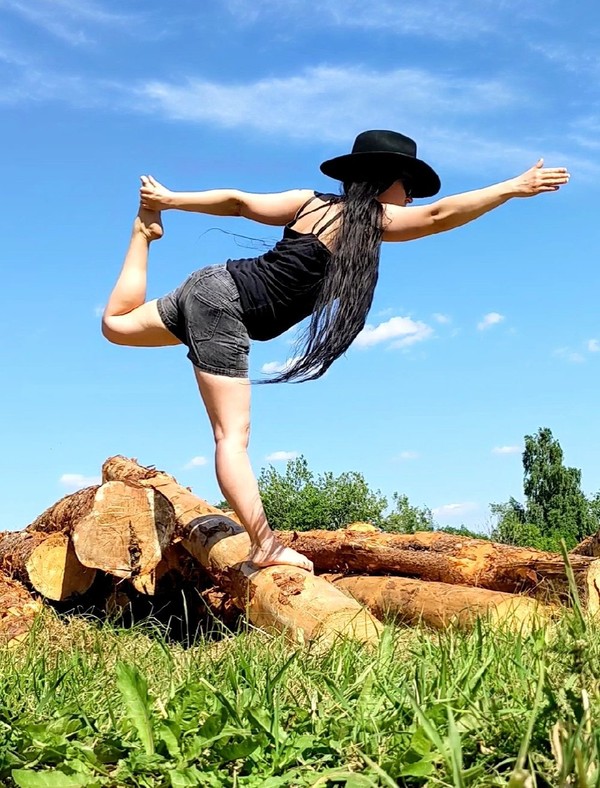
For light hair, a darker bakground can make your hair pop out more. For darker hair, a light background can be better. Although thin hair will appear thicker, if you wear clothes in a similar colour, to your hair.


An example of an annoying object is this blue barrel. Luckily in this case, I could just cut it out of the picture.
 
 
 Here, the picture would look better without a flower pot behind my bun.
 
But what about when you don't have acces to a nice background? That example, should be my constanly messy hallway. Here I chose to cut away as much as possible, and perhaps "blur" the background a little bit in my editing program on my phone.
 
 
Focus
 
When you're taking pictures and can't see the motive, it's usually easier to set the phone on auto focus.

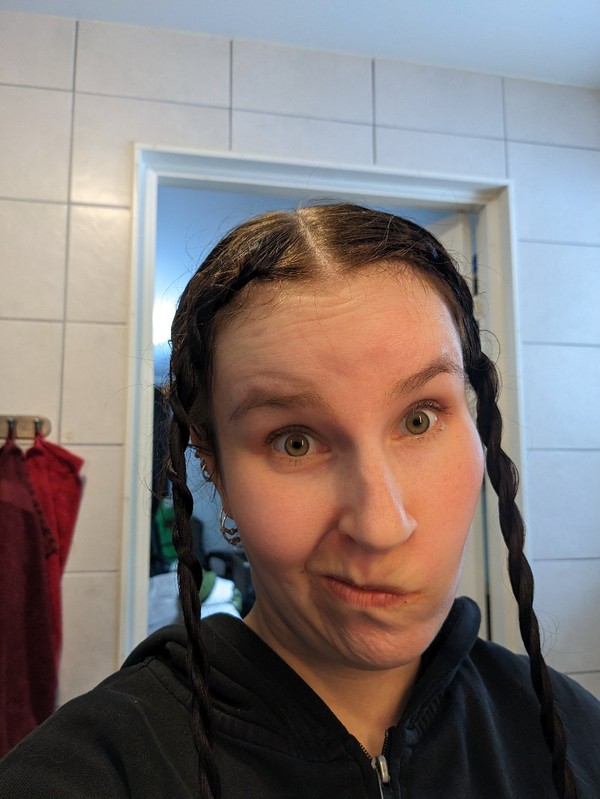
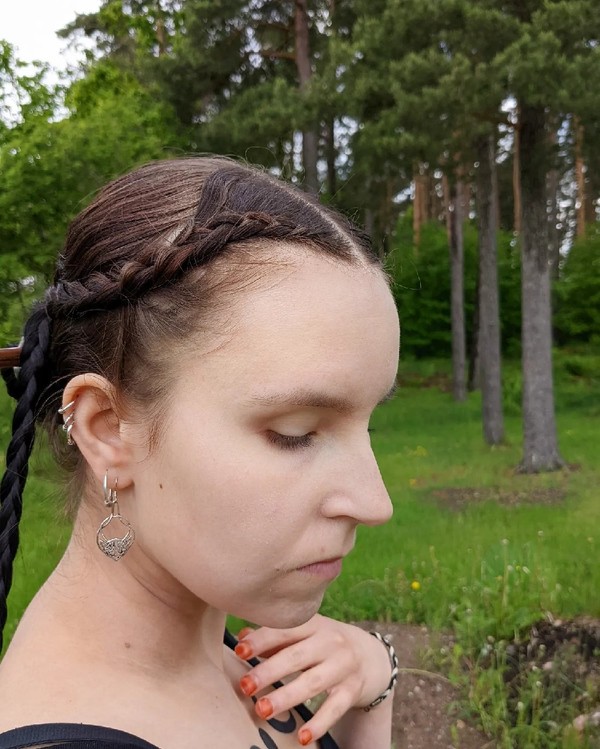
Sometimes the phone doesn't really want to focus on your hair.


A few things that you can do then, is to have good light and background. For example, my phone doesn't want to focus on my black hair against a dark background or if the light is too bad.


Antoher trick is to move further away from the camera (or sometimes closer).


New phones usually have better auto focus than older ones.
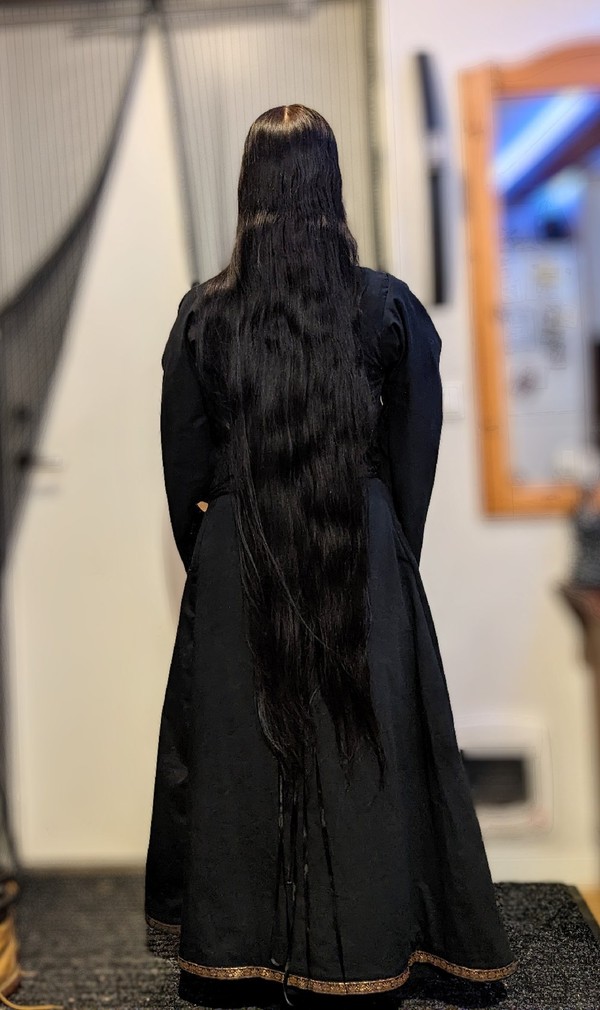
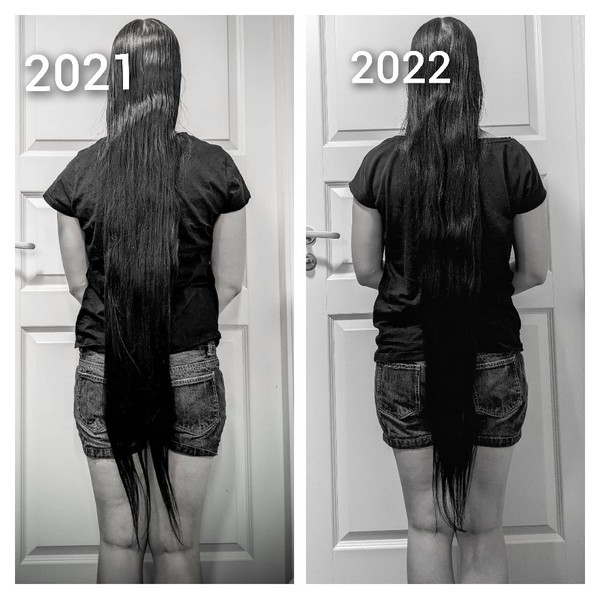
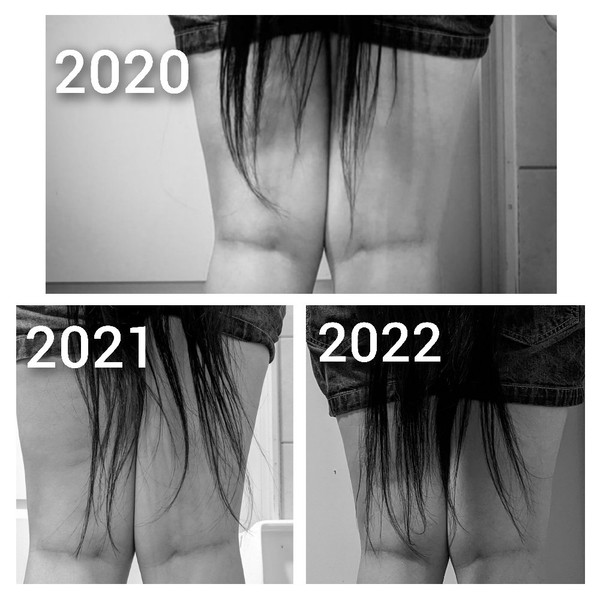
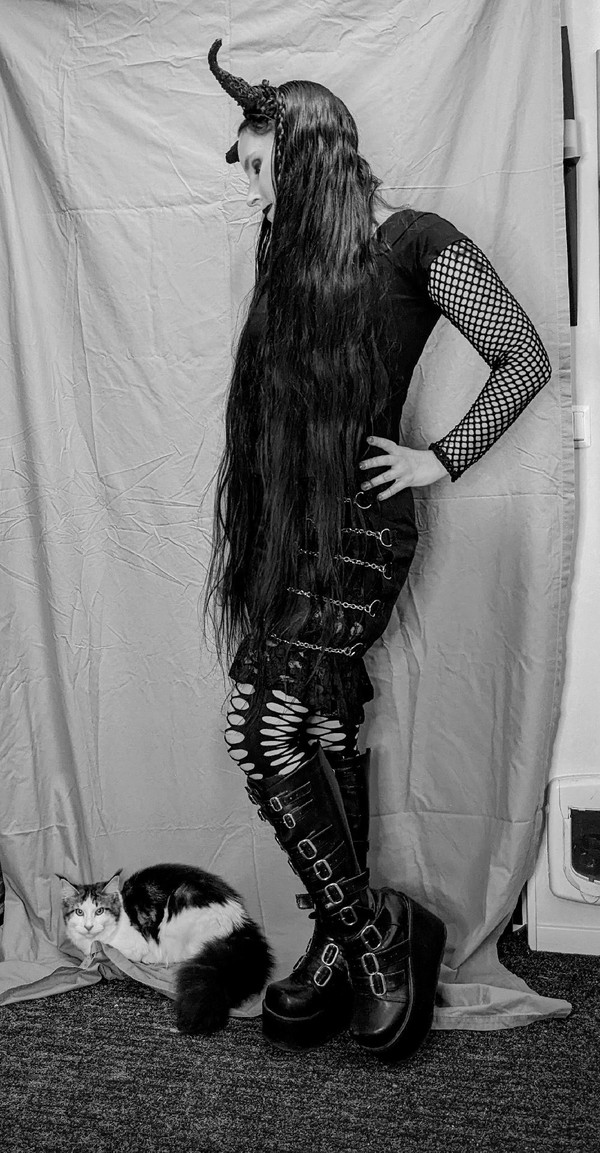
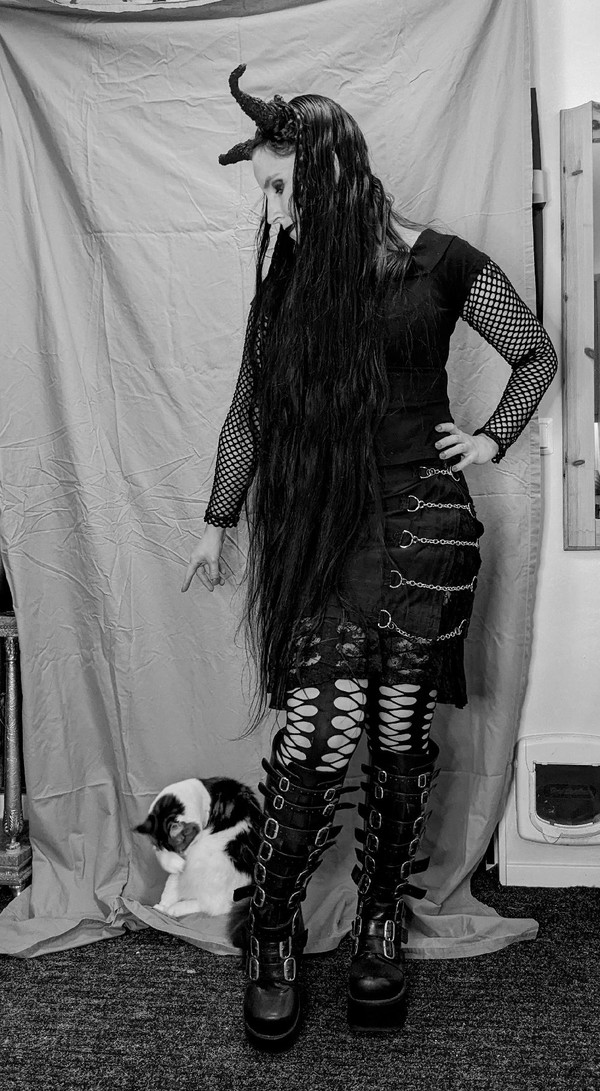
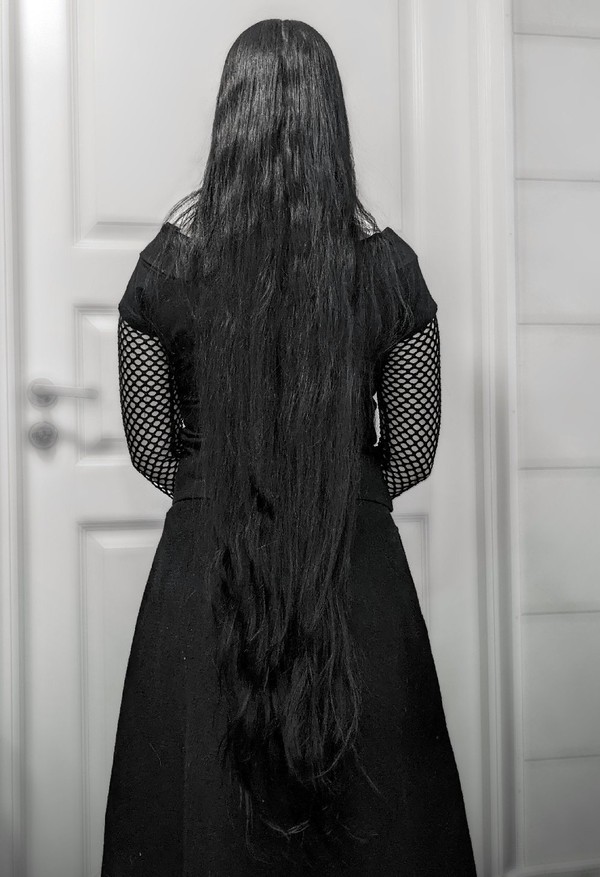
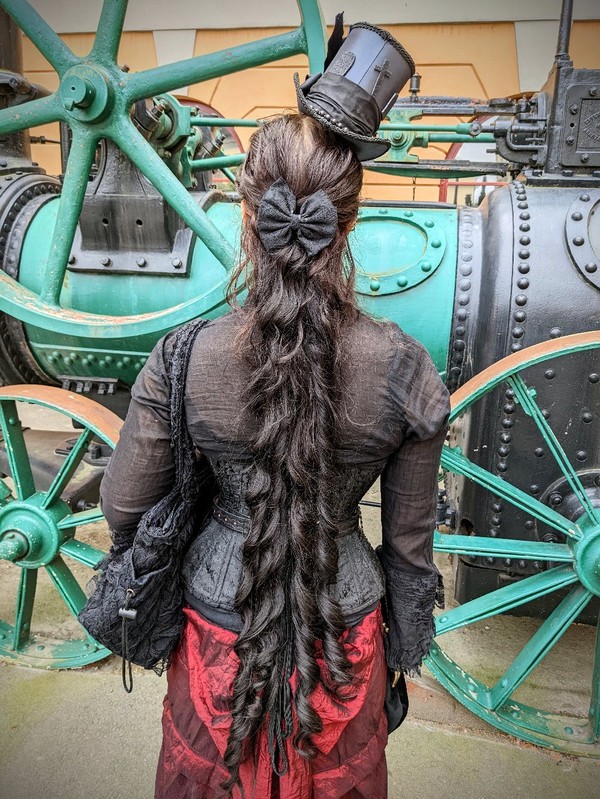
 

Length pictures
 
This is a cathegory on it's own. Partly because you have to get a "fair" angle. If you for example, take the picture from the same level as your head, it will look longer than it actually is (unless it's head lenght). If you want a truly accurate picture, you need to place the camera at the same hight as your ends.
 
Taken at the same level as my ends.
 
 
If you're to take pictures on a regular basis, to follow the growth. You need to have exactly the same placement of the camera and stand in the same spot every time. I usually place my phone on the sink and stand infront of the bathroom door.
 
Almost the same placement. The camera is a bit higher than my ends, but gives a pretty accurate picture of the length every year.
 
Also remember to look straight forward! If you look up or down, you wont get an accurate picture.
 
Preferably use the same clothes or mark with your hand, where for exaple your waist is, to make it even more clear where you're at.
 
Here I was marking my waist with my hand and I always used the same striped shirt for length pictures, when my hair was shorter.
 
 
Hair in motion
 
These are fun pictures! But also among the hardest one to take by yourself.
 
If you want to take pictures, it's once again the timer that you need to use. Preferably put it so that it will beep when it's time, or count in your head, when it's time to move the hair.
 
If you have a setting for taking several pictures in a row, that's great!
 
Taken with a timer
 
But the easiest method is actually if you can film in good quality. Then you just have to shoot a film and pick out pictures from it.
 
The editing program in my phone, gives me the opportunity to export pictures from films. If yours don't, you can pause the film and take a print screen.
 
 Taken from a film and then edited a bit to hide the slighly less good colour quality.
 
Selfies
 
Sometimes one will take picture in selfie format. It's tempting to use the front came, also called selfie camera. Sure it will work, but the front camera is usually of less quality, so it's best if you stick to the regular camera.
 
 I just take a few picture from different angles, when I can't see the screen.
 
Also avoid taking pictures of yourself in the mirror if you can. If you're already standing infront of a mirror, you can use it to watch the screen while taking pictures.
 
Good luck and may you take great hair pictures!

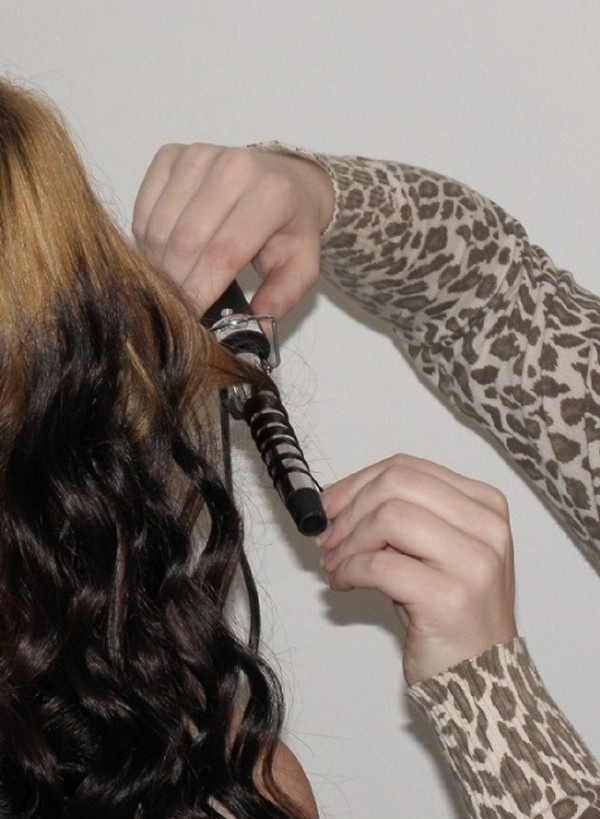
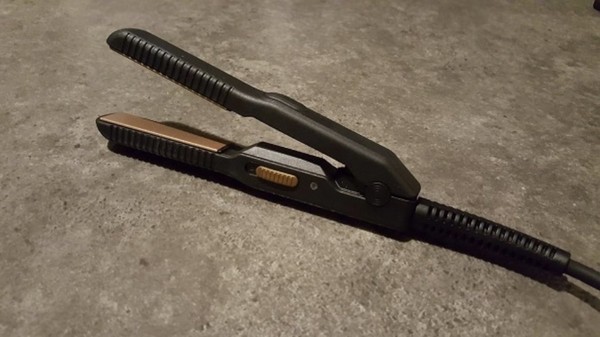
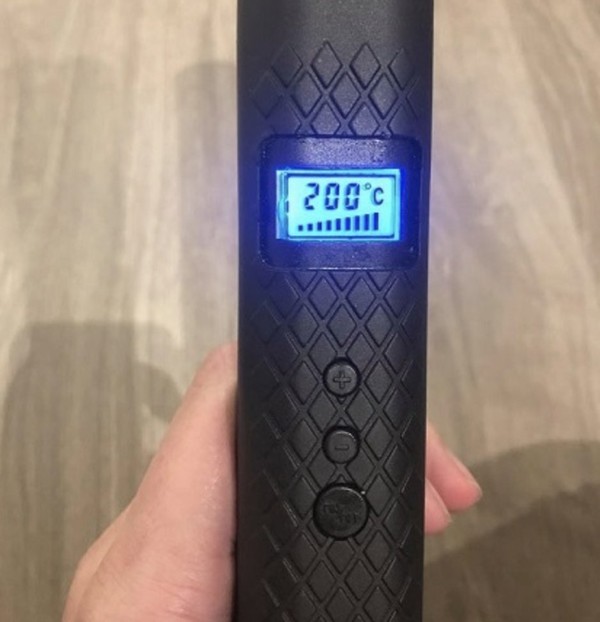
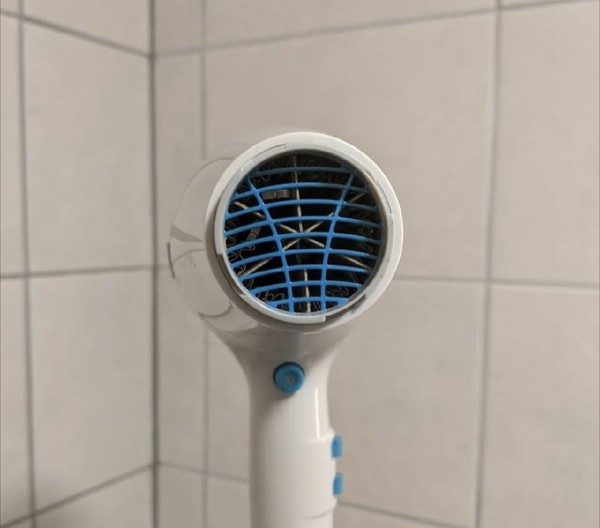
How heat styling affects the hair

That heat styling isn't good for your hair, is hardly news for anyone. But how does it actually affect the hair? And is all heat bad?


At exactly what temperature and how many times is necessary to completely "ruin" your hair, depends on your hair quality and what it's already been through. For example dyed or bleached hair will be more sensitive.

What happens to the hair when it's exposed to high heat?

One of the things that will happen, is that the proteins in your hair, will be weakened and eventually break down.

The moisture that's supposed to be in your hair will boil and evaporate. This will cause microscopic bubbles/holes in your hair. And of course make it dryer.


Together with the damaged/broken down protein, it will eventually lead to split/damaged ends, a damaged cuticle, where the scales at first stay open and eventually fall off. This leaves the core of the hair exposed and vulnerable. And the hair looses it's natural ability, to hold moisture and nutrients, on its own.

Strong heat can also permanently affect both ones natural or dyed hair colour and structure. It's common for the hair to get dry, strawlike and tangled. 

In order to regain ones natural hair quality, one has to let it grow back from the scalp.


Does all heat damage the hair?

All heat tools can potentially damage the hair. The higher temperature, the more damage it can cause. The same with regular exposure.

If you hold a flat or curling iron in your hair too long, you can burn of an entire strand. 


For hair dryers, a cold or low heat setting isn't damaging to the hair. And if you're using a higher temperature, you want to keep the dryer farther away from your hair, to make it "safe".

According to studies, 60 C or cooler shouldn't damage your hair and can even be better than air drying, if your hair takes a long time to dry.

As a general rule. Keep a temperature and distance that doesn't feel uncomfortable for your skin. Then it's safe for your hair. You want to use a hairdryer and not a hairfryer!

What can you do if your hair is heat damaged, or you don't want to give up the heat styling?

You cannot repair damaged hair. Only cut it away.

If you don't want to cut away your hair or just continue with heat styling. Make sure to take good care of your hair with lots of moisture, potentially some fat and protein. But not immediately before putting an iron in your hair. You always want it to be dry when heat styling.

Silicones can help to retain moisture and nutrients in the hair and potentially glue splits together for a short time. Some people also gets more slip and shine from them. But make sure to properly clean them away with sulfates to prevent build up!

A silicone based heat protector can not prevent damage, but it can help to retain some moisture in your hair and lessen the damage in the long run. 

So what does Tatsu do?

As you've probably guessed. I don't own a flat or curling iron. I do however own a hair dryer, that I use a few times a year, on a cold setting, when I don't want to wait six hours for my hair to dry. Sometimes I just sit infront of a fan or take a windy walk if the weather allows.


I might get back to blogging more this year

I'm a member of a few online communities. Long hair community is one and I love it! It's my favourite!

And then there's a Swedish one that I've spent years on. One thing that I've done is writing several articles on hair topics.

But lately that place has become very toxic and the owners hasn't been behaving...

I've been there for so long, made friends and shared so much, that I'm not ready to leave yet. But for the moment I will be less active there. A lot less active.

And so I might take up blogging more again instead. I will for sure translate and share some of my articles with you here instead.

If I can get my editing program in order again, I might take up YouTube more too.

In general I hope that I will have more time and energy for my hair and creative stuff this year. 2022 wasn't the best year for me.

But yeah I'll probably breath some life into my blog again!

Anything you want to see here?

And here's some hair content! It's been such a long time since I last made an Amish bun, that I had to pull my hair through the last loop an extra time, to use up the length.


My hair year


Another year of maintaining and you can see the result!

Christmas - Hair and outfits
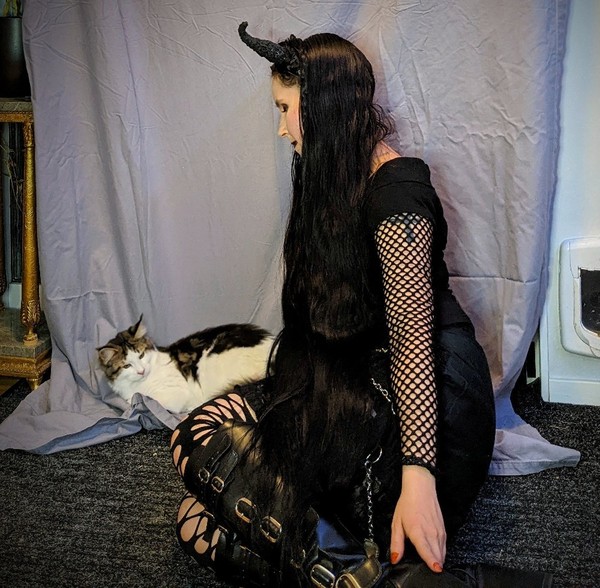
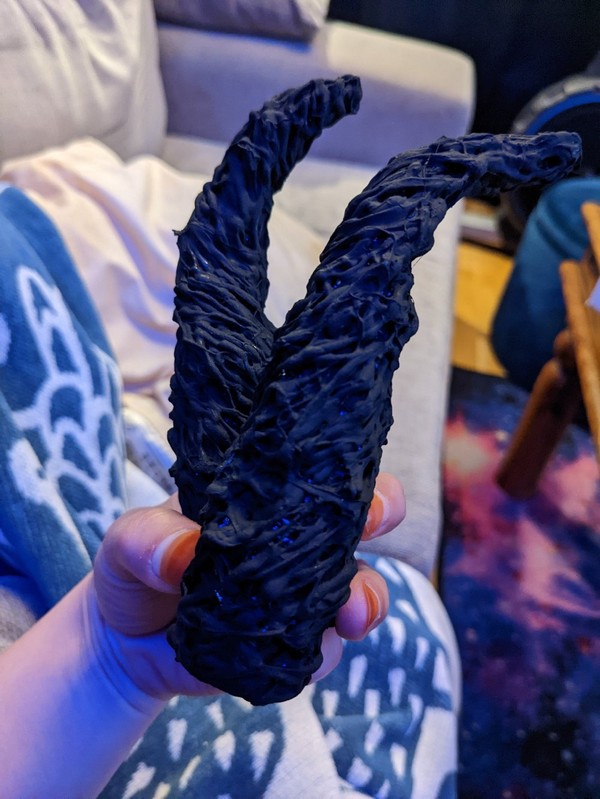
For the 24:th when we celebrate Christmas in Sweden, I wore a selfmade dress.

And loose hair.

My family though that I looked like a queen in my dress. And my oldest nephew was impressed by my dress and wondered where I got it. He was shocked to learn that I made it myself.


The 25th. Some yoga before getting ready to celebrate with the inlaws.

Two French tope braids a flower and a hair bead.

Very colourful!


Hair horns

This is why I made myself horns. I wanted to do hair horns!


Halloween is getting closer and I made myself horns


Just some unbrushed hair
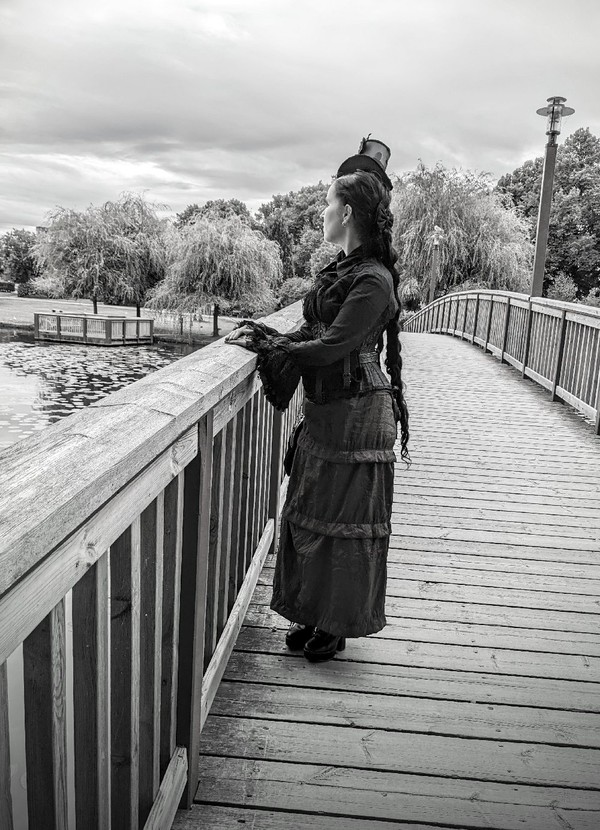
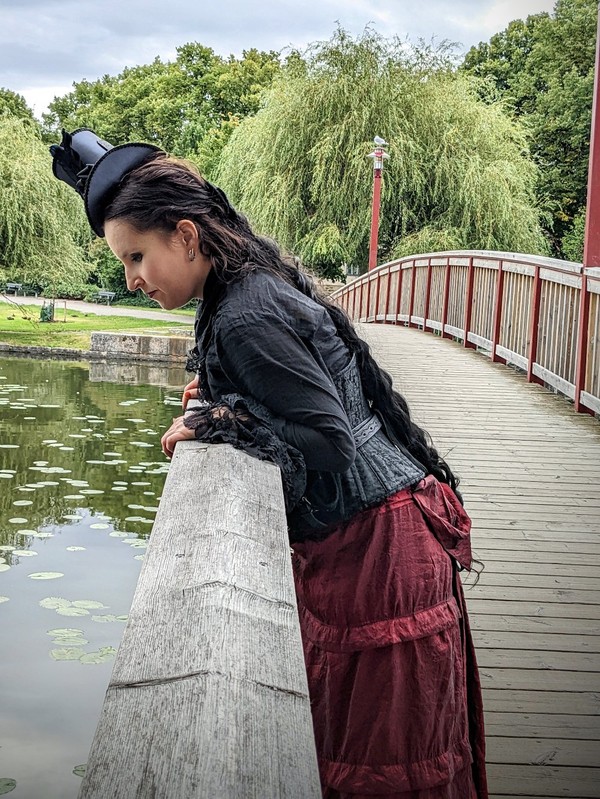


Steam Punk fair


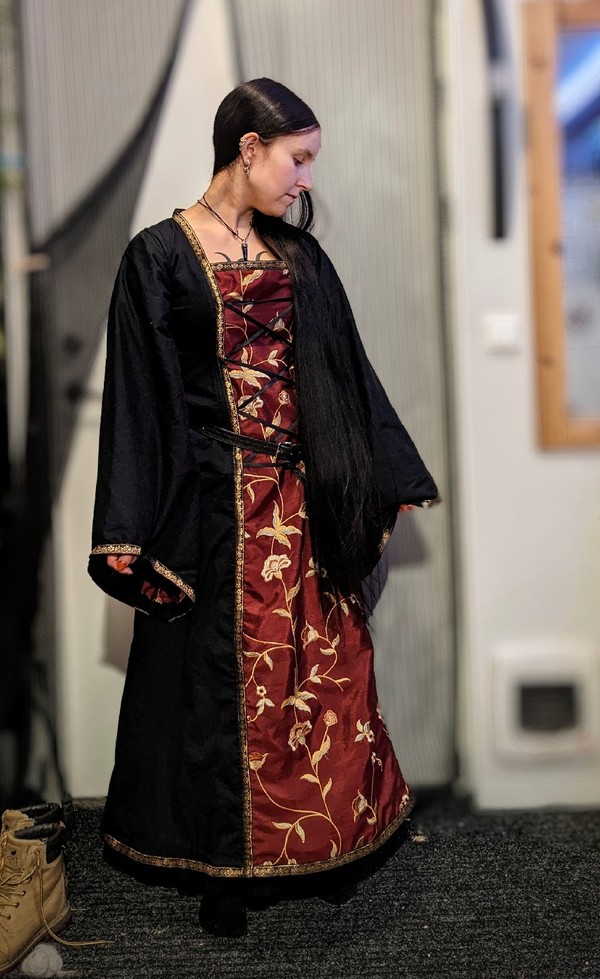
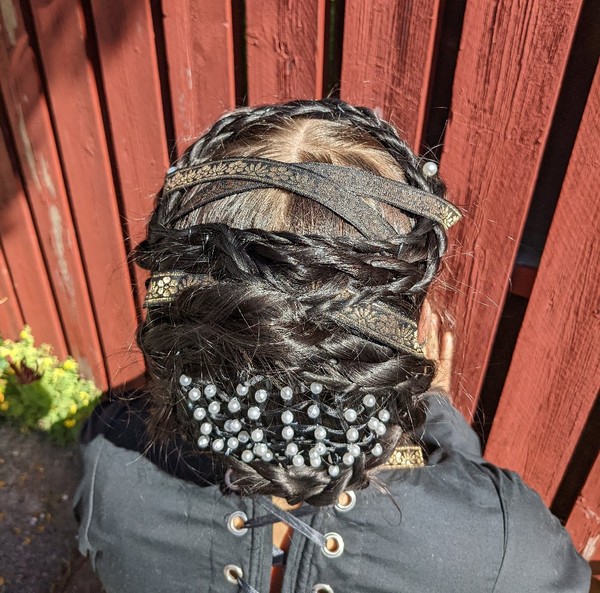
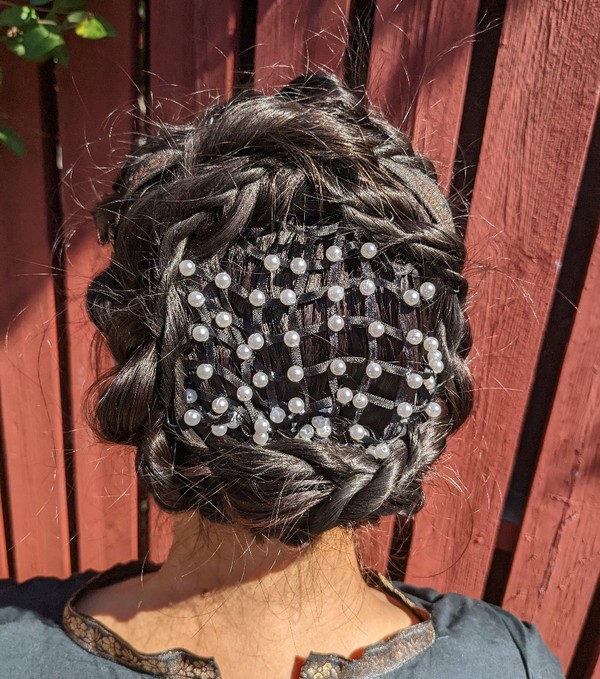
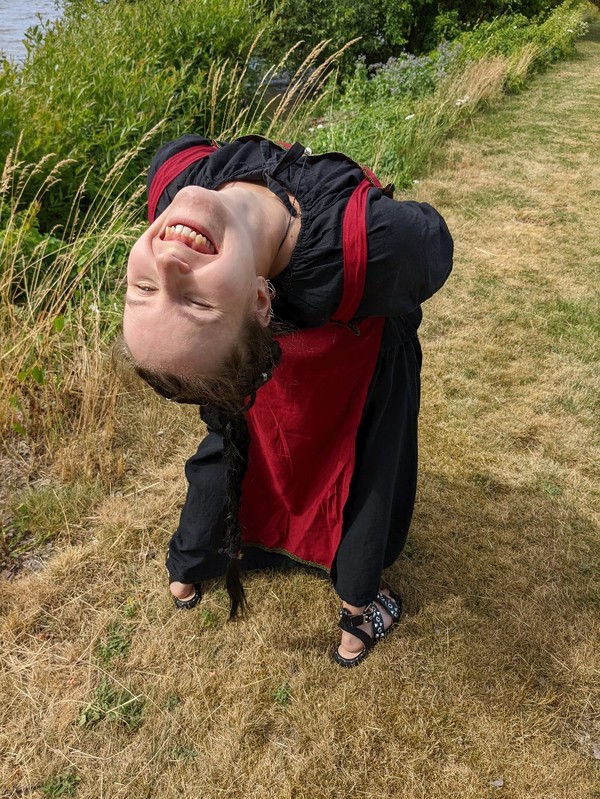
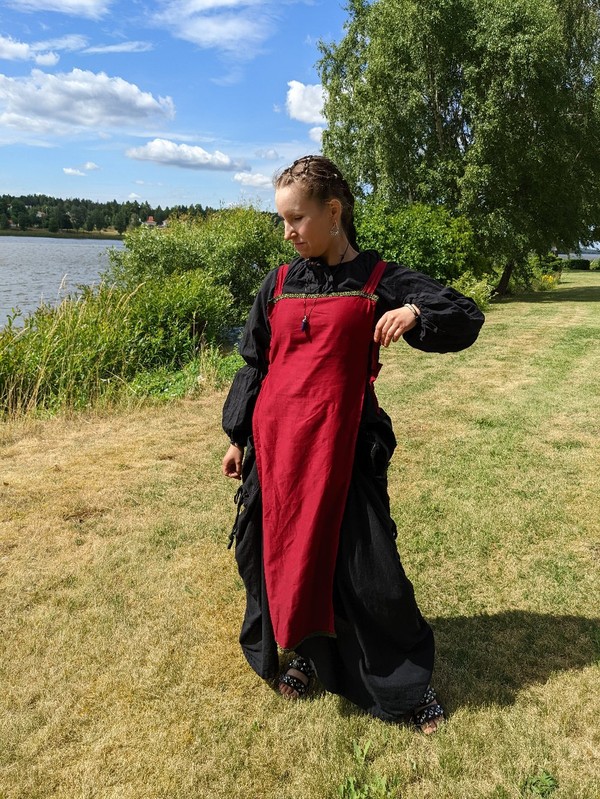
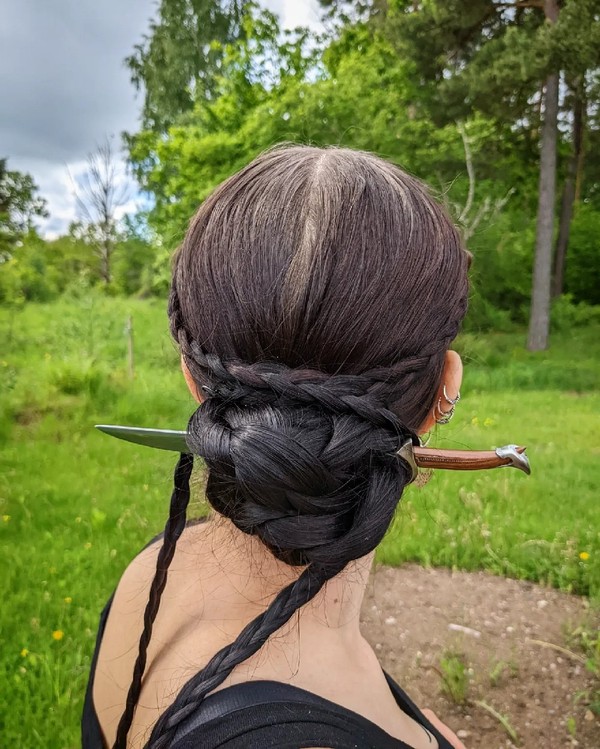
Medieval fair hairstyle

I made a hairnet with beads and used the leftover ribbon from when I uptaded my dress.


15 years of growing my hair

It's 15 years now since I first started this journey. How did this happen!?
 
I cut all of my hair to the same length (around 0,5 cm, so a little shorter than in the picture), but kept bangs to have less of a buzz cut. But since I hate having bangs, so I soon cut that off too.
 
Back then I used a really dull scissor to cut my hair and would continue to do so for years. My poor hair!
 
Don't ask me why, but I bleached my hair... Above is the "carrot phase".
 
 Blond and abused hair.
And of course, I soon missed having black hair.
 
I decided to for the last time in my life, bleach my hair, before dying it red and then go back to black once and for all. And thus the "carrot phase" again.
 
I also used to let a friend heat style my hair.
I really enjoyed red hair, but what a hassle to keep it red!
 
After I had to wash it with some special stuff before my elbow surgery, most of the dye washed out and I decided to let the bleached hair grow out and slowly cut it away before dying it black.
 
Before jumping in to the shower to do my first CO-wash.
 
This is what my natural hair color looked like after a year of CO-washing and when most of the bleach had been cut away.
 
 I decided to never again use chemical dyes again and wanted to be a henna head for a while, before starting the process of getting it black with indigo.
 
The process of getting it black. It took some time and effort, but it was worth it. Also, my hair finally started to get longer for real, now that I now longer mistreated it.
 
Black again.


Having kept up with some heavy S&D and minimal trims for years. My hemline was starting to fairytale.
 
My thin ends reached knee by the end of 2020. I've been maintaining at knee since then and will continue for a while longer. The ends were actually thinner than you can see in the picture.
 
Trying to get my hair to not blow freely in the wind... The ends are still thin, but the thickness is traveling down!
 
Having reached this length. I still want longer hair, but am in no hurry to get there. Patience truly is the key to growing long hair.
 
But it's also important to have fun! Have fun with your hair and treasure every milestone!


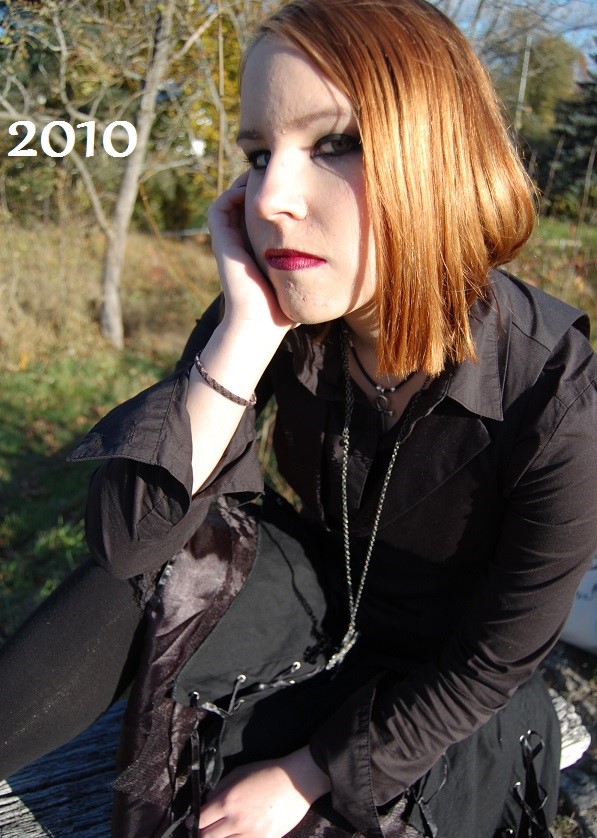
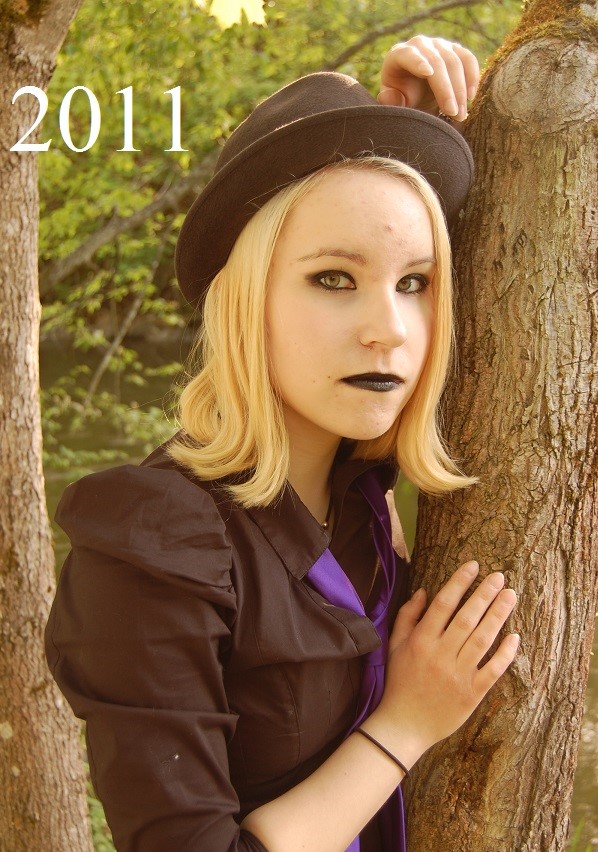
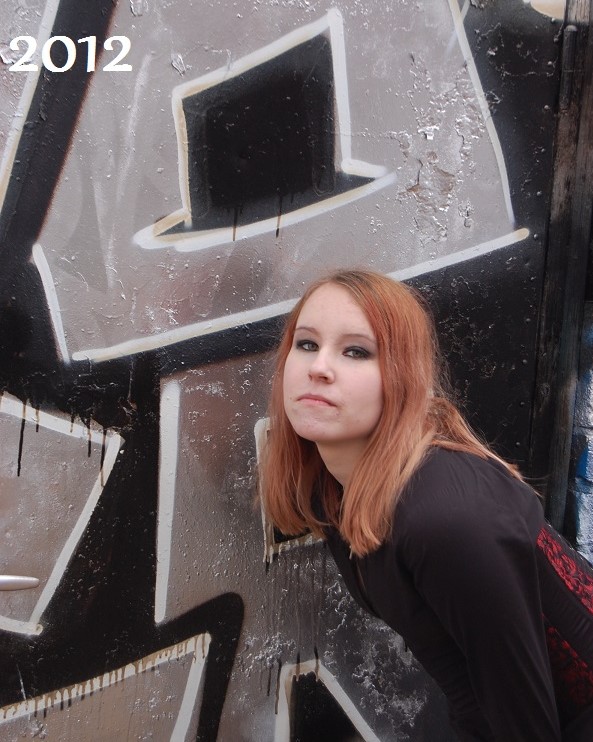
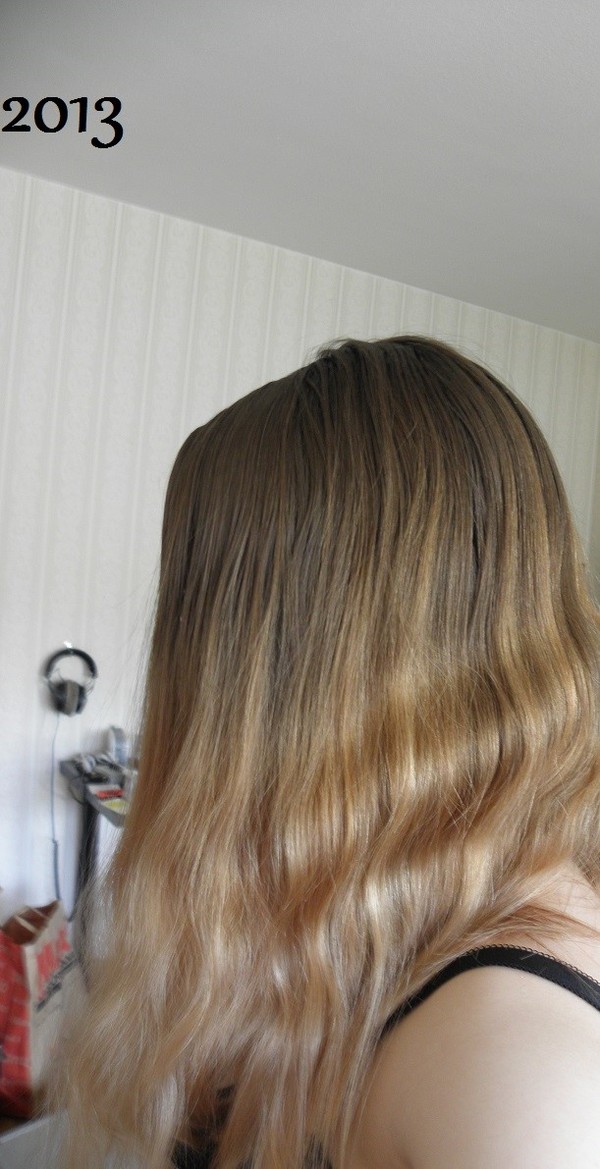
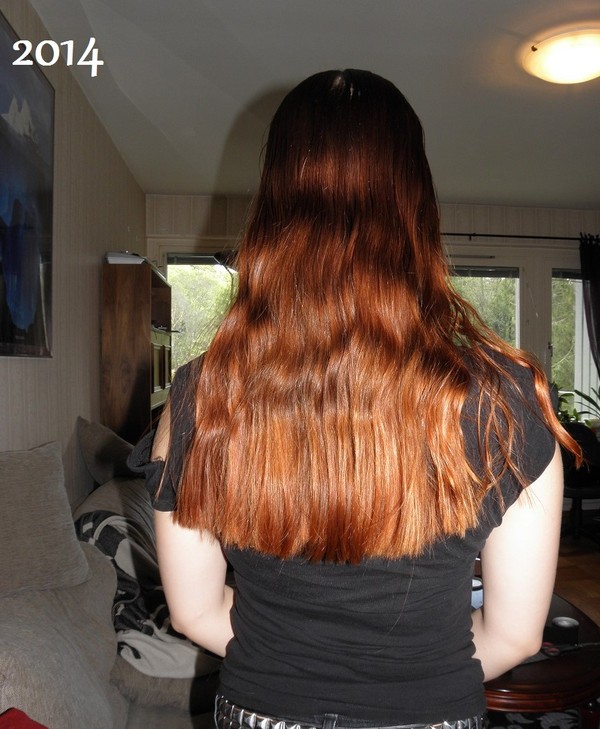
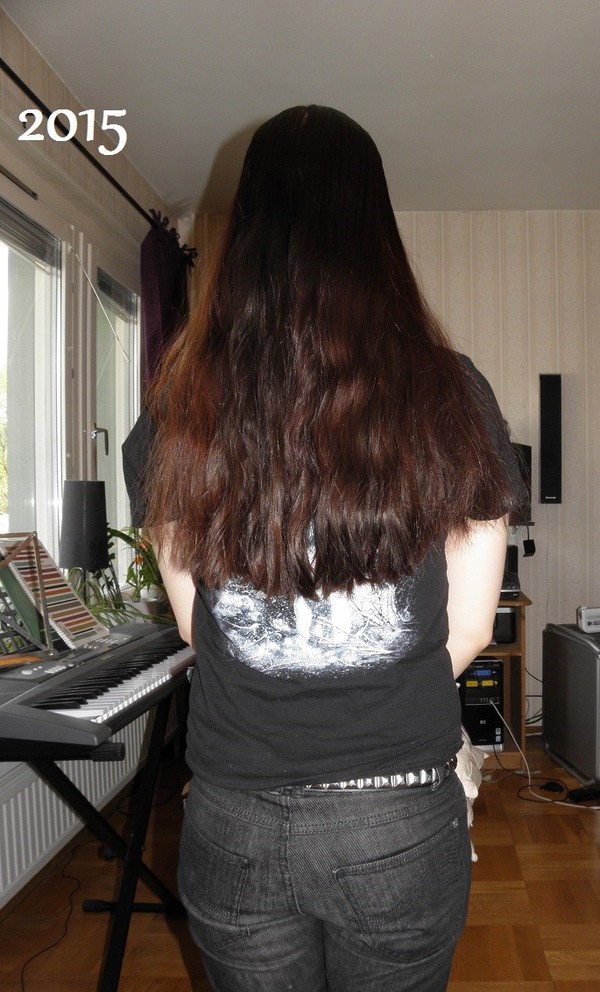
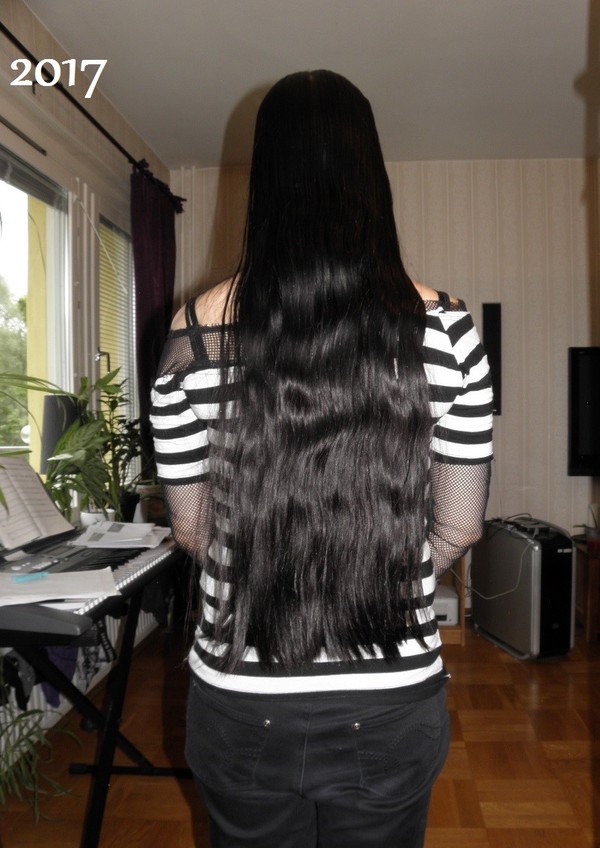
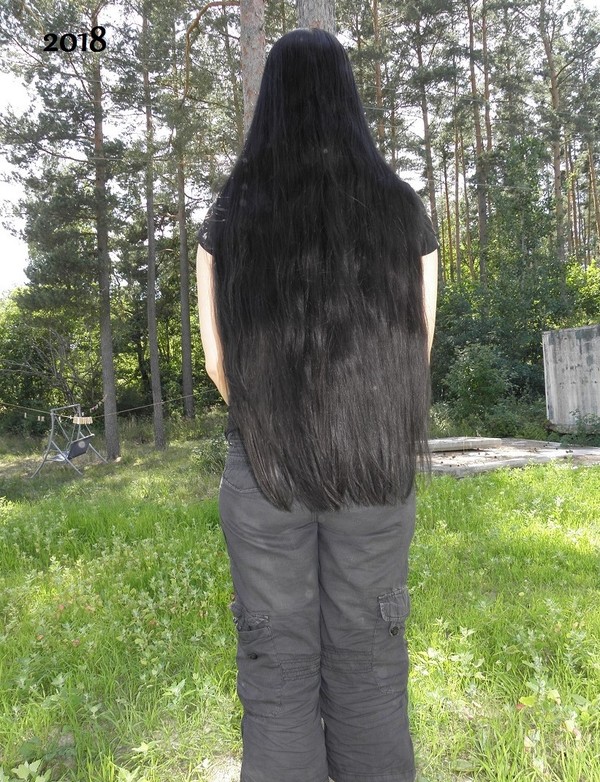
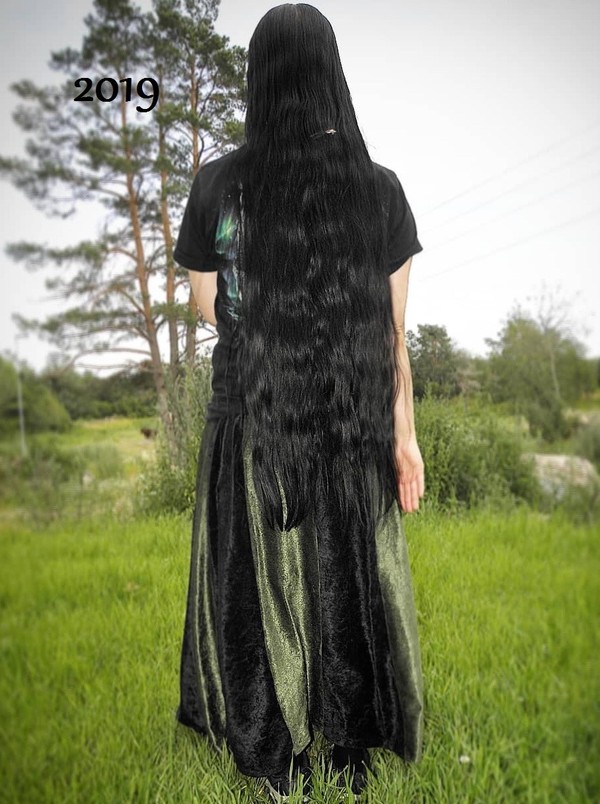
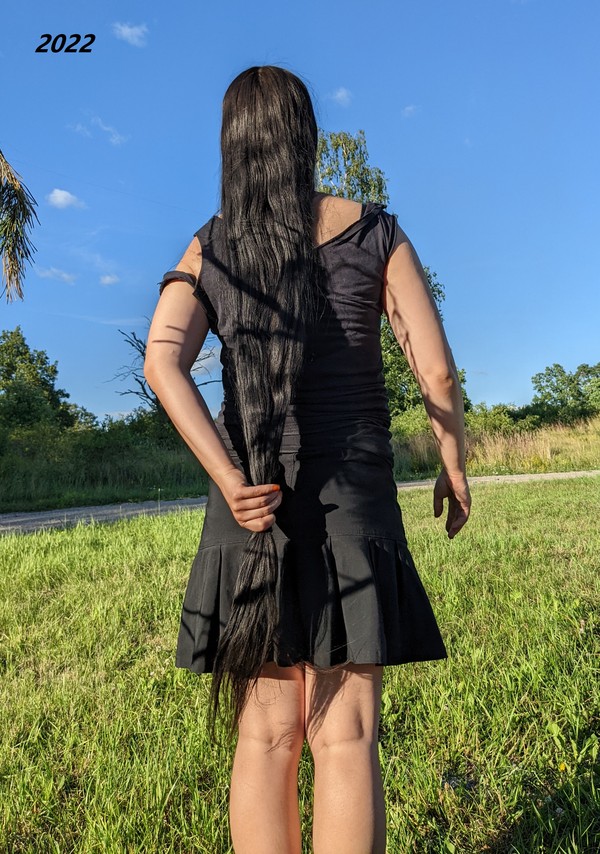
Although my hair would have been a lot longer if I would have taken as good care of it all the way, as I'm doing today. I have no regrets! I had a lot of fun trying different colors and doing stuff with my hair!
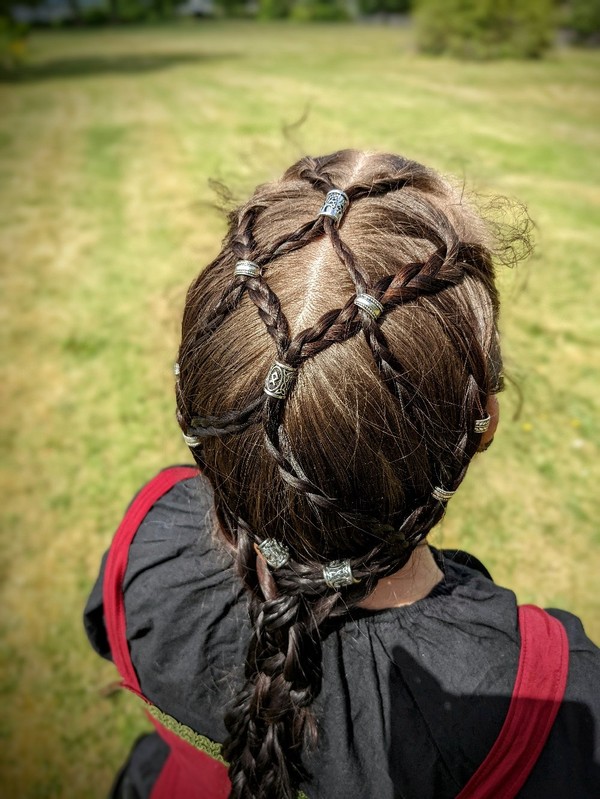
 
 
And now I am having fun with different updos and hair toys.
 
But also in the lovely community I've found of fellow hair interested people, in different corners on the internet, such as The Long Hair community, Instagram and HårIfokus.
 

Viking fair


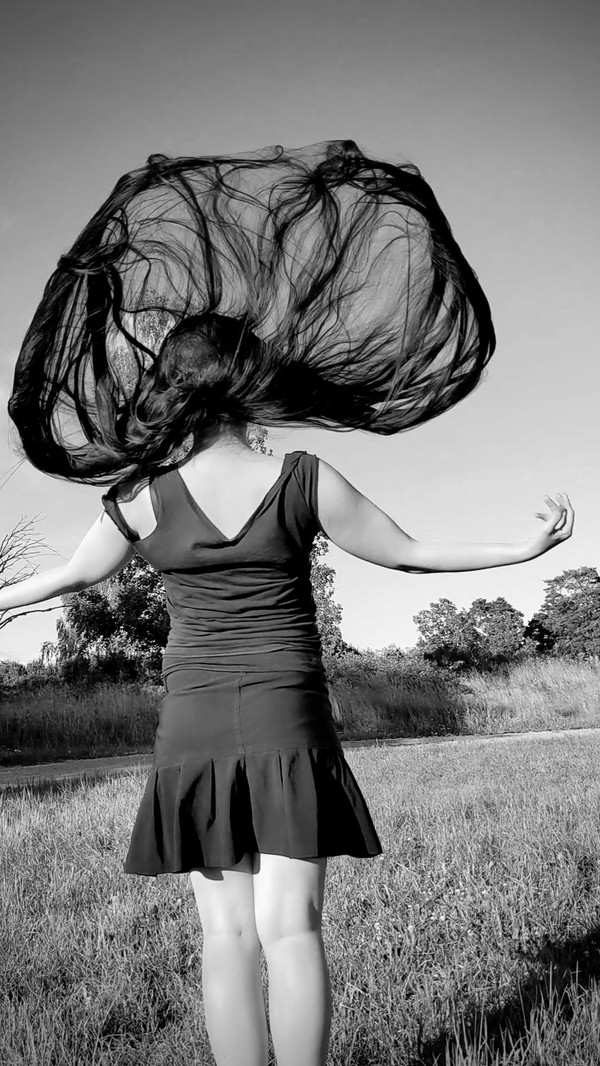
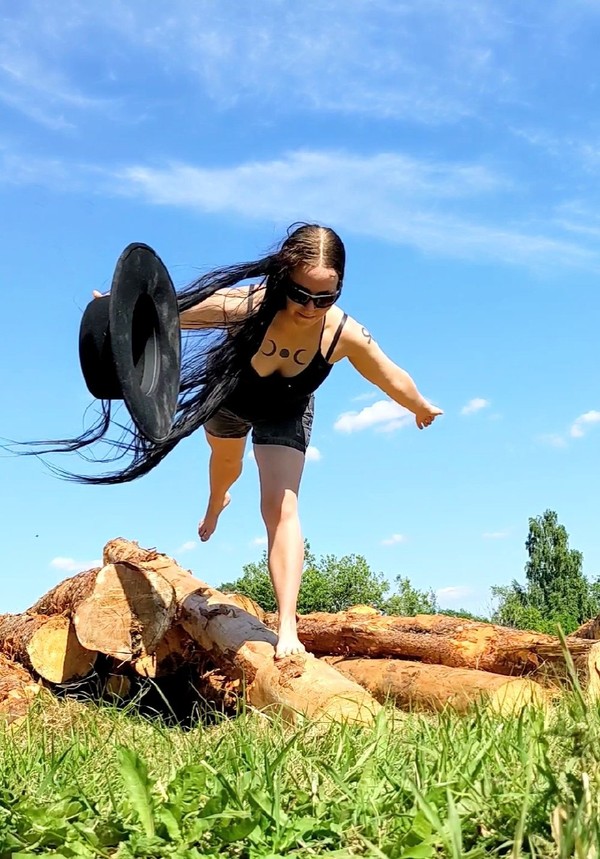
Just some hair in the wind


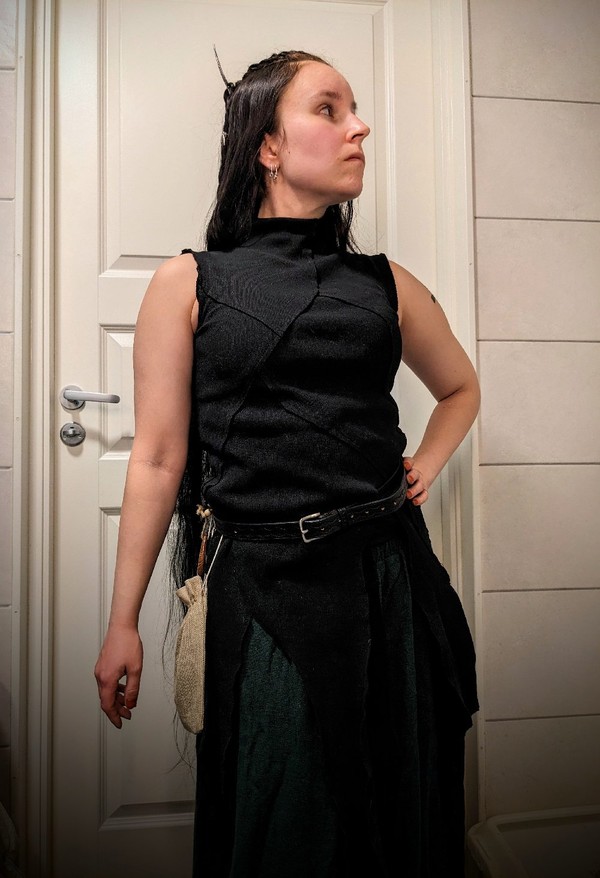
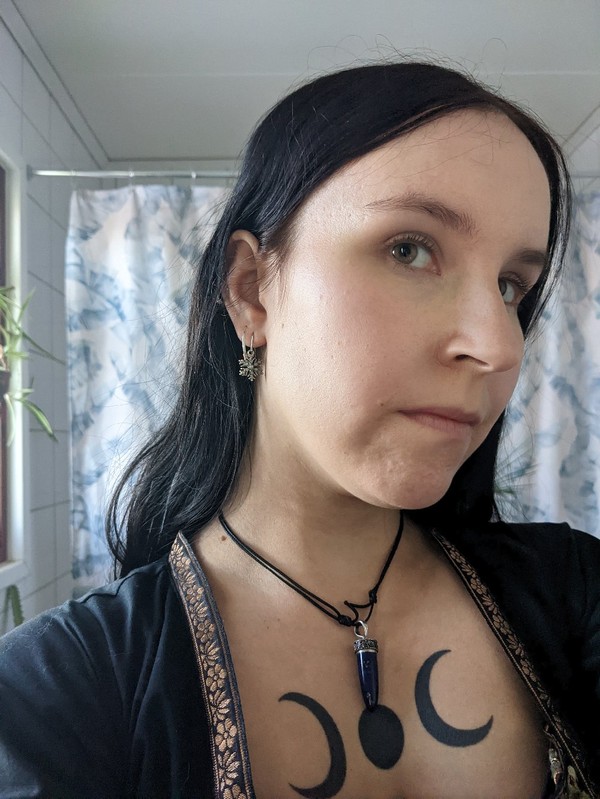
Today's outfit and hairstyle


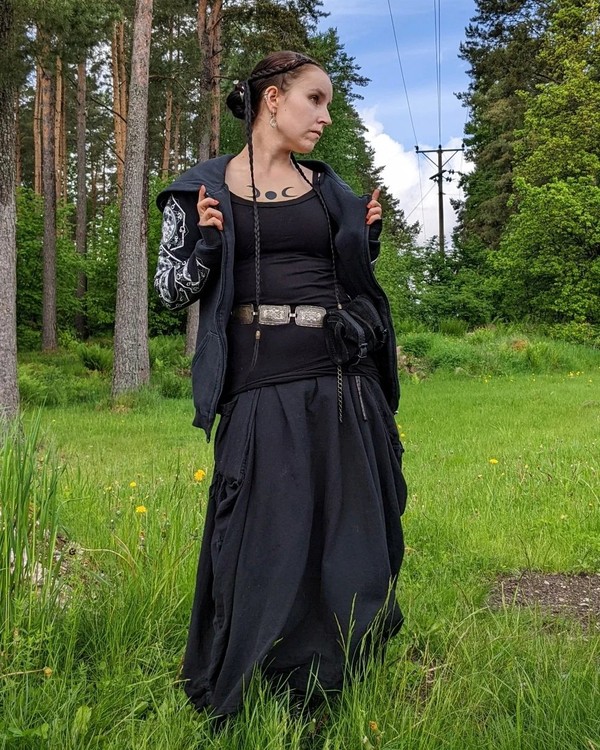
Hairstyle and outfit from Saturday


Today's hairstyle


Tidigare inlägg Nyare inlägg
RSS 2.0